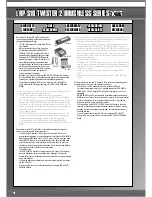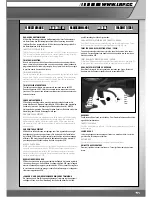
3. EINSETZEN DES FAHRAKKUS
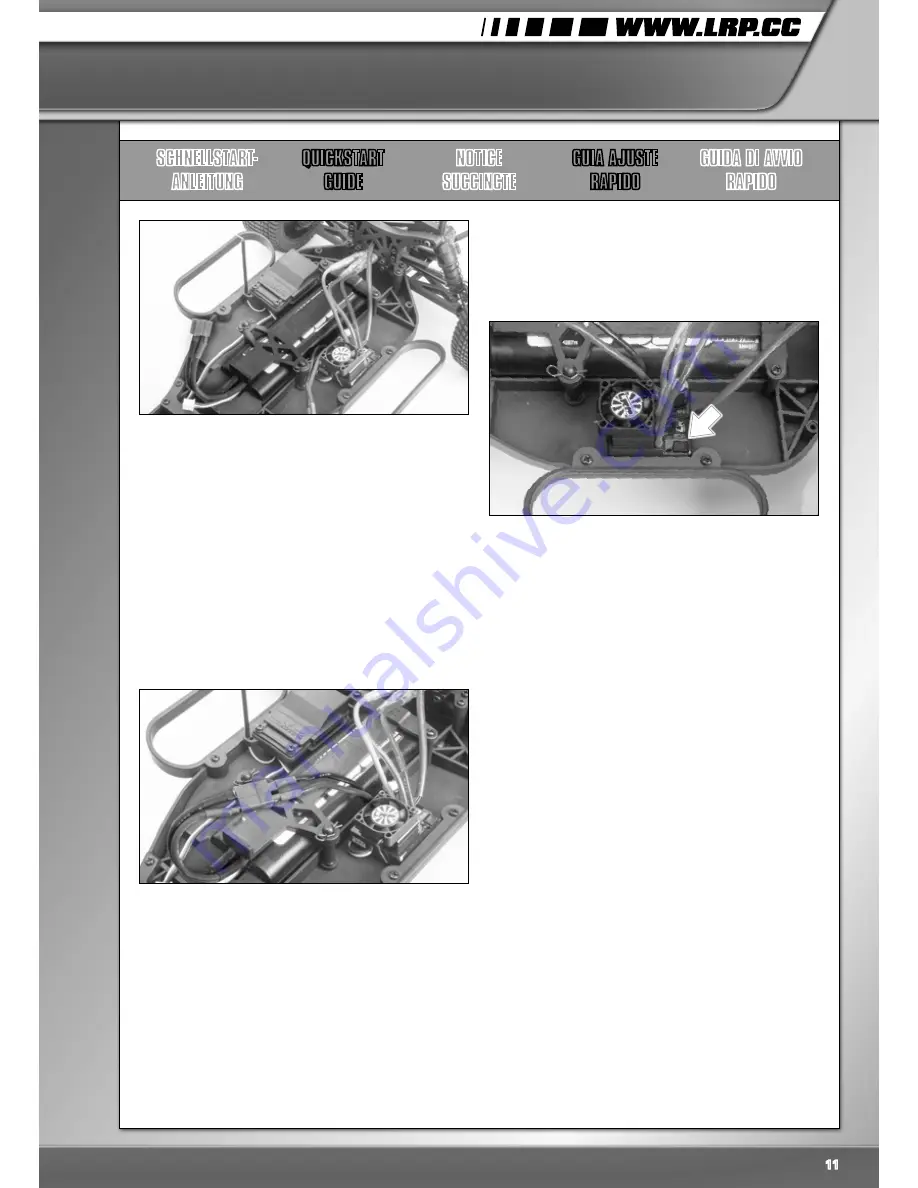
Sobald Ihr Fahrakku geladen und die Fernsteuerung betriebsbereit ist, setzen
Sie den Akku ins Fahrzeug. Achten Sie darauf, dass der Akku korrekt mit dem
Akkuhalter im Modell befestigt wird.
3. INSERT THE CAR BATTERY
Insert your fully charged battery into the model and make sure the battery is
properly secured by the battery bracket.
3. INSÉRER LA BATTERIE DANS LA VOITURE
Insérer la batterie chargée dans le modèle et s’assurer que celle-ci et cor-
rectement fixée à l’aide du support.
3. INTRODUZCA LA BATERÍA DEL COCHE
Introduzca su batería compeltamente cargada en su modelo y compruebe
que la batería está fija con el asegurador de la misma.
3. INSERIRE LA BATTERIA NELL’AUTO
Inserire la batteria carica nel modello e assicurarsi che la batteria sia ben
fissata dalla staffa.
4. FAHRTENREGLER AN AKKU ANSCHLIESSEN
Schließen Sie nun den Akku an den Fahrtenregler an. Achten Sie unbedingt
auf die korrekte Polarität, da sonst der Fahrtenregler und der Akku zerstört
werden können.
4. CONNECT BATTERY TO SPEED CONTROLLER
Next, connect your battery tot the speed controller. Please pay attention
to correct polarity, otherwise your speed controller and battery will be
damaged.
4. CONNECTER LA BATTERIE AU VARIATEUR
Connecter la batterie au variateur. Faire attention à la polarité, sinon, la batte-
rie et la variateur seront endommagés.
4. CONECTE LA BATERÍA AL VARIADOR
A continuación, conecte la batería al variador. Preste atención a la correcta
polaridad, su batería y su variador podrían resultar dañados si no están
correctamente conectados.
4. COLLEGARE LA BATTERIA AL REGOLATORE
Collegare la batteria al regolatore di velocità. Si prega di prestare attenzione
alla corretta polarità, altrimenti il vostro regolatore di velocità e la batteria
saranno danneggiati.
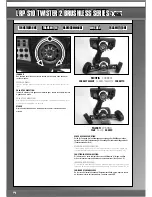
5. FERNSTEUERUNG UND AUTO ANSCHALTEN
Schalten Sie nun erst Ihre Fernsteuerung, dann den Spin Pro RTR Fahrtenreg-
ler an (siehe Photo). Der Lüfter des Spin Pro sollte sich nun drehen und eine
grüne LED dauerhaft leuchten.
Sollte dies nicht der Fall sein, schalten Sie den Spin Pro bitte wieder aus
und konsultieren Sie die ausführliche Anleitung des Reglers, welche Sie von
der LRP-Homepage www.lrp.cc herunterladen können. In dieser Anleitung
finden Sie alle weiteren Funktionen und Einstellmöglichkeiten Ihres Spin Pro
Fahrtenreglers.
Drehen Sie nun zur Kontrolle das Lenkrad Ihrer Fernsteuerung nach links
und rechts. Die Räder Ihres Fahrzeugs müssen sich in die entsprechende
Richtung bewegen. Sollte das Modell gar nicht reagieren, so ist Ihr Sender
vermutlich nicht an den Empfänger gebunden. Lesen Sie hierzu bitte das
entsprechende Kapitel in der Anleitung der Fernsteuerung durch und binden
Sie Sender und Empfänger erneut. Die Anleitung der Fernsteuerung können
Sie ebenfalls von der LRP-Homepage www.lrp.cc herunterladen.
Sollten sich die Räder entgegengesetzt der Auslenkung des Lenkrades be-
wegen, nutzen Sie die Funktion der Servo-Umkehrung am Sender. Lesen Sie
dazu bitte das Kapitel „Fernsteuerung“ auf Seite 14 dieser Anleitung.
Achten Sie bitte darauf, dass Sie nicht versehentlich Gas geben. Die Räder
des Twisters drehen sich sehr schnell und das Auto könnte unkontrolliert
losfahren und Sie verletzen.
5. TURN ON TRANSMITTER AND ELECTRONIC SPEED CONTROL (ESC)
Now please turn on your transmitter first, then turn on your Spin Pro RTR
ESC (see photo).
The fan of the Spin Pro should turn and a green LED flash continuously.
Should this not be the case, please turn off your Spin Pro and read through
your ESC’s manual, which you can download on the LRP-Homepage www.
lrp.cc, for further information and help. In this manual, you will find all func-
tions and configuration options for your Spin Pro ESC.
Now turn your steering wheel of the TX left and right for checking purposes.
The wheels of the car should turn accordingly.
In case the car does not give any reaction at all, your transmitter is probably
not correctly bound to the receiver of your car. To bind the transmitter
and receiver again, please read through the according chapter of the
transmitter’s manual.
You can download the detailed manual from our Homepage www.lrp.cc.
In case the wheels of your car should turn opposite to the deflection of your
transmitter’s steering wheel, please use the “Reverse” function of your
transmitter. Please read chapter “Transmitter” on page 14 of this manual on
how to do this.
Please avoid applying throttle accidentally to your transmitter. The wheels
SCHNELLSTART
ANLEITUNG
QUICKSTART
GUIDE
NOTICE
SUCCINCTE
GUIA AJUSTE
RAPIDO
GUIDA DI AVVIO
RAPIDO
11
Summary of Contents for S10 Twister 2 BL
Page 48: ...LRP S10 TWISTER 2 BL BX 2 4GHZ SETUP SHEET ...
Page 49: ...SETUP SHEET ...


