Chapter 4. Installation and Wiring
4-5
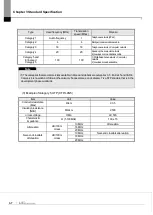
Division
Angle (left and right)
Upper
Lower
iXP2-08xxA/D
80 deg.
80 deg.
60 deg.
iXP2-10xxA/D
75 deg.
75 deg.
75 deg.
iXP2-12xxA/D
80 deg.
80 deg.
80 deg.
iXP2-15xxA/D
80 deg.
80 deg.
80 deg.
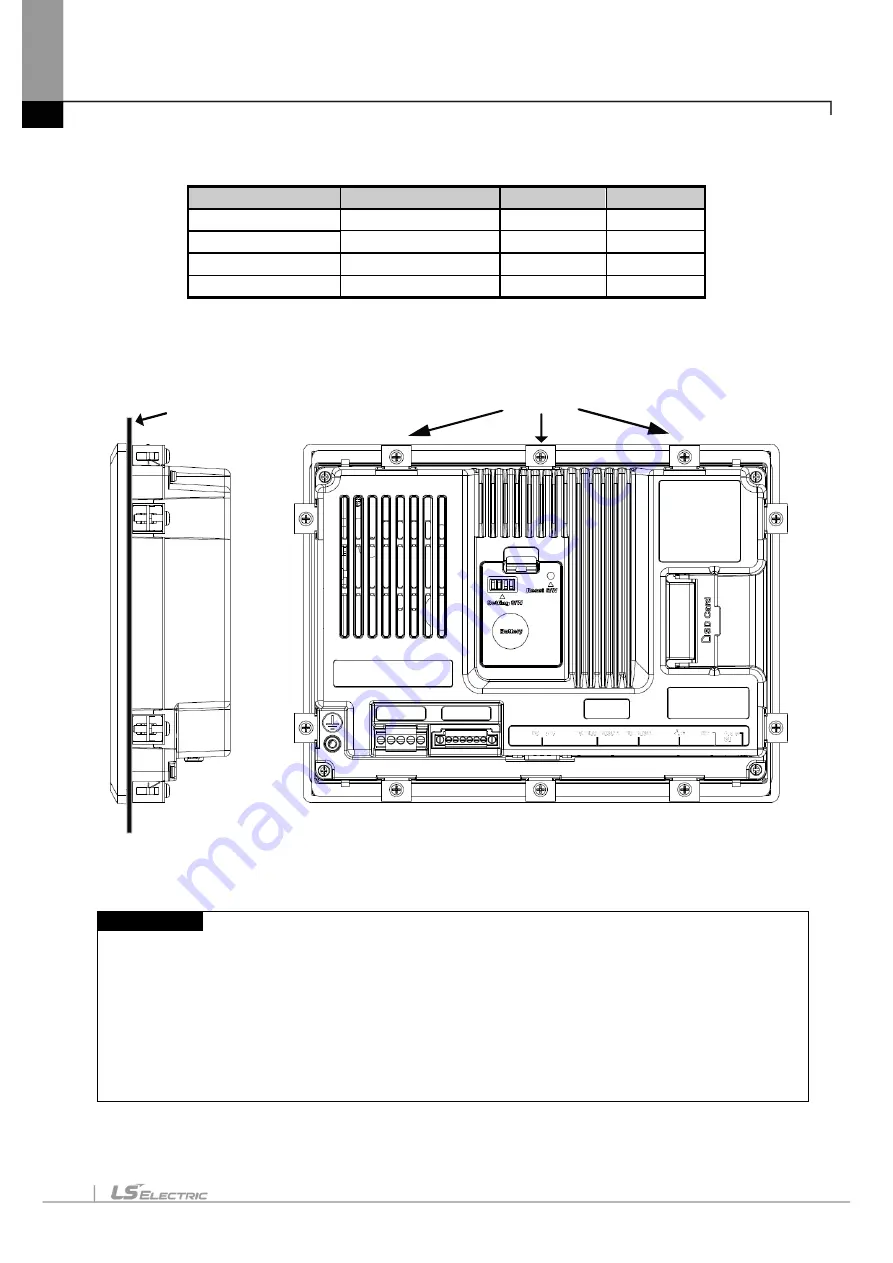
(4) Fixing
Fix the XGT Panel using the brackets on the panels as shown below.
(The bracket is included in the product.)
Fixed Bracket
Panel
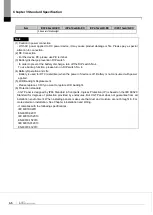
Note
(
1) During installation, XGT Panel should be closely contacted to the panel not to have any gap. In the
environment requiring water-proof/dust-proof effect, install and fix a bracket on a slope.
(2) The bracket should be fixed symmetrically(Up-Down, Left-Right). In case when it is not fixed
symmetrically, there could be a gap between the panel and XGT Panel.
(3) When fixing the bracket, it should be installed perpendicularly to the panel, and the required bracket
screw torque is 6.7kgf
ㆍ
cm. Depending on the material type of the panel, the torque value can be
different. The standard screw torque for each bolt size is followed. If it is fixed with the power more than
the required screw torque, the touch malfunction or weakening of water-proof/dust-proof can happen due
to the deformation of XGT Panel.
(5) Removal of protective film
Summary of Contents for iXP2 Series
Page 1: ...Human Machine Interface XGT PANEL iXP2 Series ...
Page 51: ...Chapter 5 XGT Panel Menu Explanation 5 14 ...
Page 127: ...Appendix2 Dimensions APP2 1 Appendix 2 Dimensions Unit mm 1 iXP2 08xxA D ...
Page 128: ...Appendix2 Dimensions APP2 2 2 iXP2 10xxA D ...
Page 129: ...Appendix2 Dimensions APP2 3 3 iXP2 12xxA D ...


