background image


d.  Remove exhausted batteries from product and dispose of in accordance with the manufacturer’s 

recommendation  

e.  Do not attempt to recharge non-rechargeable batteries 

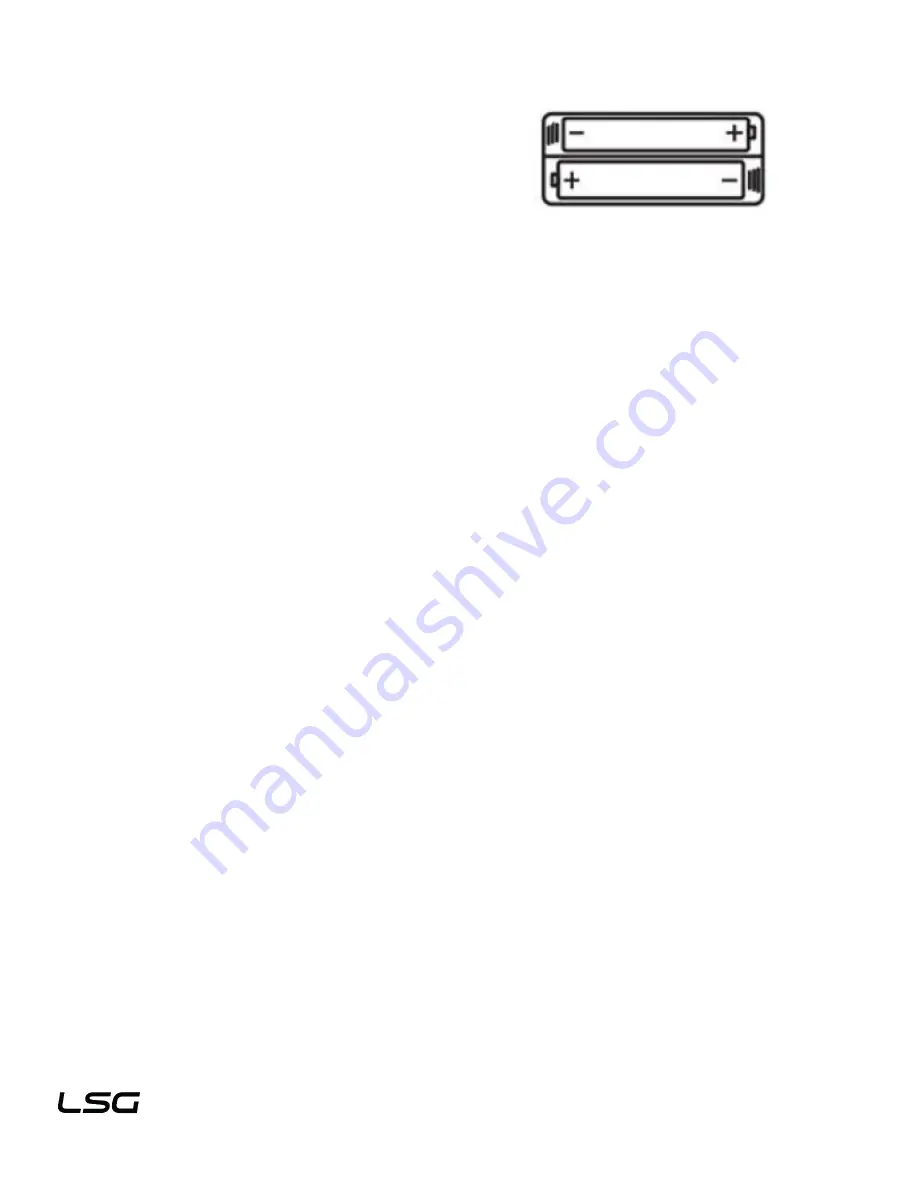
f.  Batteries are to be inserted with correct polarity 

g.  The supply terminals are not to be short-circuited 

h.  Do not dispose of batteries in fire, batteries may explode or leak 


3.  ASSEMBLY INSTRUCTIONS 


Tools 


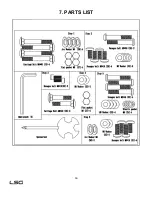
Most of the listed assembly hardware has been packaged separately, but some hardware items have been 

preinstalled in the identified assembly parts. In these instances, simply remove and reinstall the hardware as 

assembly is required.


Please reference the individual assembly steps and make note of all preinstalled hardware 


Preparation 


Prior to assembly, make sure that you will have enough space around the item; Use the present tooling for 

assembly; before assembling please check whether all needed parts are available. 


It is strongly recommended this machine to be assembled by two or more people to avoid possible injury. 


Summary of Contents for RB-100

Page 1: ...uals are available through our website at www lifespanfitness com au RB 100 OWNER S MANUAL Product may vary slightly from the item pictured due to model upgrades Read all instructions carefully before...

Page 2: ...2 TABLE OF CONTENTS 1 IMPORTANT SAFETY INSTRUCTIONS 3 2 CARE INSTRUCTIONS 4 3 ASSEMBLY INSTRUCTIONS 5 4 COMPUTER OPERATION 11 5 EXERCISE GUIDE 12 6 EXPLODED DIAGRAM 15 7 PARTS LIST 16 8 WARRANTY 19...

Page 3: ...s advice is essential if you are taking medication that affects your heart rate blood pressure or cholesterol level c Be aware of your body s signals Incorrect or excessive exercise can damage your h...

Page 4: ...e intended only as exercise aids in determining heart rate trends in general 2 CARE INSTRUCTIONS a Lubricate moving joints with grease after periods of usage b Be careful not to damage plastic or meta...

Page 5: ...mbly hardware has been packaged separately but some hardware items have been preinstalled in the identified assembly parts In these instances simply remove and reinstall the hardware as assembly is re...

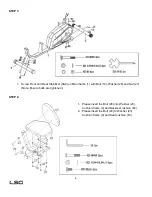
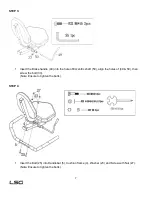
Page 6: ...r 3 9 on Main frame 1 with Bolt 19 Washer 26 and Nut 27 Note Ensure bolts are tightened 1 Please insert the Bolt 29 into Washer 23 Cushion frame 4 and Backrest cushion 64 2 Please insert the Bolt 28 t...

Page 7: ...e 49 into the hole of Eccentric shaft 50 align the holes of 49 50 then screw the bolt 33 Note Ensure to tighten the bolts 1 Insert the Bolt 25 into Handlebar 5 Cushion frame 4 Washer 23 and Screw with...

Page 8: ...8 STEP 5 1 Put Cushion frame 4 on Main frame 1 and align the holes Then insert Bolt 22 into Washer 24 Washer 23 Adjustable tube 6 and screw with bolt 22...

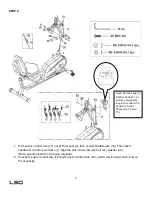
Page 9: ...rame 1 align the hole and screw with bolt 21 washer 26 Note smooth insertion of the wire required 2 Connect Tension control wire 72 and Tension control wire 73 and Screw tension control 72 on Front po...

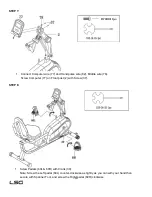
Page 10: ...re 82 Middle wire 78 Screw Computer 77 on Front post 2 with Screw 37 1 Screw Pedals 60L 60R with Crank 39 Note Screw the Left pedal 60L counter clockwise as tightly as you can with your hand then secu...

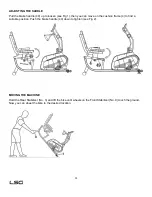
Page 11: ...move on the cushion frame 4 to find a suitable position Push the brake handle 49 down to tighten see Fig 2 MOVING THE MACHINE Hold the Rear Stabilizer No 3 and lift the bike until wheels on the Front...

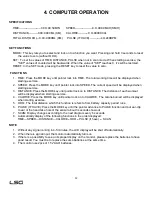
Page 12: ...key until pointer lock on to DISTANCE The distance of each workout will be displayed when starting exercise 4 CALORIE Press the MODE key until pointer lock on to CALORIE The calorie burned will be di...

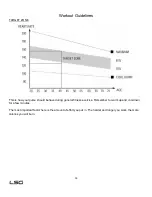
Page 13: ...your fitness Your muscles use this oxygen to provide enough energy for daily activity This is called aerobic activity When you are fit your heart will not have to work so hard It will pump a lot fewer...

Page 14: ...how your pulse should behave during general fitness exercise Remember to warm up and cool down for a few minutes The most important factor here is the amount of effort you put in The harder and longer...

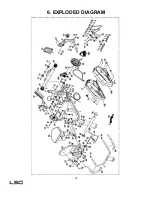
Page 15: ...15 6 EXPLODED DIAGRAM...

Page 16: ...16 7 PARTS LIST...

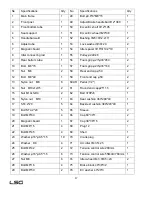
Page 17: ...50 2 12 Bolt M8 40 1 59 Front end cap 50 2 13 Nylon nut M8 6 60L R Pedal 1 2 2 14 Nut M10x1xH5 2 61 Round end cap 25 1 5 2 15 Nut M10x1xH4 2 62 Belt 370PJ6 1 16 Nylon nut M10 1 63 Seat cushion 360 280...

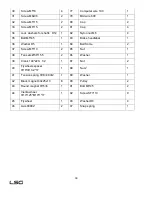
Page 18: ...dlebar 1 36 Washer D5 1 84 Ball frame 2 37 Screw M5 10 2 85 Nut 1 38 Ten sets 56 15 5 2 86 Washer 1 39 Crank 140 220 1 2 1 87 Nut 2 40 Flywheels spacer 16 10 2 17 1 88 Nut 2 1 41 Tension spring 18 48...

Page 19: ...titled to have the goods repaired or replaced if the goods fail to be of acceptable quality and the failure does not amount to a major failure Full details of your consumer rights may be found at www...

Reviews: