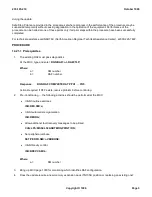
6.
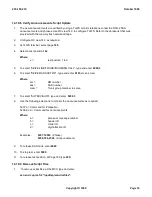
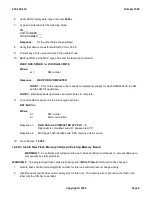
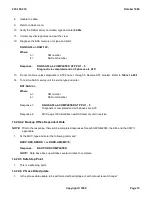
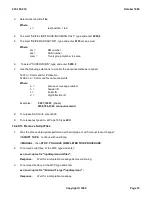
Verify SAS memory data, type and enter
20.26v
7.
Type and enter data for the following fields:
SM ___
UNIT NUMBER ___
PACK NUMBER ___
Response:
All the other fields are populated.
8.
Verify that data is consistent with GRCV form 20.26.
9.
Correct any errors using terminal in the update mode.
10.
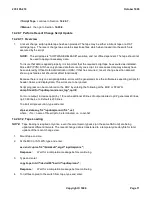
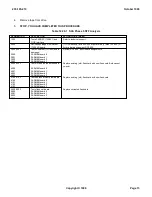
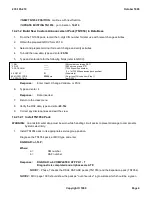
Back up ODD, at the MCC, type and enter the following command:
BKUP:ODD,NRODD =
xx
,RODD,AM,CMP=0;
Where:
xx =
SM number
Response:
BKUP ODD COMPLETED
NOTE 1:
Prior to the response, there will be completed responses for each SM/SM-2000, the AM,
and the CMP if applicable.
NOTE 2:
Data base back up will take several minutes to complete.
11.
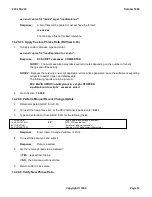
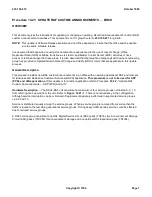
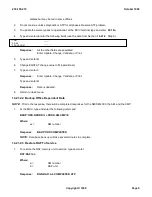
To restore SAS memory unit to service type and enter,
RST:SAS=
a-b;
Where:
a =
SM number
b =
SAS unit number
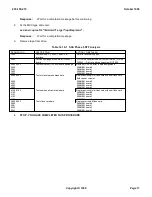
Response 1:
DGN SAS=a-b COMPLETED ATP PH 1 - 5
Diagnostic is completed and all 5 phases are ATP.
Response 2:
MCC page 1090 identifies new SAS memory unit in service.
12.
Go to Section
14.20.5
.
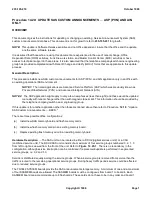
14.20.3 Install New Flash Memory Card(s) In Existing Memory Board
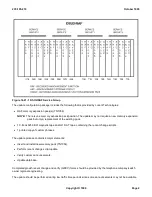
WARNING 1:
An antistatic wrist strap must be worn while handling circuit packs to prevent damage to
components by static electricity.
WARNING 2:
The programmed flash cards are factory set for
Write Protect
and should not be changed.
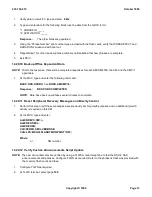
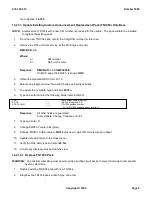
1.
Record flash card barcode 9-digit CIN number for later use with with recent change activity.
2.
Identify and record the flash card memory size for later use. The memory size is printed on the flash card
label (not the CIN bar code label).
235-105-210
October 1999
Copyright © 1999
Page 6
Summary of Contents for 5ESS-2000
Page 96: ...235 105 210 October 1999 Copyright 1999 Page 2 ...
Page 184: ...235 105 210 October 1999 Copyright 1999 Page 3 ...
Page 300: ...13 STOP YOU HAVE COMPLETED THIS PROCEDURE 235 105 210 October 1999 Copyright 1999 Page 55 ...
Page 339: ...7 STOP YOU HAVE COMPLETED THIS PROCEDURE 235 105 210 October 1999 Copyright 1999 Page 13 ...
Page 342: ...235 105 210 October 1999 Copyright 1999 Page 2 ...
Page 359: ...235 105 210 October 1999 Copyright 1999 Page 5 ...
Page 609: ...2 STOP YOU HAVE COMPLETED THIS PROCEDURE 235 105 210 October 1999 Copyright 1999 Page 12 ...
Page 676: ...235 105 210 October 1999 Copyright 1999 Page 9 ...
Page 792: ...3 STOP YOU HAVE COMPLETED THIS PROCEDURE 235 105 210 October 1999 Copyright 1999 Page 9 ...
Page 799: ...Figure 11 36 3 1 Cleaning Points 235 105 210 October 1999 Copyright 1999 Page 7 ...
Page 801: ...235 105 210 October 1999 Copyright 1999 Page 9 ...
Page 839: ...2 STOP YOU HAVE COMPLETED THIS PROCEDURE 235 105 210 October 1999 Copyright 1999 Page 16 ...
Page 999: ...2 STOP YOU HAVE COMPLETED THIS PROCEDURE 235 105 210 October 1999 Copyright 1999 Page 13 ...
Page 1008: ...Figure 11 55 1 CTSNS DIP Switch Settings 235 105 210 October 1999 Copyright 1999 Page 2 ...
Page 1011: ...235 105 210 October 1999 Copyright 1999 Page 5 ...
Page 1053: ...235 105 210 October 1999 Copyright 1999 Page 15 ...
Page 1289: ...Figure 15 17 2 AMATPS Data Link 235 105 210 October 1999 Copyright 1999 Page 2 ...
Page 1292: ...235 105 210 October 1999 Copyright 1999 Page 5 ...
Page 1303: ...9 STOP YOU HAVE COMPLETED THIS PROCEDURE 235 105 210 October 1999 Copyright 1999 Page 2 ...
Page 1360: ...Figure 15 47 2 Typical SCANS III Link Diagram 235 105 210 October 1999 Copyright 1999 Page 2 ...
Page 1372: ...235 105 210 October 1999 Copyright 1999 Page 2 ...
Page 1374: ...235 105 210 October 1999 Copyright 1999 Page 4 ...
Page 1421: ...Table 1 1 O M Checklist 235 105 210 October 1999 Copyright 1999 Page 3 ...


