Installing the CBX 500 Switch
Setting Up the Switch
Beta Draft Confidential
CBX 500 Multiservice WAN Switch Hardware Installation Guide
4/5/03
4-3
Setting Up the Switch
Place the switch in a way that facilitates cable connections to the back of the switch.
The switch can be placed on a flat surface as a free-standing switch, or rack-mounted
in a standard 19- or 23-inch (48.26 or 58.42 cm.) wide equipment cabinet. The
following sections describe the steps for each method of installation.
As a Free-Standing Switch
Place the switch on the selected flat surface. Remember that all cables connect to the
back of the switch and the switch requires proper ventilation. (See
Chapter 2,
“Specifications and Safety Warnings,”
for ventilation and cable space requirements.)
As a Rack-Mounted Switch
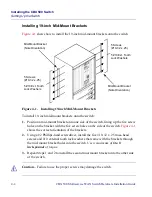
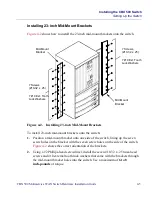
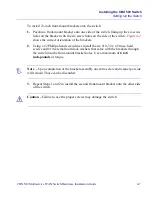
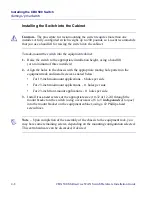
Determine whether you want the switch to be flush-mounted or mid-mounted into the
cabinet. The switch is delivered with 19-inch flush-mount brackets already installed
on the front of the switch. To mid-mount the switch into the cabinet, you must first
install mid-mount brackets onto the switch. You can order these brackets from Lucent.
For a current product code/price list, contact your Lucent account manager.
Note – The rack-mount spacing meets IEC 297-2 and ANSI/EIA-RS-310-C
standards.
Note – The 23-in. (58.42 cm.) cabinet installation requires the use of adapter brackets
(Product Code 90010).
The 19-in. (48.26 cm.) cabinet installation requires the use of adapter brackets
(Product Code 11093).
!
Caution – The weight and position of the CBX 500 switch within the cabinet may
make the cabinet top-heavy or unstable. You must anchor the cabinet securely before
installing the switch. This is particularly important with mid-mount installations.


