Insert | Table
CentreVu Report Designer Version 8 User Guide
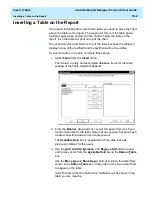
Inserting a Table on the Report
10-3
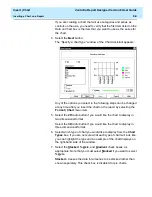
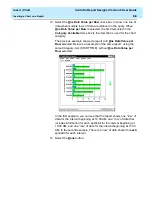
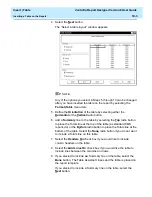
4. Select the Next button.
The “Select a table layout” window appears.
Any of the options you select in Steps 5 through 10 can be changed
after you have inserted the table on the report by selecting the
Format |Table menu item.
5. Define the Orientation of the table by selecting either the
Horizontal or the Vertical radio button.
6. Add a Summary line to the table by selecting the Top radio button
to place the Totals line at the top of the table (as standard CMS
reports do) or the Bottom radio button to place the Totals line at the
bottom of the table. Select the None radio button if you do not want
to include a Totals line on this table.
7. Select the Headers On check box if you would like to include
column headers on the table.
8. Select the Grid Lines On check box if you would like the table to
include lines between the columns and rows.
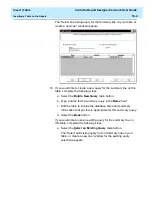
9. If you elected to include no Summary line on the table, select the
Done button. The Table Assistant closes and the table is placed on
the report template.
If you elected to include a Summary line on the table, select the
Next button.
NOTE:
Summary of Contents for CentreVu Report Designer
Page 4: ......
Page 18: ...Introduction CentreVu Report Designer Version 8 User Guide Related Documents 1 8...
Page 102: ...Edit Inputs CentreVu Report Designer Version 8 User Guide Viewing the Input Window 6 16...
Page 198: ...Format Text CentreVu Report Designer Version 8 User Guide Formatting Text on the Report 15 4...
Page 264: ...Index CentreVu CMS R3V8 Upgrades and Migration IN 10...
Page 266: ......

