Format | Table
CentreVu Report Designer Version 8 User Guide
General Tab
13-4
Using the
General Tab
13
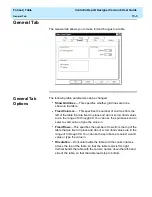
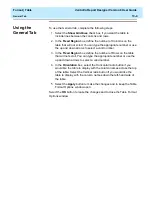
To use the General tab, complete the following steps:
1. Select the Show Gridlines check box if you want the table to
include lines between the columns and rows.
2. In the Fixed Region box, define the number of Columns on the
table that will not scroll. You can type the appropriate number or use
the up and down arrows to select a valid number.
3. In the Fixed Region box, define the number of Rows on the table
that will not scroll. You can type the appropriate number or use the
up and down arrows to select a valid number.
4. In the Orientation box, select the Horizontal radio button if you
would like the table to display with the column names across the top
of the table. Select the Vertical radio button if you would like the
table to display with the column names down the left-hand side of
the table.
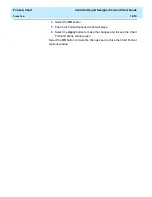
5. Select the Apply button to make the changes and to keep the Table
Format Options window open.
Select the OK button to make the changes and to close the Table Format
Options window.
Summary of Contents for CentreVu Report Designer
Page 4: ......
Page 18: ...Introduction CentreVu Report Designer Version 8 User Guide Related Documents 1 8...
Page 102: ...Edit Inputs CentreVu Report Designer Version 8 User Guide Viewing the Input Window 6 16...
Page 198: ...Format Text CentreVu Report Designer Version 8 User Guide Formatting Text on the Report 15 4...
Page 264: ...Index CentreVu CMS R3V8 Upgrades and Migration IN 10...
Page 266: ......

