Tab
B
Tab
A
Bottom of Base
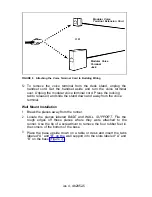
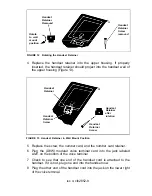
FIGURE 7 Assembling the Wall Mount
4
Lift the base and push the wall support through the slots until it fits
firmly into place. Turn the base over.
5
Select a location for installation at least as large as the voice termi-
nal. Use the base as a template to mark the four mounting screw
locations.
6
Select the proper toggles for wall thickness:
●
For walls 3/8” to 1/2” thick, use the smaller of the two sizes of
toggles.
●
For walls 5/8” to 3/4” thick, use the larger of the two sizes.
●
For solid walls, either of the two sizes may be used.
7
Using a 5/16” drill bit, drill a hole at each of the four mounting screw
locations.
8
Fold and insert a toggle into each of the mounting screw locations
(Figure 8A). Tap each toggle with a hammer so that it is flush with
the wall (Figure 8B).
9
Pop the anchor open with the red key without using a hammer on the
key (Figure 8C).
iss 4, cib2852-6


