Issue 5 November 2000
363-206-208
Equipment and Front Access Cable Installation for the DDM-2000 OC-12 Multiplexer
Lucent Technologies - Proprietary
See Notice on first page
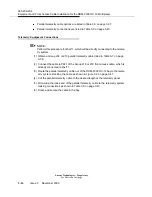
NOTE:
Group 327 (D.A.) and 332 (D.A.) tables come with a second cable assembly of
ED-7G001-23, Group 204 cable with a 219P connector on one end which is then
spliced to the first assembly.
NOTE:
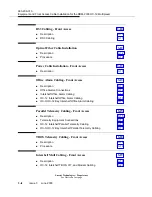
Perform the appropriate procedure depending on the cable group being installed.
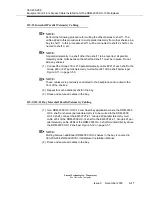
DS3 Cabling
(1) All the DS3 cable assemblies can be used for any muldem. Connect the cables
to the appropriate front access DS3 cables previously attached to the backplane
DS3 front access cable connectors are J30-J35 (for muldem A), J36-J41 (for
muldem B), J42-J47 (for muldem C), and J48-J53 (for muldem D).
(2) Route the cables out of the DDM-2000 OC-12 bay per Figure 3-8 on page 3-53,
stacking the cables as shown in Figure 3-2 on page 3-47.
(3) Dress and tie the cables as close to the DDM-2000 OC-12 backplane as possi-
ble without touching any backplane pins.
(4) Unless the cables are Group 327 (D.A.) or 332 (D.A.), route and connect the
cables along the cable rack and into the terminating equipment bay.
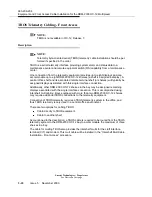
(5) When installing Group 327 (D.A.) or 332 (D.A.) cables, perform the following
cable preparation procedure before proceeding:
a. Determine where to cut the 734A cable in the terminating equipment bay
so that the ED-7G001-23 cable can be connected with enough slack to
allow for dressing and avoidance of sharp bends.
b. Cut the 734A cable to the required length. The ED-7G001-23, Group 204
cable is not to be modified. Both the 734A cable and 219P splice should
be vertical in the terminating equipment bay to allow easy access to the
219A connector.
c. Prepare the 734A cable for connecting to the 219A splice as shown in Fig-
ure 3-10 on page 3-55.
d. Remove the outer shield of the 219P splice by removing the screw and
sliding the shield along the ED-7G001-23, Group 204 cable.
e. Using a soldering iron, connect the 734A cable to the 219A splice.
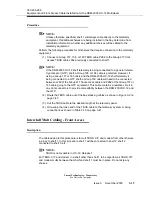
NOTE:
The 219A splice comes with a solder slug on it. This is the right amount of solder
required; therefore, do not add to or remove from this splice. Hold the end of the
734A cable and the 219A splice horizontal during soldering; otherwise, the sol-
der will run. Heat the solder by heating the metal underneath the solder slug, not
the solder directly.
Summary of Contents for DDM-2000 OC-12
Page 4: ......
Page 370: ...GL 22 Issue 5 June 2000 363 206 208 Glossary ...
Page 382: ...363 206 208 Index 1 ...


