Lucent Technologies Lineage
®
2000 100A Ferroresonant Rectifier J85503A-1
8 - 12 Spare Parts and Replacement Procedures
Issue 6 October 1998
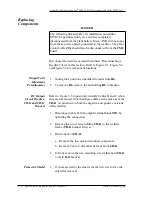
Replacing
Components
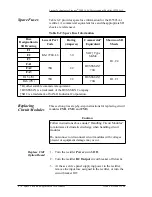
Disconnect the rectifier as described under “Disconnecting a
Rectifier” later in this section. Refer to Figure 2-1, Figure 5-2,
and Figure 5-3 for component locations.
Output Volts
Adjustment
Potentiometer
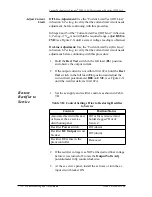
1. Noting their positions, unsolder the leads from R6.
2. To remove R6, remove the nut holding R6 to bracket.
DC Output
Circuit Breaker,
CBA1 and CBA1
Bracket
Refer to Figure 5-3 to positively identify Cables B and C when
they are referenced. Note that these cables are the same, as far as
CBA1 is concerned, in both the negative and positive versions
of the rectifier.
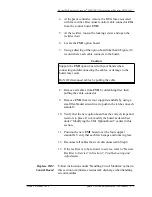
1. Disconnect Cable B from output terminal block TB3 by
unbolting the connection.
2. Remove the two screws holding CBA1 to the rectifier
frame (CBA1 bracket screws).
3. On the back of CBA1:
a. Remove the two quick-disconnect connectors.
b. Remove Cable C (the other dc lead) from CBA1.
4. In front, remove the two mounting screws that hold CBA1
to the CBA1 bracket.
Protective Shield
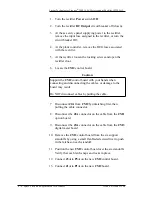
1. If wires are tied to the shield, cut the wire ties to free the
shield for removal.
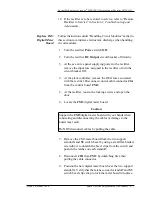
DANGER
The following disassembly or reinstallation procedures
MUST be performed only on a rectifier completely
disconnected from the plant battery buses, AND with no input
from the ac service panel connected to the rectifier. The plant
control cable J2A should also be disconnected from the CM2
board.

