Lucent Technologies Lineage
®
2000 100A Ferroresonant Rectifier J85503A-1
Issue 6 October 1998
Spare Parts and Replacement Procedures 8 - 7
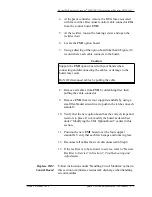
14. If the rectifier is to be restored to service, refer to “Restore
Rectifier to Service” in Section 7, Troubleshooting and
Adjustments.
Replace CM3
Digital Meter
Board
Follow instructions under “Handling Circuit Modules” earlier in
this section to minimize electrostatic discharge when handling
circuit modules.
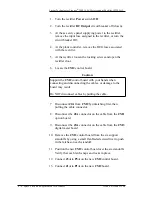
1. Turn the rectifier Power switch Off.
2. Turn the rectifier DC Output circuit breaker off (down).
3. At the ac service panel supplying power to the rectifier,
remove the input fuse assigned to the rectifier or turn the
circuit breaker Off.
4. At the plant controller, remove the REG fuse associated
with the rectifier. Disconnect control cable connector J2A
from the control board CM2.
5. At the rectifier, loosen the locking screws and open the
door.
6. Locate the CM3 digital meter board.
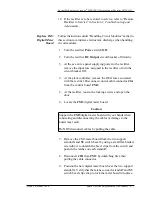
7. Remove the CM3 meter board from the two support
standoffs and S3 switch bezel by using a small flat-bladed
screwdriver to unlatch the bezel clips from the switch and
push in the latches on each standoff.
8. Disconnect J1B from CM3 by unlatching first, then
pulling the cable connector.
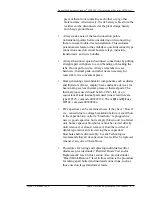
9. Position the new digital meter board over the two support
standoffs. Verify that the latches on each standoff and S3
switch bezel clips snap to lock the meter board into place.
Caution
Support the CM3 digital meter board with your hands when
connecting and disconnecting the cables or damage to the
board may result.
Do NOT disconnect cables by pulling the cable.

