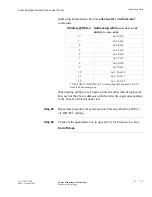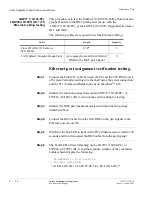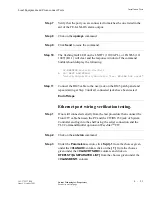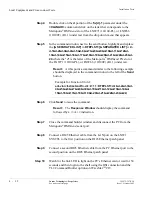
...........................................................................................................................................................................................................................................................
Installation Tests
Local Equipment and Cross-connect Tests
4 - 2 2
Lucent Technologies - Proprietary
See notice on first page
365-372-327 R2.0
Issue 1, October 2003
............................................................................................................................................................................
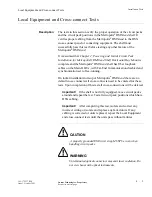
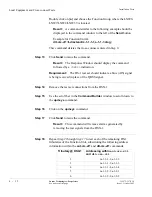
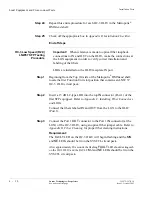
Step 4
Double click on the
d
portion of the
fn-{d}-1
parameter under the
<VLANAID>
column and click on the letter that corresponds to the
Metropolis
®
DMXtend slot of the LNW71 (10/100-PL), or LNW66
(10/100T) (R1.1) under test from the drop down menu that appears.
............................................................................................................................................................................
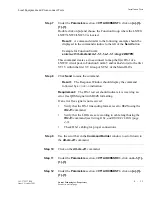
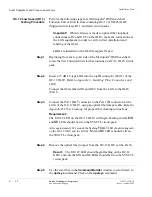
Step 5
In the command window next to the send button, highlight and replace
the
[& SEPARATED LIST]
in
DFEPLST=[& SEPARATED LIST]
with
d-1&d-2&d-3&d-4&d-5&d-6&d-7&d-8&d-9&d-10&d-11&d-12&d-
13&d-14&d-15&d-16&d-17&d-18&d-19&d-20&d-21&d-22&d-23&d-
24
where the "d" is the letter of the Metropolis
®
DMXtend FN slot of
the LNW71 (10/100-PL), or LNW66 (10/100T) (R1.1) under test.
Result:
At this point a command similar to the following example
should be displayed in the command window to the left of the
Send
button.
Example for Function Unit d:
ent-vlan:lt-dmxtend:fn-d-1:2::1,1:DFEPLST=d-1&d-2&d-3&d-
4&d-5&d-6&d-7&d-8&d-9&d-10&d-11&d-12&d-13&d-14&d-
15&d-16&d-17&d-18&d-19&d-20&d-21&d-22&d-23&d-24;
............................................................................................................................................................................
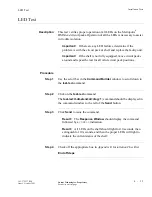
Step 6
Click
Send
to issue the command.
Result:
The
Response Window
should display the command
followed by a
COMPLD
indication.
............................................................................................................................................................................
Step 7
Close the command builder window and disconnect the PC from the
Metropolis
®
DMXtend serial port.
............................................................................................................................................................................
Step 8
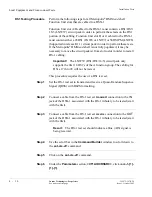
Connect a RJ45 Ethernet cable from the LAN port on the LNW1
SYSCTL to the first position on the RJ45 Ethernet patch panel.
............................................................................................................................................................................
Step 9
Connect a second RJ45 Ethernet cable from the PC Ethernet port to the
second position on the RJ45 Ethernet patch panel.
............................................................................................................................................................................
Step 10
Watch for the link LED to light on the PC’s Ethernet card or wait for 30
seconds and then login to the shelf using the OSI connection and the
TL1/Command Builder options on WaveStar
TM
CIT.


