...........................................................................................................................................................................................................................................................
Equipment and Cable Installation for Metropolis
®
DMXtend
Shelf Horizontal Bay Mount
Sync Cable Installation
1 - 6 4
Lucent Technologies - Proprietary
See notice on first page
365-372-327 R2.0
Issue 1, October 2003
Sync Cable with Wire-wrap
DB-9 Connector Procedure
Perform the following steps when using the Sync cable with the wire-
wrap DB-9 connector.
Step 1
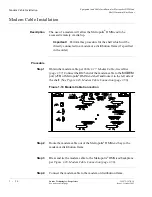
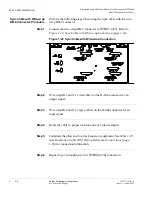
Connect the wire-wrap DB-9 connector to
SYNC1 (J11)
. Refer to
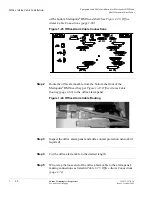
Figure 1-22, Sync Cable with Wire-wrap Connection (page 1-64).
Figure 1-22 Sync Cable with Wire-wrap Connection
............................................................................................................................................................................
Step 2
Wire wrap Rx1 and Tx1 (red cable) on the D-Sub connector for an
output signal.
............................................................................................................................................................................
Step 3
Wire wrap Rx2 and Tx2 (gray cable) on the D-Sub connector for an
input signal.
............................................................................................................................................................................
Step 4
Route the cable to proper location and cut to desire length.
............................................................................................................................................................................
Step 5
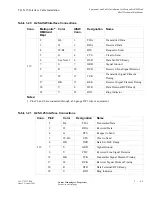
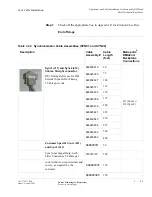
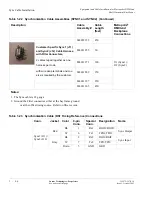
Terminate the other end to a clock source or equipment. See Table 1-23,
Synchronization Cable (DS1 Timing Reference) Connections (page
1-66) for connection information.
............................................................................................................................................................................
Step 6
Repeat Step 1 through Step 5 for
SYNC2 (J12)
connection.

