Software Download and Circuit Pack Installation
Circuit Pack Installation
...........................................................................................................................................................................................................................................................
3 - 5
Lucent Technologies - Proprietary
See notice on first page
365-372-327 R2.0
Issue 1, October 2003
Circuit Pack Installation
Procedure
Step 1
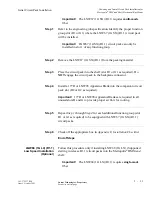
Fully insert one or both (if two are equipped) M1 and M2 OC-3
OLIUs(LNW40), OC-12 OLIUs (LNW38), or OC-12 OLIUs
(LNW51 R1.1) into the shelf.
Important!
Using a gentle steady pressure on both ends of the
circuit pack, slide the circuit pack into the slot until it is fully seated.
Then close the faceplate latch and tighten the retainer screw on the
other end.
............................................................................................................................................................................
Step 2
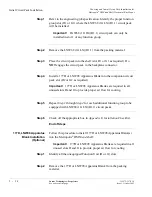
Fully seat LNW42 or LNW95 (Supported in release R1.1) Apparatus
Blanks in any unequipped Main slots.
Important!
Using a gentle steady pressure on both ends of the
circuit pack, slide the circuit pack into the slot until it is fully seated.
Then close the faceplate latch and tighten the retainer screw on the
other end.
............................................................................................................................................................................
Step 3
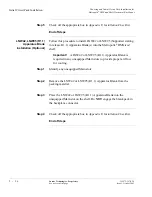
Connect
OUT
to
IN
on the OLIU in the
M1
slot of the Metropolis
®
DMXtend shelf using an optical fiber jumper cable. Refer to Appendix
B, Fiber Cleaning for proper fiber cleaning instructions.
Connect
OUT
to
IN
on the OLIU in the
M2
slot of the Metropolis
®
DMXtend shelf using an optical fiber jumper cable.
Result:
After a few minutes the flashing
FAULT
LEDs should
extinguish on each OLIU circuit pack. The
FAULT
,
MJ
and
NE
LEDs will light on the SYSCTL due to DCC alarms created by
optically looping the OLIUs. These SYSCTL LEDs will remain lit
until the DCC is disabled in the Clearing Alarms (page 4-6).

