PARTNER MAIL Administration
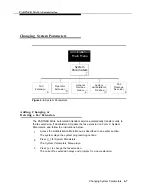
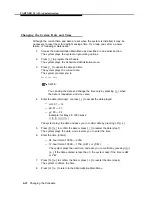
Changing the System Date and Time
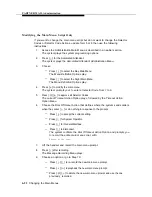
Although the current time and date are set when the system is installed, it may be
necessary to reset them for daylight savings time, for a leap year, after a power
failure, or following maintenance.
1 .
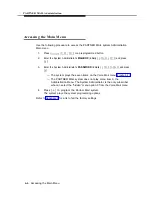
Access the Administration Main Menu as described in an earlier section.
The system plays the system programming options.
2 .
Press [
2
] to program the schedule.
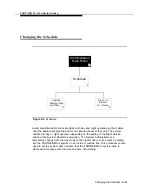
The system plays the Schedule Administration menu.
3 .
Press [
1
] to update the date and time.
The system plays the current date.
The system prompts you to:
Enter the date.
NOTE:
You can skip the date and change the time only by pressing [
#
] when
the date is requested, and vice versa.
4 .
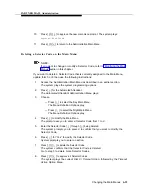
Enter the date (mmddyy), or press [
#
] to accept the date played.
— mm: 01 — 12
— dd: 01 — 31
— yy: 00 — 99
Example: for May 28, 1993 press:
[
0
][
5
][
2
][
8
][
9
][
3
]
The system plays the date and asks you to confirm date by pressing [
✱
] [
#
].
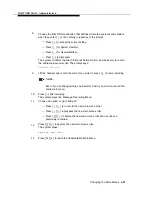
5 .
Press [
✱
] [
#
] to confirm the date or press [
1
] to reenter the date (step 7).
The system plays the date, and prompts you to enter the time.
6 .
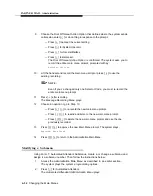
Enter the time (hhmm).
— 24-hour format: 0000 — 2359
— 12-hour format: 0000 — 1159, (A.M.) or (P.M.)
The system plays the new time, and asks you to confirm by pressing [
✱
]
[
#
]. If the time entered is less than 3, the system asks if the time is AM
or PM.
7 .
Press [
✱
] [
#
] to confirm the time or press [
1
] to reenter the time (step 6).
The system confirms the time.
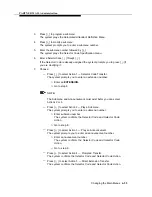
8 .
Press [
✱
] [
#
] to return to the Administration Main Menu.
6-12
Changing the Schedule

