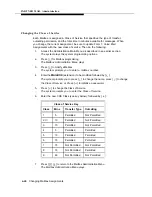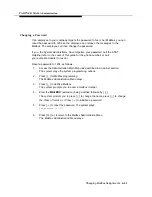
PARTNER MAIL Administration
8.
9.
10.
11.
12.
13.
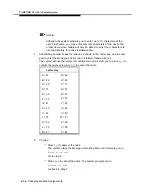
NOTE:
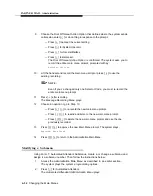
If you are changing more than one Selector Code, repeat from Step 6 now,
before going on to Step 8.
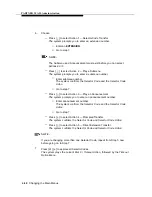
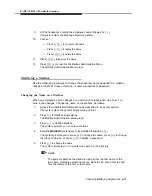
Press [
✱
] [
#
] to approve the Selector Codes.
The system asks you to record the entire submenu prompt, by the prompt:
Record at the tone
Lift the handset and record the submenu prompt, or press [
#
] to use the
current prompt.
Press [
1
] after recording.
The Message Recording Menu plays.
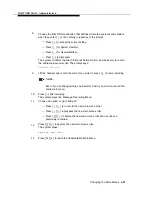
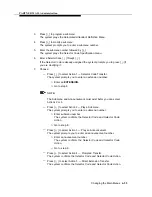
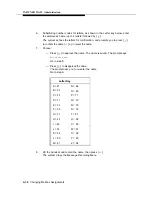
Choose an option or go to Step 12:
— Press [
2
] [
1
] to re-record the submenu prompt.
— Press [
2
] [
3
] to rewind and listen to the submenu prompt.
— Press [
✱
] [
3
] to delete the submenu prompt.
— Press [
✱
] [
#
] to approve the submenu prompt.
Press [
✱
] [
#
] to approve the new submenu prompt.
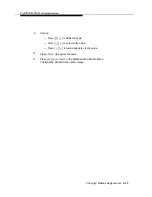
The system plays:
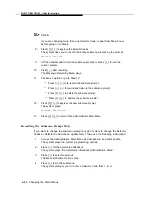
Approved. Menu Saved
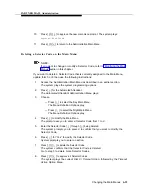
Press [
✱
] [
#
] to return to the Administration Main Menu.
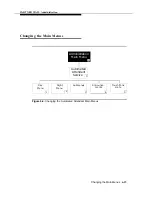
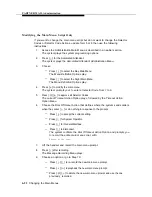
Recording the Submenu Prompt Only
If you want to change the submenu prompt but do not want to change the Selector
Codes or Selector Code Actions, update form 7 then use the following instructions:
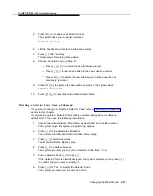
1.
Access the Administration Main Menu as described in an earlier section.
The system plays the system programming options.
2.
Press [
3
] for the Automated Attendant.
The system plays the Automated Attendant Administration Menu.
3.
Press [
3
] to select submenus.
The Menu Definition Options play.
4.
Press [
6
] to modify submenus.
The system prompts your to enter a Selector Code from 1 to 9.
6-26
Changing the Main Menus

