PARTNER MAIL Administration
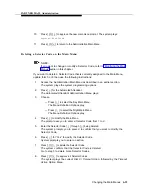
Deleting a Selector Code from a Submenu
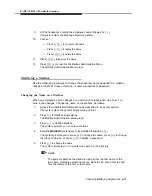
5.
6.
7.
8.
9.
10.
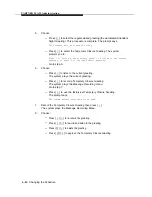
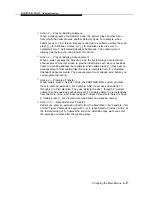
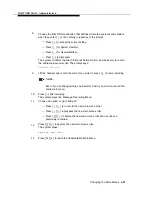
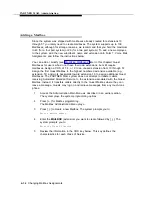
Press [
✱
] [
#
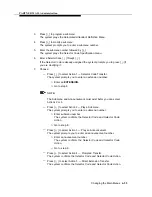
] to approve all Selector Codes.
The system asks you to record a prompt:
Record at the tone.
Lift the handset and record the submenu prompt.
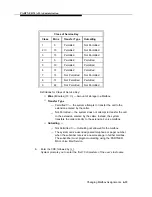
Press [
1
] after recording.
The Message Recording Menu plays.
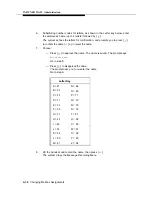
Choose an option or go to Step 9:
— Press [
2
] [
1
] to re-record the new submenu prompt.
— Press [
2
] [
3
] to rewind and listen to the new submenu prompt.
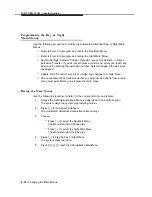
— Press [
✱
] [
3
] to delete the new submenu prompt and use the one
previously recorded.
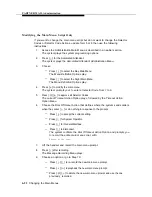
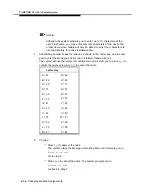
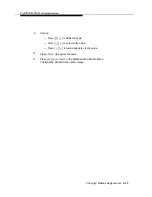
Press [
✱
] [
#
] to approve the new submenu prompt. The system plays:
Approved. Menu Saved
Press [
✱
] [
#
] to reach the Administration Main Menu.
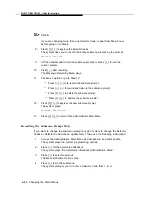
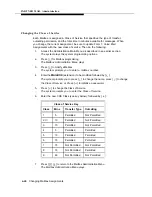
If you want to change or modify a Selector Code, refer to “Modifying a Submenu”
earlier in this chapter.
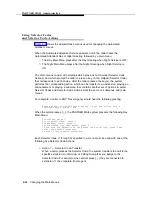
If you want to delete a Selector Code that is currently assigned to a submenu,
update form 7 then use the following instructions:
1.
2.
3.
4.
5.
6.
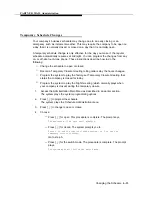
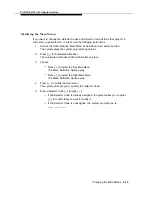
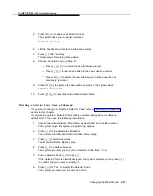
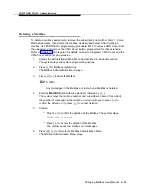
Access the Administration Main Menu as described in an earlier section.
The system plays the system programming options.
Press [
3
] for the Automated Attendant.
The Automated Attendant Administration Menu plays.
Press [
1
] to select Submenus.
The Menu Definition Options play.
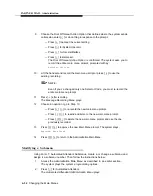
Press [
6
] to modify submenus.
The system prompts you to enter a Selector Code from 1 to 9.
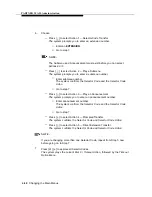
Enter a Selector Code [
1
] through [
9
].
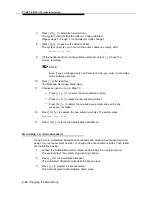
If the Selector Code is already assigned, the system prompts you to press [
9
]
to confirm that you want to modify it.
Press [
9
] for “Yes” to modify the Selector Code.
The system prompts you to enter an action.
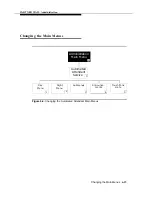
Changing the Main Menus
6-27

