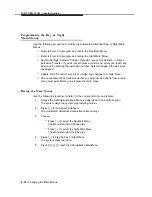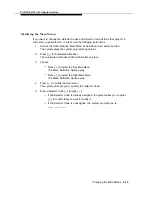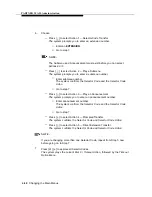
PARTNER MAIL Administration
7.
8.
9.
10.
11.
12.
13.
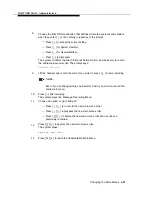
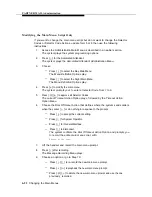
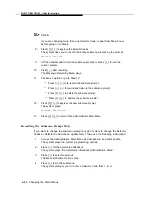
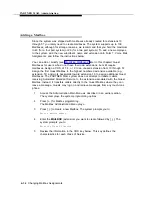
Press [
✱
] [
3
] to delete the Selector Code.
The system confirms that the Selector Code is deleted.
Repeat steps 5 through 7 for all Selector Code changes.
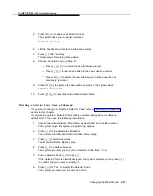
Press [
✱
] [
#
] to approve the Selector Codes.
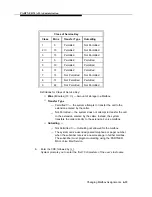
The system prompts you to record the entire submenu prompt, with:
Record at the tone.
Lift the handset and record the submenu prompt or press [
#
] to use the
current recording.
NOTE:
Even if you’ve changed only one Selector Code, you must re-record the
entire submenu prompt.
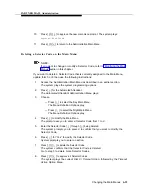
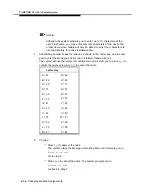
Press [
1
] after recording.
The Message Recording Menu plays.
Choose an option or go to Step 13:
— Press [
2
] [
1
] to re-record the new submenu prompt.
— Press [
2
] [
3
] to replay the new submenu prompt.
— Press [
✱
] [
3
] to delete the new submenu prompt and use the one
previously recorded.
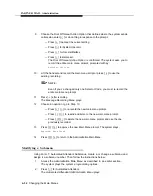
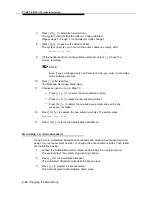
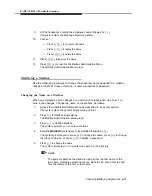
Press [
✱
] [
#
] to approve the new submenu prompt. The system plays,
Approved. Menu Saved
Press [
✱
] [
#
] to reach the Administration Main Menu.
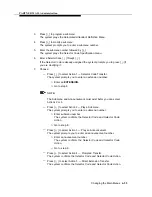
Recording an Announcement
Using Form 8: Automated Attendant Announcements, create an announcement and
assign it an announcement number, or change the announcement script. Then follow
the instructions below.
1.
Access the Administration Main Menu as described in an earlier section.
The system plays the system programming options.
2.
Press [
3
] for the Automated Attendant.
The Automated Attendant Administration Menu plays.
3.
Press [
4
] to program an announcement
The Announcement Administration Menu plays.
6-28
Changing the Main Menus

