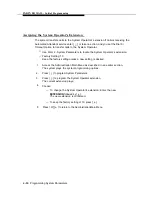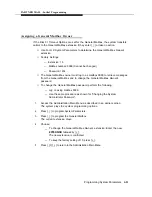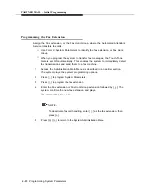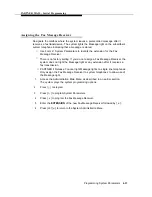
PARTNER MAIL - Initial Programming
9.
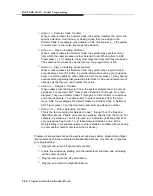
Choose an option:
— Press [
2
] [
1
] to re-record the announcement.
— Press [
2
] [
3
] to play back the announcement.
— Press [
✱
] [
3
] to delete the announcement.
— Press [
✱
] [
#
] to approve the announcement.
10.
Press [
✱
] [
#
] to return to the Administration Main Menu.
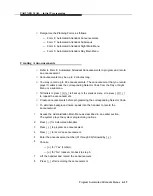
Creating Submenus
■
■
■
■
1.
2.
3.
4.
5.
6.
7.
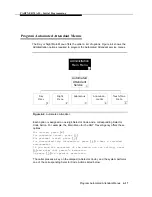
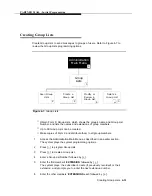
Refer to Form 7: Automated Attendant Submenus which contains the
Submenu Definition Table (submenu number, Selector Code, and Selector
Code Action information), and the submenu script.
You can create up to 99 submenus, but more than three menu levels tend to
confuse callers.
If you are creating more than one submenu, create the lowest-level submenu
first.
To eliminate background noise, speak into the handset while recording the
submenu prompt.
Access the Administration Main Menu as described in an earlier section.
The system plays the system programming options.
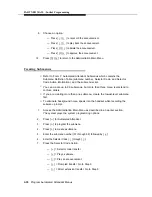
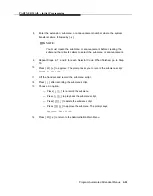
Press [
3
] for Automated Attendant.
Press [
3
] to program the submenu.
Press [
4
] to create a submenu.
Enter the submenu number (01 through 99) followed by [
#
].
Enter the Selector Code [
1
] through [
9
].
Press the Selector Code Action.
— [
1
] = Selector code transfer
— [
2
] = Play a submenu.
— [
3
] = Play an announcement.
— [
4
] = Prompted transfer. Go to Step 9.
— [
5
] = Direct extension transfer. Go to Step 9.
4-20
Program Automated Attendant Menus

