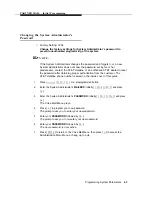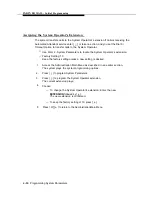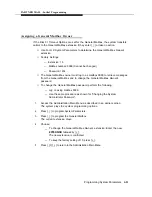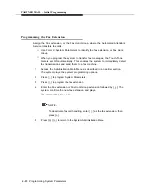
PARTNER MAIL - Initial Programming
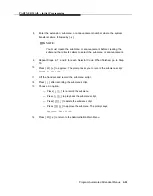
7.
8.
9.
10.
11.
12.
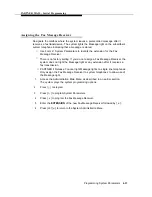
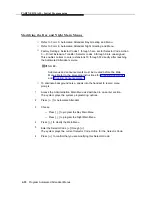
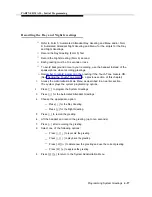
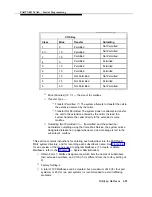
Press the Selector Code Action.
NOTE:
If you do not intend to use Selector Codes 1–5, instead of a
Selector Code Action enter [
✱
] [
3
] to set them to “not used.”
— [
1
] Selector code transfer.
— [
2
] Play a submenu
— [
3
] Play an announcement
— [
4
] Prompted transfer. Go to Step 9.
— [
5
] Direct extension transfer. Go to Step 9.
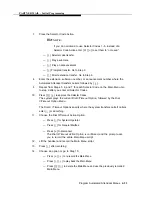
Enter the extension, submenu number, or announcement number where the
Automated Attendant transfers callers, followed by [
#
].
Repeat from Steps 5, 6, and 7 for each Selector Code on the Main Menu. Go
to step 9 after you enter all Selector Codes.
Press [
✱
] [
#
] to approve the Selector Codes.
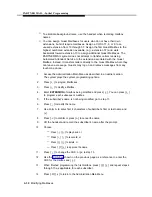
The system plays the current Dial 0/Timeout Option, followed by the Dial
0/Timeout Option Menu.
The Dial 0 / Timeout Options specify where the system transfers calls if callers
enter [
0
] or do nothing.
Choose the Dial 0/Timeout Action Option:
— Press [
0
] for System Operator.
— Press [
1
] for General Mailbox.
— Press [
2
] to disconnect.
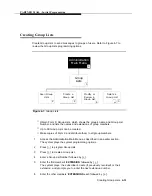
The Dial 0/Timeout Action Option is confirmed, and the prompt asks
you to record the entire Main Menu script.
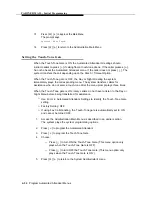
Lift the handset and record the Main Menu script.
13.
Press [
1
] after recording.
14.
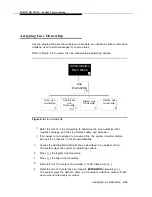
Choose an option or go to Step 15:
— Press [
2
] [
1
] to re-record the Main Menu.
— Press [
2
] [
3
] to play back the Main Menu.
— Press [
✱
] [
3
] to delete the Main Menu and use the previously recorded
Main Menu.
Program Automated Attendant Menus
4-23

