Power Up: DLP-535
363-205-401
Page 4 of 8
Issue 7, March 1997
8.
!
CAUTION:
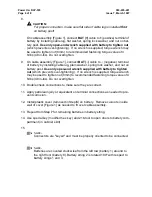
For proper connection, make sure flat side of cable lug is installed first
on battery post!
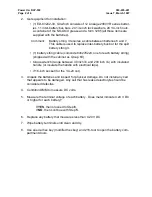
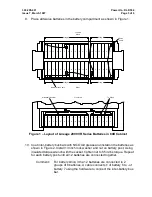
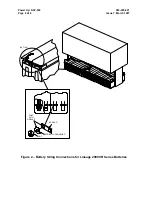
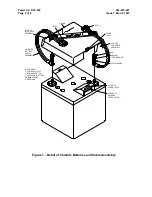
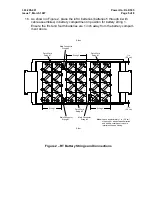
On cable assembly [Figure 1], connect BAT (+) cable to + (positive) terminal of
battery by installing cable lug, flat washer, spring lock washer, and nut on bat-
tery post. Use only open-end wrench supplied with battery to tighten nut
(which prevents over-tightening). If no wrench is supplied, torque wrench may
be used to tighten nut (8mm) to recommended fastening torque value of 4
ft-lbs (48 in-lbs). Do not overtighten.
9.
On cable assembly [Figure 1], connect BAT (
−
) cable to
−
(negative) terminal
of battery by installing cable lug, plain washer, spring lock washer, and nut on
battery post. Use only open-end wrench supplied with battery to tighten
nut (which prevents over-tightening). If no wrench is supplied, torque wrench
may be used to tighten nut (8mm) to recommended fastening torque value of 4
ft-lbs (48 in-lbs). Do not overtighten.
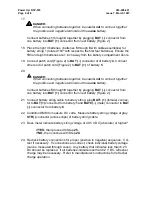
10. Double check connections to make sure they are correct.
11. Apply petroleum jelly or equivalent on terminal connections as needed to pre-
vent corrosion.
12. Install plastic cover (removed in Step 6) on battery. Remove cut-outs in side
wall of cover [Figure 1] as needed to fit over cable assembly.
13. Repeat from Step 7 for remaining batteries in battery string.
14. Use special key (modified hex key) and 216-tool to open doors to battery com-
partment (in cabinet skirt).
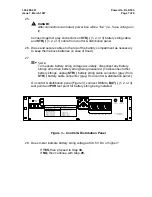
15.
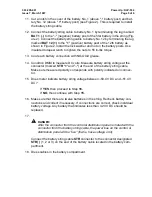
NOTE:
Connectors are "keyed" and must be properly oriented to be connected.
NOTE:
Batteries are counted clock wise from the left row (battery 1) around to
the right front (battery 8). Battery string 2 is rotated 180
°
with respect to
battery stings 1 and 3.


