background image

Attaching the Transducer and Connecting the power

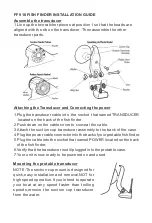
1.Plug the transducer cable into  the  socket  that named TRANSDUCER 
    located on the back of the fish finder.
2.Push down on the cable cover to conceal the cable.
3.Attach the suction cup transducer assembly to the back of the case.
4.Plug the power cable connector into the back of your protable fish finder.
5.Plug the cable into the socket that named POWER located on the back 
   of the fish finder.
6.Verify that the transducer is still plugged into the protable case.
7.Your unit is now ready to be powered on and used.

FF 918 FISH FINDER INSTALLATION GUIDE

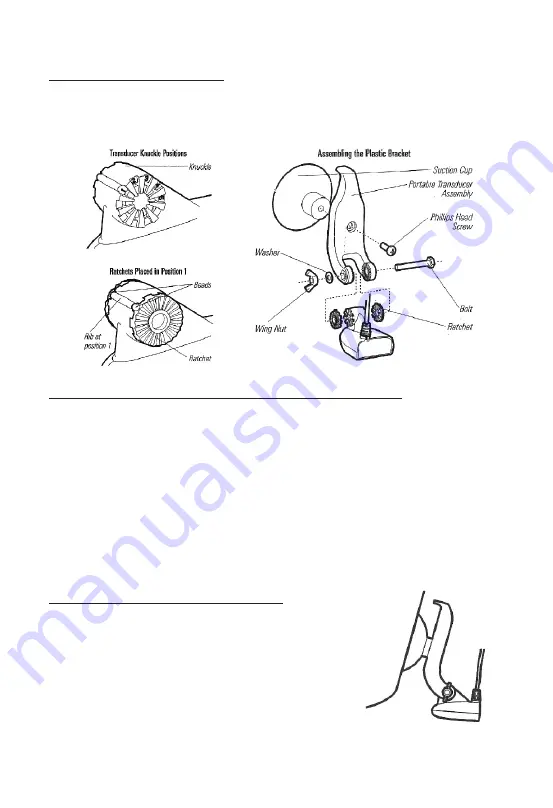
1.Line up the two ratcher pieces at position 1 so that the beads are 
aligned with the rib on the transducer .Then assemble the other 
transducer parts.

Assemble the transducer 

Mounting the protable transducer

NOTE:The section cup mount is designed for 
quick,easy  installation  and  removal,NOT  for 
high speed operation.If you intend to operate 
your  boat  at  any  speed  faster  than  trolling 
speeds,remove  the  suction  cup  transducer 
from the water.

Summary of Contents for FF918-180S

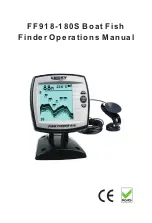
Page 1: ...FF918 180S Boat Fish Finder Operations Manual...

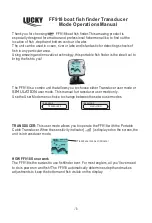
Page 2: ...L A T I ONuser mode This manual for transducer user mode only Use the User Mode menu choice to change between these two user modes TRANSDUCER This user mode allows you to operate the FF918 with the Po...

Page 3: ...atically selected for the current water depth The Bottom Contour varies as the depth under the boat changes Digital readouts provide precise information for depth fish and water temperature As the boa...

Page 4: ...not return to their default values when the unit is turned off See individual menu choices for more information NOTE Each time the POWER MENU key is pressed the backlight momentarily illuminates for...

Page 5: ...t OFF to return to normal operation Off Auto Depth Ranges There is also a series of manual ranges which can be selected The manual depth ranges are determined by the present depth conditions Depth Ala...

Page 6: ...ere F stands for Fahrenheit and C stands for Celsius Battery Alarm Make sure that the SetUp menu is selected then press the POWER MENU key until BATTERY ALARM appears Select Off or 8 5 to 13 5 Volts B...

Page 7: ...he battery life of the unit so it should only be used during low light condition or only open side light Maintenance Follow these simple procedures to ensure your FF918 continues to deliver top perfor...

Page 8: ...nsducer itself is probably at fault Be sure to include the transducer if returning the unit for repair 3 There is no bottom reading visible on the display In very deep water it may be necessary to inc...

Page 9: ...e boat stationary to isolate this cause Propeller cavitation can aIso appear as noise on the display If the transducer is mounted too close to the propeller the turbuIence generated can interfere with...

Page 10: ...ck of the fish finder 6 Verify that the transducer is still plugged into the protable case 7 Your unit is now ready to be powered on and used FF 918 FISH FINDER INSTALLATION GUIDE 1 Line up the two ra...

Reviews: