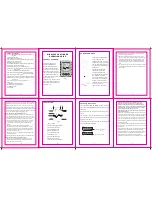
5 Accessing Menu Features
A simple menu system accesses unit’s adjustable
features. To activate the menu system, press POWER-
MENU and a menu appears. Press POWER-MENU
repeatedly to access other menus one at a time. When
a menu is on the display, use the right and left arrow
keys to adjust the menu. Menus automatically are
removed from the screen after several seconds.
Menu Title
Setting
Button Changes
LIGHT
OFF
5.1 Light
LIGHT
OFF
(Setting Saved in Memory)
Prees POWER-MENU until the LIGHT menu appears.
Select either OFF or ON to activate the backlight at the
desired level.
-5-
fig.4
-12-
fig.9
fig.10
NOTE:
When the fish finder receive the signal from
wireless sensor the signal indicator{ }
will display on the screen.
The bottom of the wireless transducer should not be
handle during soner operation, as this may cause physical
discomfort and may result in personal injury in the form of
tissue damage. Handle the wireless transducer only by the
antenna tower when it has been in the water.
NOTE:
The wireless transducer is not intended for use by
children younger than 6years old without adult supervision
as the transducer may represent a choking hazard to small
children.
NOTE:
The max RF distance of the unit is 60 meters unless
the water is smooth. The signal indicator will disappear
The wireless transducer has contacts that perceive when
the device is immersed in the water. These contacts turn on
the sonar transmitter/receiver and begin transmitting the
sonar information via Radio Frequency to the display. The
wireless transducer automatically stops using power a few
seconds after being pulled out of the water.
if the distance between the fish finder and the wireless
sensor over 60 meters.
Note: Continuous backlight operation
significantly decreases battery life on Unit
Portables.
5.2 Sensitivity
SENSITIVITY
(Setting Saved in Memory , 1 to 5)
Press POWER-MENU until the SENSITIVITY menu
appears.
Select a higher number to show smaller sonar returns
on-screen, or a lower number to remove clutter from the
screen. Adjusting Sensitivity also affects how sonar
returns are identified as Fish lcon Symbols - more fish
will be detected at a higher setting, fewer at a lower
setting.
Low Sensitivity
Normal Sensitivity
High Sensitivity
56.8
-6-
fig.5
-11-
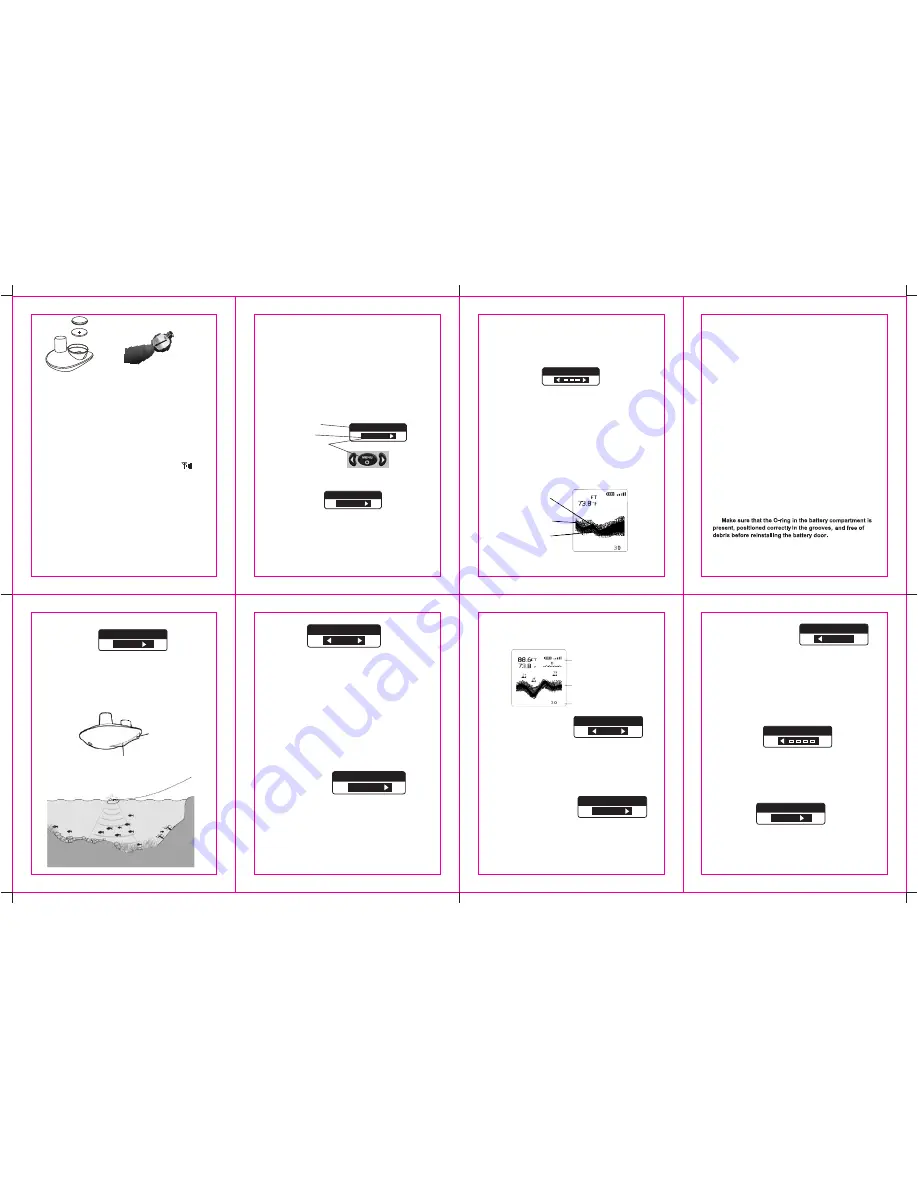
6.1 You can tie your fish reel line to the front hole in the
wireless transducer. If you want to use the wireless transducer
as a stationary float,use the second hole to attach your hook
using a lighter weight line. but A obstacle will break the
lighter line easily,for this reason, we suggest you not to pull
the lighter weight line if unnecessary.
Slip line techniques are not recommended because will
increase the risk of losing the wireless transducer. If you do
use the slip line method. use a lighter weight line after the
lower stop, unable get back of the wireless transducer if the
lower line with hook breaks away.
6.2 You will increase the risk of breaking your line if you use
light test pound line on your reel. The transducer in water is
positively buoyant. The maximum amount of
attachment to the transducer is approximately 6 grams, and
includes the combined weight of any hook, line, weight
swivel/snap swivel and bait that is attached to the wireless
transducer. over 5.7g will submerge the wireless sonar sensor,
causing the signal loss.
weight for any
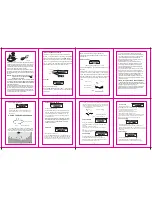
7.How to replace the CR-2032 battery
7.1 Remove the battery door of the wireless sonar sensor,
and press the lock-block of the battery holder and the battery
will flip pls check the picture.(fig.9, fig.10)
7.2
5.5 Depth Alarm
(Setting Saved in Memory)
Press POWER-MENU until the DEPTH ALARM menu
appears.
Select OFF for no Depth Alarm;
select a number to set the alarm depth point and turn
it on.
An audible alarm sounds when the depth is equal to
or less than the setting.
5.6 Fish Alarm
(Setting Saved in Memory, Defaults to OFF)
Press POWER-MENU until the FISH ALARM menu
appears. Select OFF for no fish alarm, or select the fish
icon to set the fish alarm and turn it on.
DEPTH ALARM
15FT
FISH ALARM
OFF
Upper Zoom Range
Magnified Bottom with
Lower Zoom Range
56.8
fig.6
-8-
-9-
5.7 Fish Icon
(Setting Saved in Memory)
Press POWER-MENU until the FISH ICON
menu appears. Select either OFF to view
“ raw” sonar returns, or ON to take
advantage of Unit’s ability to identify sonar
returns that are determined to be a fish.
There are two fish symbol sizes. FISH ID displays a small
fish symbol when it thinks a target is a small fish, and it
thinks a target is a big fish, it will display a big fish.
FISH ICON
Fish Icon
Press POWER-MENU until the CHART
SPEED
menu
appears
.
Select
a
setting
from
1-4
to
increase
or decrease
the
chart
speed
,
where
is
the
slowest
and
4
is the
fastest
1
chart
speed
.
5.8 Chart
Speed
5.9 Depth Unit
CHART SPEED
DEPTH UNIT
FT
(Setting Saved in Memory, 1to4)
(Setting Saved in Memory)
Press POWER -MENU until the DEPTH UNIT menu
appears. Select either FT or M to set the unit of depth.
5.3 Depth Range Menu
DEPTH RANGE
60FT
(Setting Saved in Memory)
Press POWER-MENU until the Depth Range menu
appears. Select AUTO to have the Unit automatically
select the Depth Range or manually select 5
、
10
、
20
、
30 or40meters.This locks
the depth range to
a specific setting.
Note:In manual operation, if the depth is greater
than the depth range setting,the bottom will not
be visible on-screen. Select AUTO to return to
automatic operation.
5.4 Zoom
(Setting Saved in Memory)
Press
the
POWER
-
MENU
key
until
ZOOM
appears
.
Select
a
number
to
magnify
the
area
around
the
bottom
thus
revealing
fish
and
structure
close
to
the
bottom
that
may
not
be
visible
in
typical
operation
.
In
Zoom
,
the
Unit
continually
changes
the
upper
and
lower
Depth
Range
to
keep
area
just
above
and
below
the
bottom
on
the
display
.
Select
Off
to
return
to
normal
operation
.(
OFF
,
5
to
40
Meters
)
ZOOM
OFF
-7-
5.10 Temperature Unit
TEMP-UNIT
0
C
Press POWER -MENU until the TEMP UNIT menu
o
appears. Select either
C or
F
to
set
the
unit
of
temperature
.
o
(Setting Saved in Memory)
A.
B.
6. USING THE WIRELESS SENSOR
Use the wireless sonar sensor is very easy for user,
just simply attach the sensor to the end of your fishing
line and cast it into the water as your normal float or lure.
fig.7
front hole
second hole
fig.8
-10-