User’s Guide ...
9
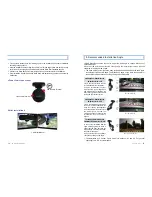
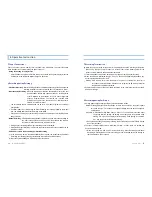
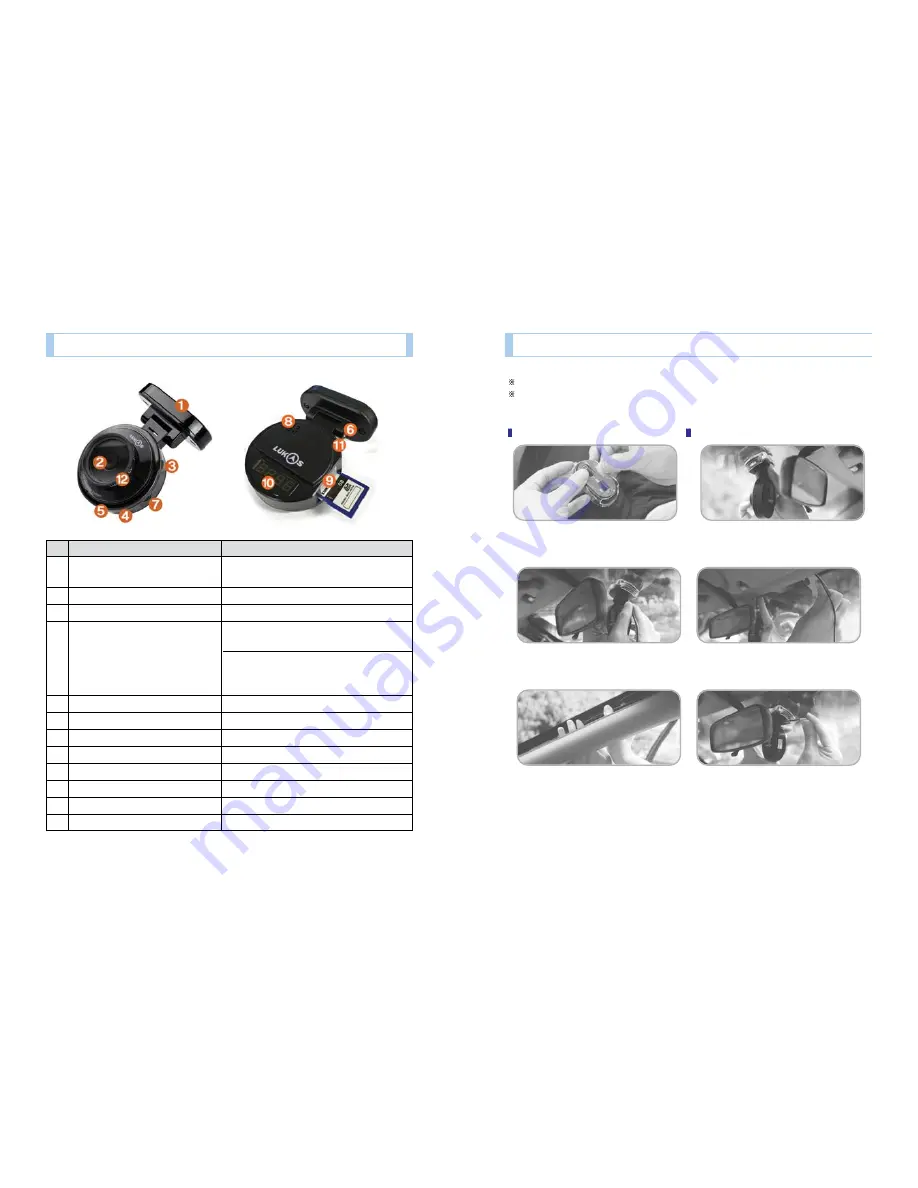
4. Installation Sequence
Please keep the wind shield.. clean before the recording to secure the optimal video quality.
If Black Box’s lens is stained with foreign substance (finger print), it may affect the video
recording negatively. So, please keep the lens clean all the time.
1. Apply the adhesive tape to the
transparent mount and attach the cradle to
the mount.
2. Select a position not blocking the
driver’s view and attach it on the wind
shield (at the front of the rear view mirror).
Inset the memory card to the product.
Installation Sequence of Product
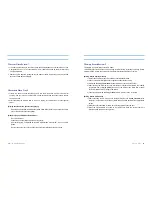
6. After adjusting the angle of Black Box
for the view, use the included hexagonal
wrench to fix screws.
At this point, it is recommended to connect
the video out cable to a navigator to adjust
by checking the current view of the
camera. (AV Cable is optional.)
3. Connect Power Cable°Øs power jack to
the main device.
(When the video out terminal is connected,
the power is off.)
4. Insert the cable on the upper part of the
wind shield using the fixing clip to keep the
cable. (Use a card to insert the cable.)
5. After inserting the cable to A pillar (a
pillar beside the driver’s seat), put the
cable through the rubber part next to the A
pillar.
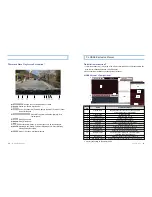
After attachment of the main device and
arrangement of the cables are completed,,
connect the power cable’s cigar jack. After
turn on the vehicle’s power, check the
version number is displayed on the
segment display.
8
... LUKAS BLACKBOX
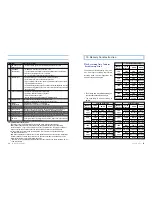
3. The Name of Each Component
Name
Feature
1
GPS (Applied only to GPS
Location, Time, Speed and
Supporting Model)
GPS Data Reception)
2
Camera Lens
Video Recording, CMOS Digital Sensor
3
Power Switch
Power ON/OFF Switch
Pressing for less than two seconds :
Emergent Recording Button
4
Emergent Recording Button
Pressing for more than two seconds :
Manual Change between the parking mode and
running mode. (Firmware common specification )
5
Microphone
Voice Recording
6
Fixing Screw
For Direction (Lens ) Adjustment
7
Video Jack
Video Output
8
Buzzer
Various Warning Signal
9
SD memory card Slot
For SD memory card Insert/Removal
10
Segment LED
Time and Status Display
11
Power Connection Terminal
Power Supply
12
37mm UV Filter
Lens Protection

