background image

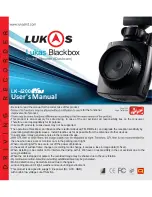
User’s Manual

 ... 11

10 

... Lukas Blackbox

4. Installation Guide

œ

#

 For the safety, be sure to check the following items before installation and then install it in 

œ

 Power connection using cigarette lighter power cable.

œ

 When you install, make sure that you park the vehicle in a safe place then turn the 
ignition off. 

œ

 For the accurate installation, we recommend user to have technical support for 
assistance.

order. 

œ

#

 
the installation.

œ

#

 Clean up the window glass where to attach the blackbox.

œ

#

 Check the power terminal and the video-out terminal of blackbox in advance before 
installation.

œ

#

 If the lens of blackbox is set to be upward, the product may not work properly (GPS receiving 
and event continuous generation)

œ

#

 To secure the optimum image quality, keep the front window clean at all times.

œ

#

 
may be degraded. Therefore, keep the lens clean at all times. 

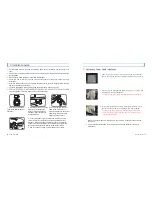
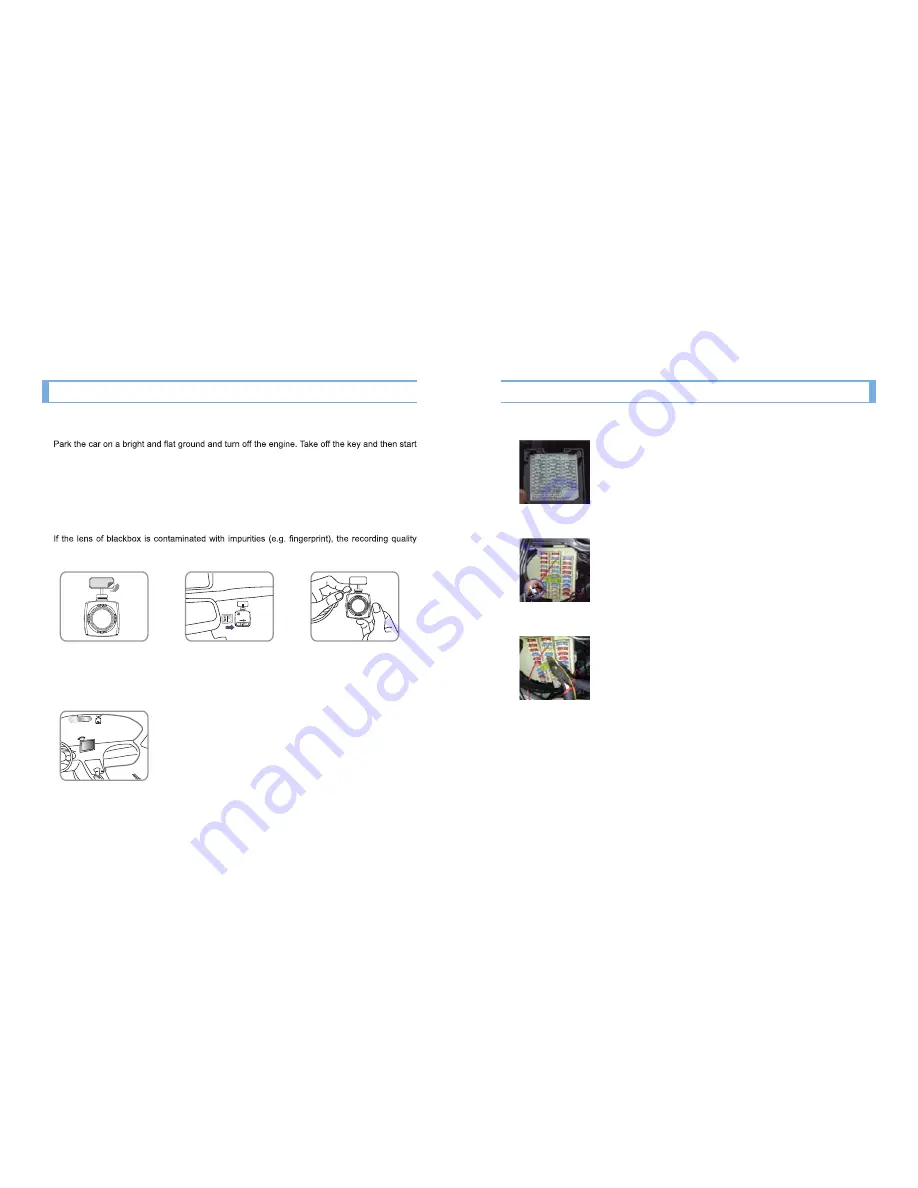
1. Apply the double-sided 
tape to the holding deck of 
blackbox.

3. Connect the jack of power 
cable to the main body of 
product and squeeze the power 
cable along the A pillar(pillar 
beside the driver's seat). 

2. Select the place on the front 
window not to interfere the 
driver's view and attach the 
blackbox. Insert the SD card 
into the product.   

4. Connect the power cigar jack and then start the engine to 
check if the version is displayed on the segment window of 
blackbox. (When adjusting the blackbox angle, it is better to 
connect the video-out terminal to the display of navigator and 
then adjust the angle while looking at the present image.  

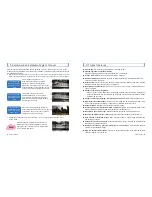
Ă&RQWLQXRXV3RZHU&DEOH,QVWDOODWLRQ

2SHQWKHIXVHER[LQVLGHRIWKHYHKLFOHFKRRVHWKHFRQQHFWLRQ
SRLQWWRFRQQHFWWKHFRQWLQXRXVSRZHUVXSSO\ZLUHDQG$&&ZLUH

)LUVWSXOORXWWKHIXVHFLJDUHWWHOLJKWHUDXGLRHWFWRFRQQHFWZLWK
WKHUHG$&&ZLUHDQGLQVHUWWRJHWKHU

ý/RFDWLRQRI$&&SRZHUVXSSO\PD\GLIIHUGHSHQGLQJRQWKHYHKLFOH

3XOORXWWKHIXVHHPHUJHQF\ODPSLQGRRUODPSWDLOODPSHWFWR
FRQQHFWZLWKWKH\HOORZ%ZLUHYROWDJHDQGLQVHUWWRJHWKHU

ý/RFDWLRQRI%SRZHUVXSSO\PD\GLIIHUGHSHQGLQJRQWKHYHKLFOH

ý&RQQHFWFRQWLQXRXVSRZHUZLUHV%$&&WRRXWSXWSDUWRIIXVHWR

HQDEOHQRUPDORSHUDWLRQ

Summary of Contents for LK-6200 Plus

Page 1: ...ay generate a noise in the recorded image the one who drives a car or monitors cars in the parking lot at night When connecting GPS be sure to cut off the power of blackbox In the event of sudden fram...

Page 2: ...ouse This product is a recording equipment of image and sound for the visual proof of car accident but we do not guarantee for it to record all the accident images and sounds We have no responsibiliti...

Page 3: ...damages and other losses due to the use of uncertified parts 10 The compatibility is not guaranteed for other devices and accessories that were not supplied by our company The responsibility of produ...

Page 4: ...attery discharging protection function is in this product connecting blackbox directly to vehicle s battery can cause battery discharge In order to prevent this install Lukas power safty device togeth...

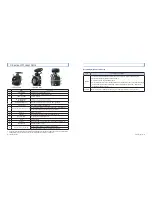
Page 5: ...ch for power on off 13 Voice Recording Button M Press it longer than 3 sec Segment LED On Off Press it shorter than 2 sec Voice Recording On Off LK 6200 Plus LK 6200G Plus Formatting Method of SD Card...

Page 6: ...cable to the main body of product and squeeze the power cable along the A pillar pillar beside the driver s seat 2 Select the place on the front window not to interfere the driver s view and attach t...

Page 7: ...image is deleted and Built in 3 axis Impact Sensor G Sensor It saves the file recorded by external impact Built in RTC Real Time Clock Recorded files are generated in time and date units 5 Recommended...

Page 8: ...product model and firmware version After the booting is completed time is displayed when the vehicle stops It may differ according to settings After the booting is completed date is displayed when the...

Page 9: ...s on the segment window with the buzzer sound or voice guidance Terminating the system Notice If SD card is removed before the power off an error may occur in the recorded image Be sure to remove SD m...

Page 10: ...d SD Card Memory Capacity Setup Setup of Parking Mode Recording Setup of SD Card Memory Capacity 1 Always Event Two image saving folders such as AlwaysMovie and EventMovie are generated for operation...

Page 11: ...g temperature may change according to the performance of SD card Please use the SD card offered by our company We have no responsibilities on the problems caused by the use of other SD cards As the SD...

Page 12: ...red under the strict quality management and test procedure 3 This manual works as the warranty As it is not re issued please keep it carefully 4 6 5 If a disorder happens during normal use our custome...

Page 13: ...Ver 01...

Reviews: