30
4.
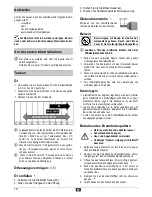
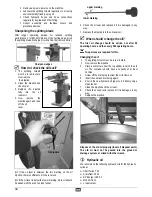
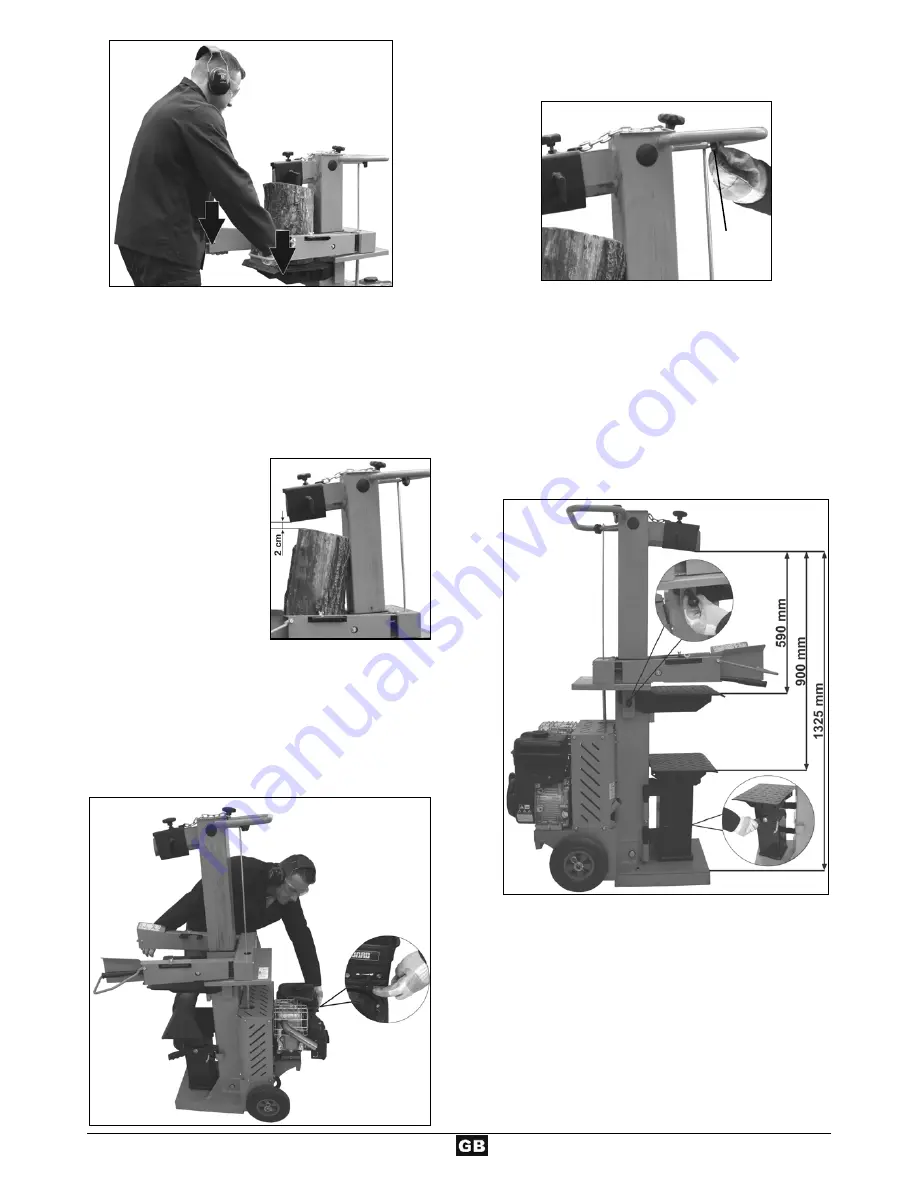
Press both operating handles down simultaneously:
Î
The splitting blade falls down and splits the log.
5.
Release the two control handles, the splitting blade
returns to its initial position.
If you only release one control handle, then the
splitting blade remains where it is.
Special instructions for splitting logs:
Preparations:
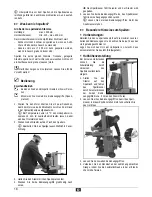
The logs to be split should be
cut to the maximum
dimensions. Ensure also that
the logs are cut straight and
square.
Place the log properly on the
log splitter, so as not to
cause any risk of stumbling
or falling to the operator.
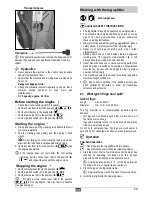
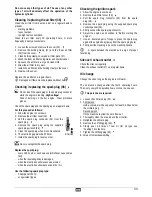
Adjusting the stroke height
In case of shorter wood pieces the efficiency can be
increased by shortening the return of the splitting cutter.
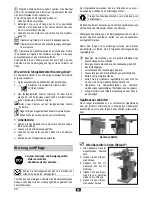
1.
Place the log on the splitting table and press the two
control handles to bring the splitting blade down to
approx. 2 cm above the log.
2.
Release one control handle so that the blade stays in this
position.
3.
Release the second control handle.
4.
Shorten the return path at the rod fitted to the side by
fixing the holding screw at the necessary height.
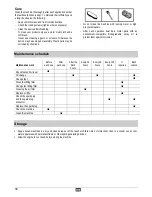
Adjusting the table height
Upper table plate position for logs up to 590 mm.
Middle table position for logs up to 900 mm.
Lower base position for logs up to 1325 cm.
1.
Split logs up to 590 mm on the table plate.
Secure the table plate using the locking bolt.
(The locking bolt engages in the table plate hole.)
2.
Split logs up to 900 mm on the table. Pull out the table
plate.
3.
Split logs up to 1325 mm on the base. Press the locking
lever down and swing aside the table.
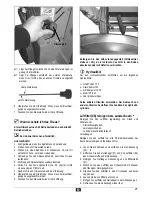
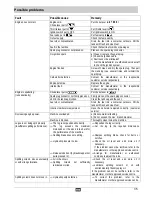
Adjusting the splitting cross:
1.
Loosen star grip screw.
2.
Move the splitting cross to the correct position
(The star grip screw is beyond the borehole in the
splitting blade).
3.
Mount star grip screw.
4.
Mount the chain with the second star grip screw on
splitting column.
5.
Fix star grip screw.
Holding screw

