background image

Before using the power tool, be 
aware of the following; 


– The power tool must be set up so that it 
stands in a stable position. 
 
– Make sure all covers are removed and all 
safety device attached correctly, before the 
machine is started. 
 
–The cutting wheel rotates freely. 
 
– Unscrew transport screw (

11

) so that the 

machine head (

29

) moves freely along the 

track. 


On/Off Switch 


– Press “I” in the On/Off switch (

16

) to start he 

disc spinning. 
 
– Wait until the disc is spinning at its maximum 
speed and the pump has started to supply 
water to the wheel. 
 
– When you have finished cutting press “O” to 
stop the disc. 
 

Cutting 


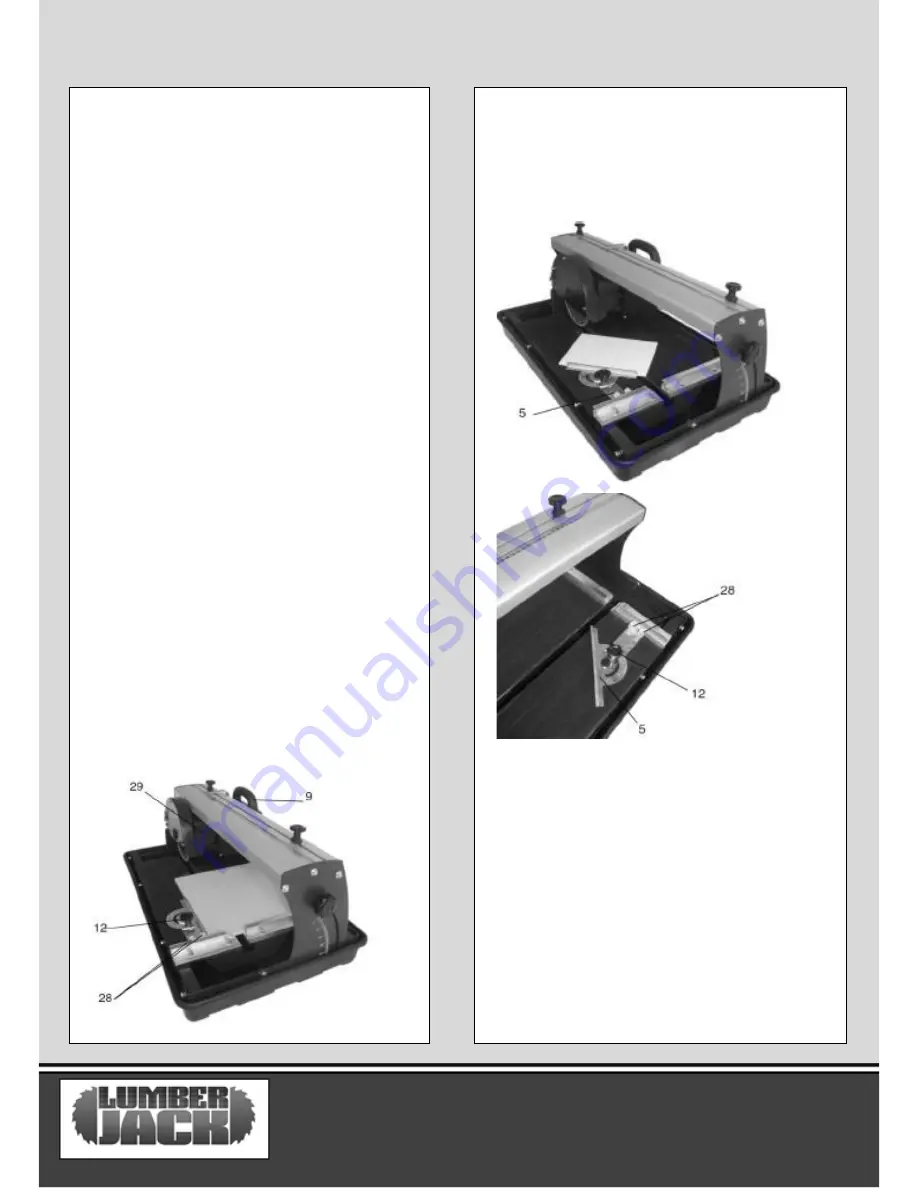
– Loosen the mitre angle screw (

12

) and set 

The angle stop (

5

) to the desired angle and then 

retighten Screw (

12

). 

 
– Tighten screws (

28

) to lock the mitre angle in 

place. 


– Move the machine head (

29

) to the opposite 

end of the track to the angle stop (

5

) with 

handle (

9

). 

 
–Position the tile against the rail fence (

6

) on the 

angle stop (

5

). 

 
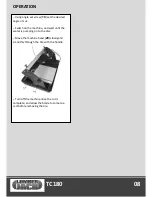
– Tile set up at 90 degrees 
 
– Tile set up at 45 degrees 


TC180                                                07 

OPERATION 


Summary of Contents for TC180

Page 1: ...SAFETY AND OPERATING MANUAL WATER COOLED TILE CUTTER TC180 ORIGINAL INSTRUCTIONS TC180...

Page 2: ...all information necessary for using the product safely and to ensure its long service life Closely observe all safety information in these instructions General Power Tool Safety Warnings 01 Symbols C...

Page 3: ...he cord Never use the cord for carrying pulling or unplugging the power tool Keep cord away from heat oil sharp edges or moving parts Damaged or entangled cords increase the risk of electric shock e W...

Page 4: ...tions to operate the power tool Power tools are dangerous in the hands of untrained users e Maintain power tools Check for misalignment or binding of moving parts breakage of parts and any other condi...

Page 5: ...ons 7 1 Dust from materials such as lead containing coatings some wood types minerals and metals can be harmful to one s health and cause allergic reactions leading to respiratory infections and or ca...

Page 6: ...ear defenders The impact of noise can cause damage to hearing Amperes 7 5M 15M 25M 30M 45M 60M 0 2 0 6 6 6 6 6 6 2 1 3 4 6 6 6 6 6 6 3 5 5 0 6 6 6 6 10 15 5 1 7 1 10 10 10 10 15 15 7 1 12 0 15 15 15...

Page 7: ...utter 4 x Legs Product Features 1 Tile Cutter 2 Diamond Disc 3 Trough 4 Table 5 Angle Stop 6 Rail Fence 7 Guide Rail 8 Safety Hook 9 Handle 10 Angle Set Screw 11 Transport Screw 12 Mitre Angle Screw 1...

Page 8: ...e Check the power tool for possible damage Before further use the machine check that all protective devices are fully function Any lightly damaged parts must be carefully checked to ensure flawless op...

Page 9: ...h 16 to start he disc spinning Wait until the disc is spinning at its maximum speed and the pump has started to supply water to the wheel When you have finished cutting press O to stop the disc Cuttin...

Page 10: ...of cut Switch on the machine and wait until the water is pumping on to the disc Move the machine head 29 slowly and smoothly through the tile with the handle Turn off the machine once the cut is compl...

Page 11: ...h a soft brush cloth or vacuum Also lubricate all moving parts with premium lightweight machine oil Do not use solvents or caustic agents to clean the power tool Changing the disc Remove the plug form...

Page 12: ...jack or its Authorised Dealer you return the product at your own cost to Lumberjack s or the supplying Authorised Dealer s Premises For the examination to take place clearly stating the Returns Materi...

Page 13: ...Dealer who supplied the product to you has been unable to satisfy your query any claims made under this guarantee should be made directly to Lumberjack The claim itself should be made in a letter sett...

Page 14: ...TC180 12...

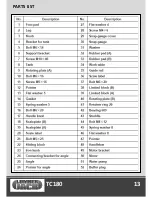
Page 15: ...TC180 13 PARTS LIST...

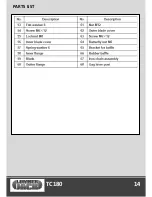
Page 16: ...TC180 14 PARTS LIST...

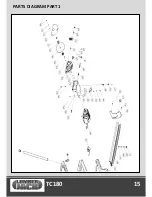
Page 17: ...TC180 15 PARTS DIAGRAM PART 1...

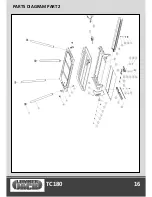
Page 18: ...TC180 16 PARTS DIAGRAM PART 2...

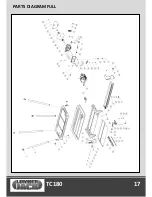
Page 19: ...TC180 17 PARTS DIAGRAM FULL...

Reviews: