background image


EBS76                                               06

ASSEMBLY INSTRUCTIONS 

Assembly 

Avoid unintentional starting of the machine. 
During assembly and for all work on the 
machine, the power plug must not be 
connected to the mains supply. 

Carefully remove all parts included in the 
delivery from their packaging. 

Remove all packaging material from the machine 
and the accessories provided. 

Before starting the operation of the machine for 
the first time, check if all parts listed in the box 
content section have been supplied


Note: 

Check the power tool for possible damage. 

Before further use of the machine, check that all 
protective devices are fully functional. Any 
lightly damaged parts must be carefully checked 
to ensure flawless operation of the tool. All parts 
must be properly mounted and all conditions 
fulfilled that ensure faultless operation. 

Damaged protective devices and parts must be 
immediately replaced by an authorised service 
centre. 

Dust Bag 

We recommend that dust extraction is used at 
all times when using this product. 

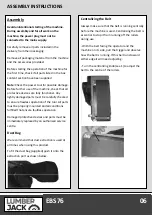
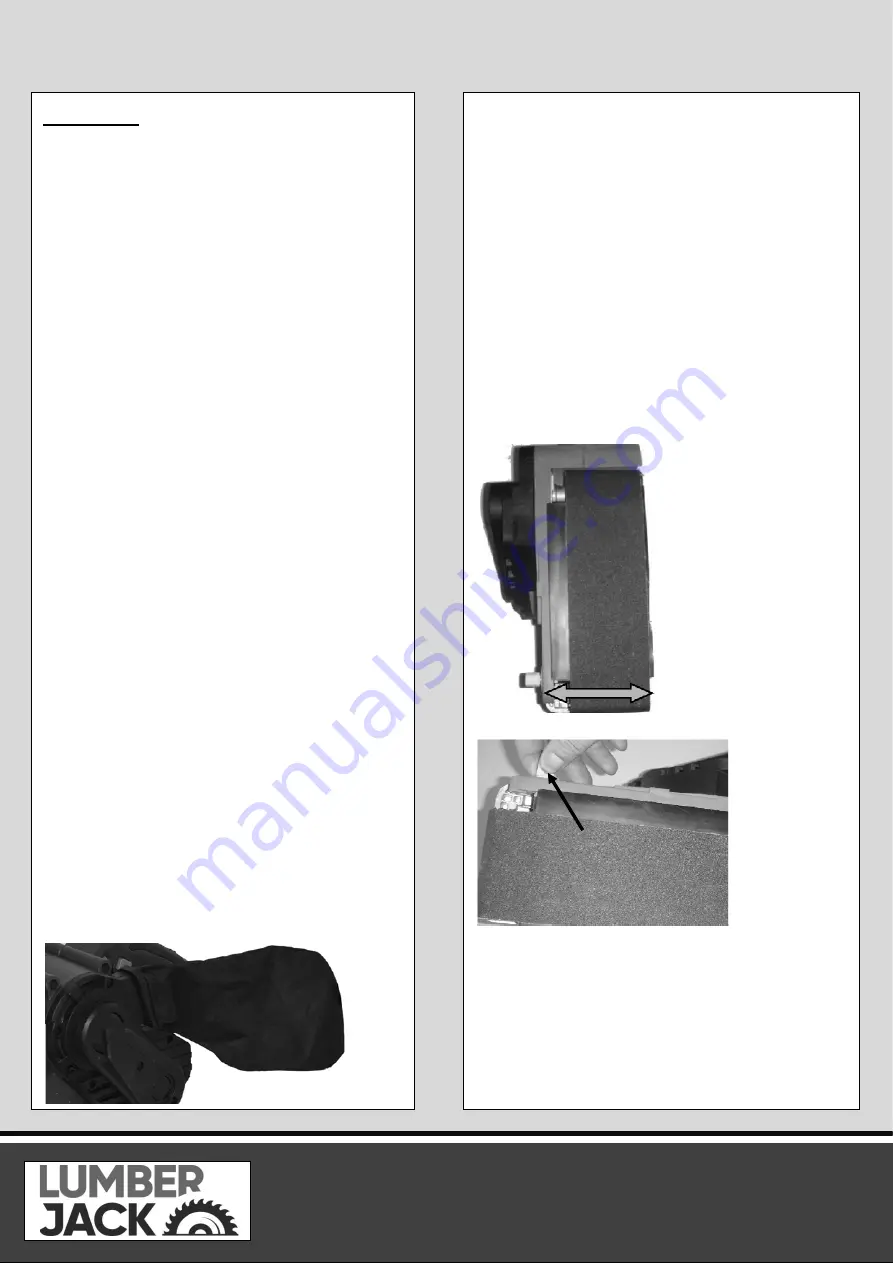
To fit the dust bag (supplied) push it onto the 
extraction port as shown below. 

Centralizing the Belt 

Always make sure that the belt is running centrally 
before the machine is used. Centralizing the belt is 
essential to stop it from running off the rollers 
during use. 

- With the belt facing the operator and the 
machine on its side, pull the trigger and observe 
how the belt is running. If this belt runs toward 
either edge it will need adjusting. 

- Turn the centralizing knob(see 1) to adjust the 
belt to the centre of the rollers. 


Summary of Contents for EBS76

Page 1: ...EBS76 3 1010W Belt Sander EBS76 ORIGINAL INSTRUCTIONS SAFETY AND OPERATING MANUAL...

Page 2: ...u with all information necessary for using the product safely and to ensure its long service life Closely observe all safety information in these instructions General Power Tool Safety Warnings 01 Sym...

Page 3: ...he cord Never use the cord for carrying pulling or unplugging the power tool Keep cord away from heat oil sharp edges or moving parts Damaged or entangled cords increase the risk of electric shock e W...

Page 4: ...structions to operate the power tool Power tools are dangerous in the hands of untrained users e Maintain power tools Check for misalignment or binding of moving parts breakage of parts and any other...

Page 5: ...ories could be hot 7 11 If possible ensure the work piece is firmly clamped to prevent movement 7 12 Your sander is a hand held tool do not clamp your sander 7 13 Before sanding check the area is free...

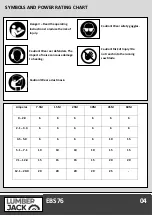
Page 6: ...Caution Wear ear defenders The impact of noise can cause damage to hearing Amperes 7 5M 15M 25M 30M 45M 60M 0 2 0 6 6 6 6 6 6 2 1 3 4 6 6 6 6 6 6 3 5 5 0 6 6 6 6 10 15 5 1 7 1 10 10 10 10 15 15 7 1 1...

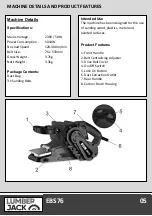
Page 7: ...n Belt Size 76 x 533mm Gross Weight 3 7kg Nett Weight 3 3kg Package Contents Dust Bag 3 x Sanding Belts Intended Use The machine has been designed for the use of sanding wood plastics metal and painte...

Page 8: ...checked to ensure flawless operation of the tool All parts must be properly mounted and all conditions fulfilled that ensure faultless operation Damaged protective devices and parts must be immediate...

Page 9: ...l result in the machine running forwards Replacing the Sanding Belts Locate the belt tension lever and pull outwards Take care as the lever is under tension and may spring back to the closed position...

Page 10: ...cleaning agents Never use caustic agents to clean plastic parts CAUTION Water must never come in to contact with the sander Replacing the Brushes During use the carbon brushes will wear down and will...

Page 11: ...ted to wear at different rates depending on usage 1 2 7 The product has not been used for hire purposes 1 2 8 The product has been purchased by you as the guarantee is not transferable from a private...

Page 12: ...oduct for any commercial business or resale purposes and we have no liability to you for any loss of profit loss of business business interruption or loss of business opportunity 3 2 This Guarantee do...

Page 13: ...er EBS76 Is in compliance with the regulations included in the Directives 2006 42 EC EC DECLARATION OF CONFORMITY Certificate for EC type examination delivered by Interk Testing Services Hangzhou 16 N...

Page 14: ...of rotation 42 Check ring 13 Nut 43 Front wheel frame 14 Front handle 44 Fixed sales 15 M6 screw 45 Front wheel 16 Screw ST4 2X16 46 Needle bearing 17 Former handle wrench 47 Frame axis 18 Stator 48 6...

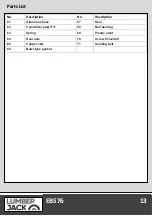
Page 15: ...1 EBS76 13 No Description No Description 61 Aluminum base 67 Rear 62 Cylindrical pin 3 11 68 Ball bearing 63 Spring 69 Plastic stent 64 Rear axis 70 Screw ST4 2X40 65 Copper sets 71 Sanding belt 66 Bo...

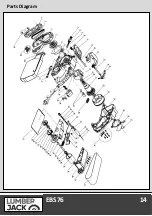
Page 16: ...EBS76 14 Parts Diagram...

Reviews: