Lumin Smart Panel - Outdoor
DOCUMENTATION AND INSTALLATION MANUAL
31
STEP 24. LSP Configuration
Configuration and Account Setup
1.
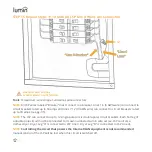
After completing the hardware installation, ensure the LSP power switch is in
the “
ON
” position
(“I”). The blue and green indicator lights will begin blinking in unison, indicating that the LSP is
ready for commissioning.
2.
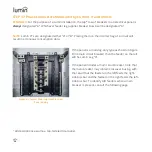
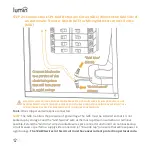
If feasible, make an Ethernet co
nnection between the Lumin Smart Panel’s Ethernet port and a
LAN port on the location’s router. This Ethernet connection is more reliable than a Wi
-Fi
connection and is not affected by replacing the router or resetting the Wi-Fi network
password. Utilize the 3/4" trade size knockouts in the LSP enclosure and liquid-tight conduit to
route communication wiring.
3.
Replace the LSP cover by hooking over the top lip of the enclosure and latching the toggle
clamps on both sides.
4.
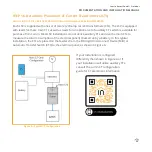
Download the Lumin mobile app. In the Apple App Store or Google Play Store, search for "Lumin
Smart".
5.
Log in with an existing account or create a new account.
6.
Expand the
≡
menu (upper left of screen) and select "Set up a new Lumin Smart Panel".
7.
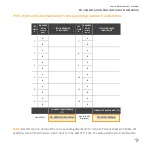
Follow the in-app instructions to set up your Lumin Smart Panel
(completed
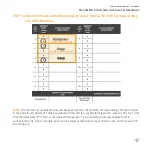
LSP Circuit Label &
CT Table
required)
. Invite users to grant access to the commissioned LSP.
Need help?
For account setup assistance or troubleshooting, please call 1-888-421-0616 (North
America) or e-mail support@luminsmart.com.


