
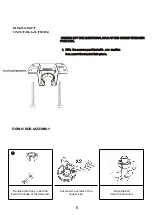

Assembly - Hanging the Fan(continued)
I
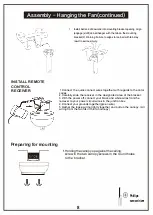
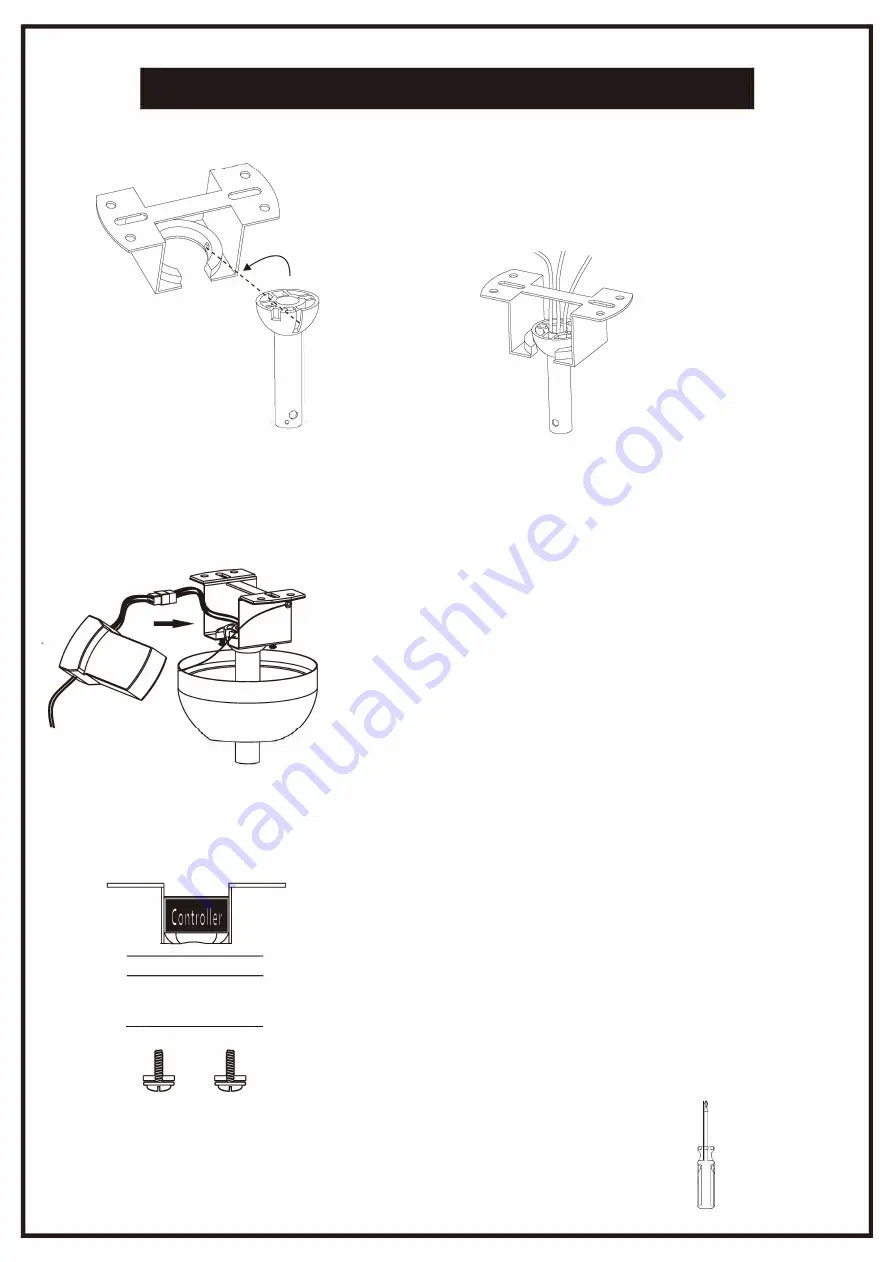
NSTALL REMOTE
CONTROL
RECEIVER
0
Preparing for mounting
\
___
;
'--..
7
1
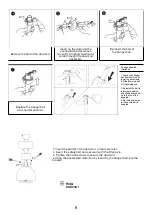
Install ball end of downrod into mounting bracket opening. Align
(engage) slot(1)on ball hanger with the tab on the mounting
bracket.(
2
) Warning: Failure to align slot on ball with tab may
result in serious injury.
1.Connect the
q
uick connect wires together with regards to the color
codes.
2.
Carefully s
lide the receiver in the designated area of the bracket.
3.W
ith the power off, connect your black and white wires from the
reciever to your power circuit wires in the
j
unction bo
x
.
4.
Connect your grounds together
(
green wire
)
5.G
ather the loose wiring tightly together and pull up the canopy.
(A
ll
wiring from the fan fits in the fan canopy
)
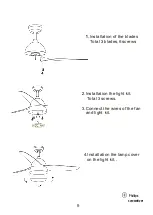
1.
Holding the canopy up against the ceiling,
screw in the two canopy screws in the round holes
to the bracket.
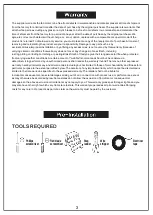
EB
Phillips
�
screwdriver
8
1
2


