background image

Installation Instructions

OE Style No Drill Bracket

For proper installation and best possible fit, please read all instructions BEFORE you begin.

For technical assistance or to obtain missing parts, please call Customer Relations at 1-800-241-7219.

WARNING

• To be used with Lund®  branded products only. 

• Do not stand on Lund running board or bracket while vehicle is in motion. 

• Do not exceed 350 lbs. weight on the Lund bracket system. 

• Do not use the brackets as a jacking point for the vehicle. 

• Do not use the bracket system or running boards to fasten cargo. 

• Periodically check all components for tightness. 

CAUTION

• Be sure to wear safety glasses while installing brackets. 

• When using power tools, read and understand all operating instructions. 

3. Unpack the bracket kit and identify the parts according to the content descriptions above.

Important Safety Information

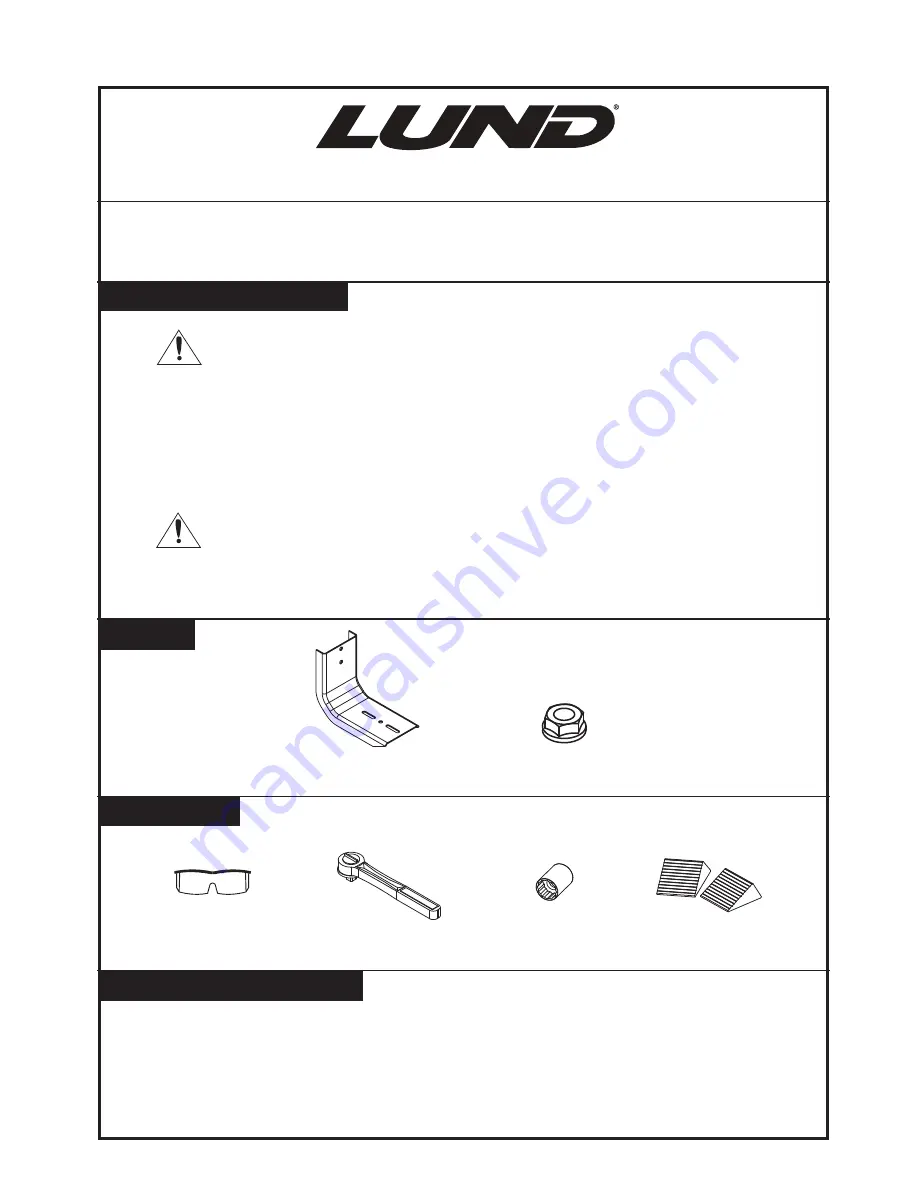
X6

Flange Nut (M8-1.25)

X12

Safety Glasses

10422

Rev B

Contents

Tools Required

Preparation Before Installation

13mm Socket

1. Park your vehicle in a clean, level location.  Check to make sure the vehicle is in park, or for

manual drive models, place the transmission in first gear.  Engage the parking brake.

2. Chock one wheel on both sides with wheel chocks.

Wheel Chocks

Bracket (M-1171)

Ratchet

PAGE


1


OF


12

Kit #310061

Summary of Contents for 310061

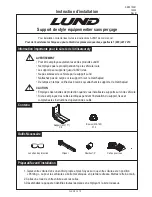
Page 1: ...to fasten cargo Periodically check all components for tightness CAUTION Be sure to wear safety glasses while installing brackets When using power tools read and understand all operating instructions...

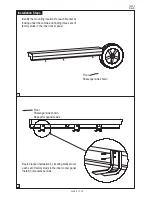
Page 2: ...ront Passenger side shown Identify the mounting locations for each bracket by looking under the vehicle and finding three sets of factory studs in the inner rocker panel Begin bracket installation by...

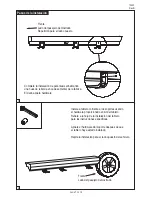
Page 3: ...eet for specific instructions Tighten bracket hardware after board has been installed Repeat board installation for opposite side of vehicle Front Passenger side shown Repeat for opposite side Front P...

Page 4: ...tion from your investment We have made every effort to ensure that your product is top quality in terms of fit durability finish and ease of installation Periodically check all components for tightnes...

Page 5: ...si hay tirantez PRECAUCI N Sea seguro usar las gafas de seguridad mientras que instala los soportes Al usar las herramientas el ctricas lea y entienda todas las instrucciones de funcionamiento 3 Desem...

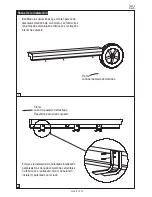
Page 6: ...s de f brica en el entrepa o interior de balanc n Empiece la instalaci n de par ntesis localizando par ntesis m s de cada conjunto de sementales de f brica en el entrepa o interior de balanc n Instale...

Page 7: ...rriente a los soportes usando el hardware proporcionado en kit del tablero Refiera a la hoja de la instalaci n del tablero para las instrucciones espec ficas Apriete el hardware del soporte despu s de...

Page 8: ...hecho cada esfuerzo de asegurarse de que su producto es de calidad superior en t rminos de ajuste durabilidad final y facilidad de la instalaci n Compruebe peri dicamente todos los componentes para s...

Page 9: ...installez les supports sur votre v hicule Si vous employez des outils lectriques pendant l installation du support lisez et comprenez les instructions d op ration des outils 3 D semballez le paquet e...

Page 10: ...s ries de clous d usine dans le panneau de bascule int rieur Commencer l installation de crochet en localisant le crochet par dessus chaque s rie de clous d usine dans le panneau de bascule int rieur...

Page 11: ...d sur les supports en employant les mat riaux qui vous sont inclus avec le kit marchepied Suivez bien les instructions qui expliquent l installation du marchepied Serrez bien les supports une fois que...

Page 12: ...ement On a fait tout efforts possibles pour assurer la qualit du produit en terme de durabilit de finition de facilite d installation V rifiez a l occasion que tous les composants sont bien serr s Net...

Reviews: