ISSUE DATE: FEBRUARY 2018
ORIGINATOR: SKILTEC
REPLACES ISSUE DATE: NOVEMBER 2015
APPROVED BY: S. GONZALEZ
PAGE 18 OF 38
PRODUCT INFORMATION MANUAL
SECTION: 12 LUMINETTE PRIVACY SHEERS
Mount the Installation Brackets — Face Fit
If you are mounting on corner or bay windows, refer to “Bracket Locations — Corner and Bay Windows” on
page 11 for specific bracket locations. Return to this page after identifying the bracket locations.
■
Your order will include the appropriate number of installation bracket assemblies. The number of
assemblies required varies with headrail width, as shown below.
IMPORTANT:
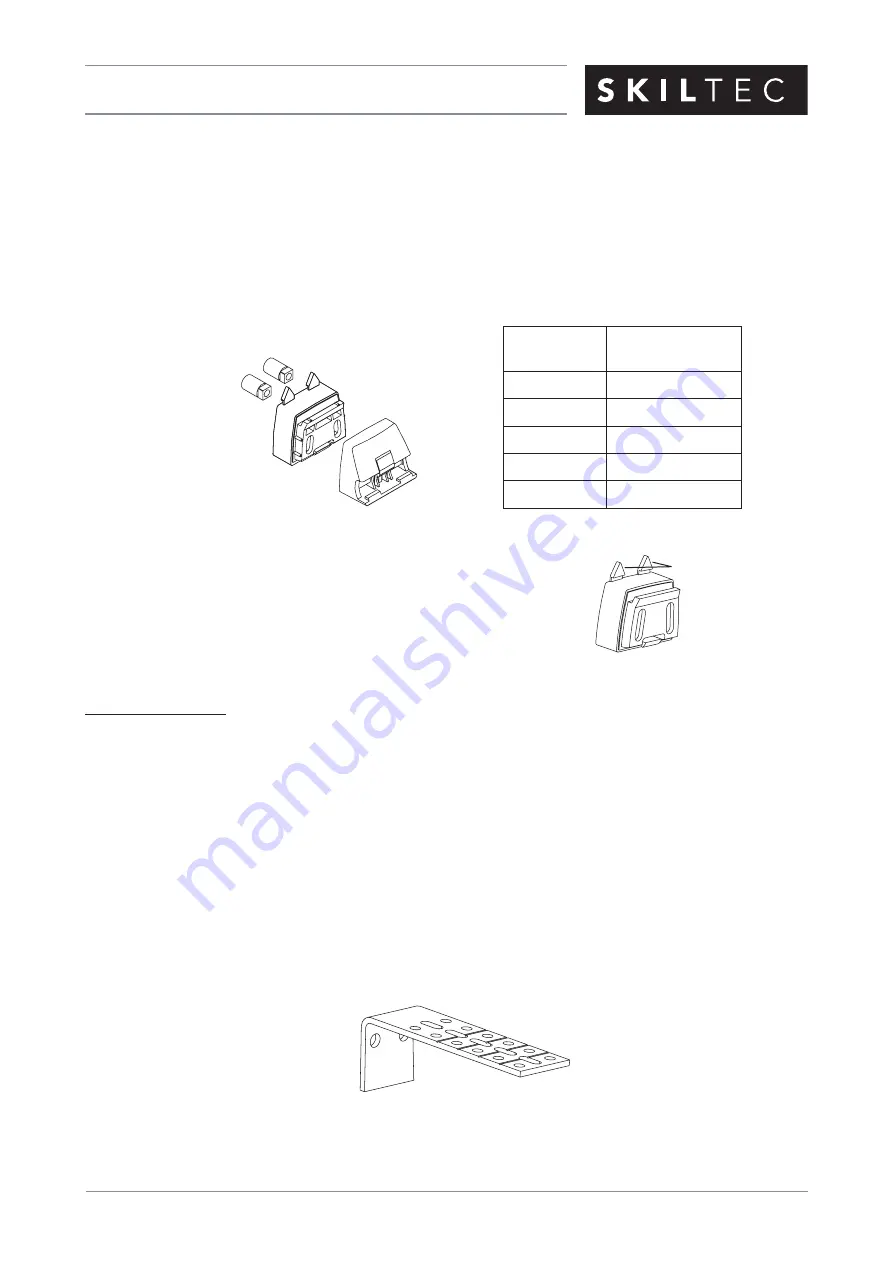
The spacer blocks have tabs that prevent the
brackets from being mounted too close to the ceiling. If the sheer
will not be mounted at ceiling level, the tabs can be removed.
Adding Clearance
■
Use spacer blocks to add additional clearance. Spacer blocks add clearance in 13mm
increments
.
➤
One spacer block is used with the faceplate for standard installation. Three additional spacer blocks
may be added for an extra 38mm clearance.
■
Use optional extension brackets to add more clearance.
➤
Extension brackets can provide up to 90mm clearance.
➤
Indentations are stamped into the extension brackets between each set of holes. Using the
indentations as a guide, you may cut off any unneeded length before mounting the extension
brackets. Each two-hole section is 13mm length.
Headrail
Width (mm)
Bracket Assemblies
Required
Up to 1016
2
1017 - 1778
3
1779 - 2438
4
2439 - 3937
6
3938 - 4875
8
Removable
Tabs
Faceplate
Spacer
Block
Bushings
Outside Mount
Bracket Assembly
Extension
Bracket


