Luxier
SP26-CEC
Rev. A 022020
8
Installation (cont.)
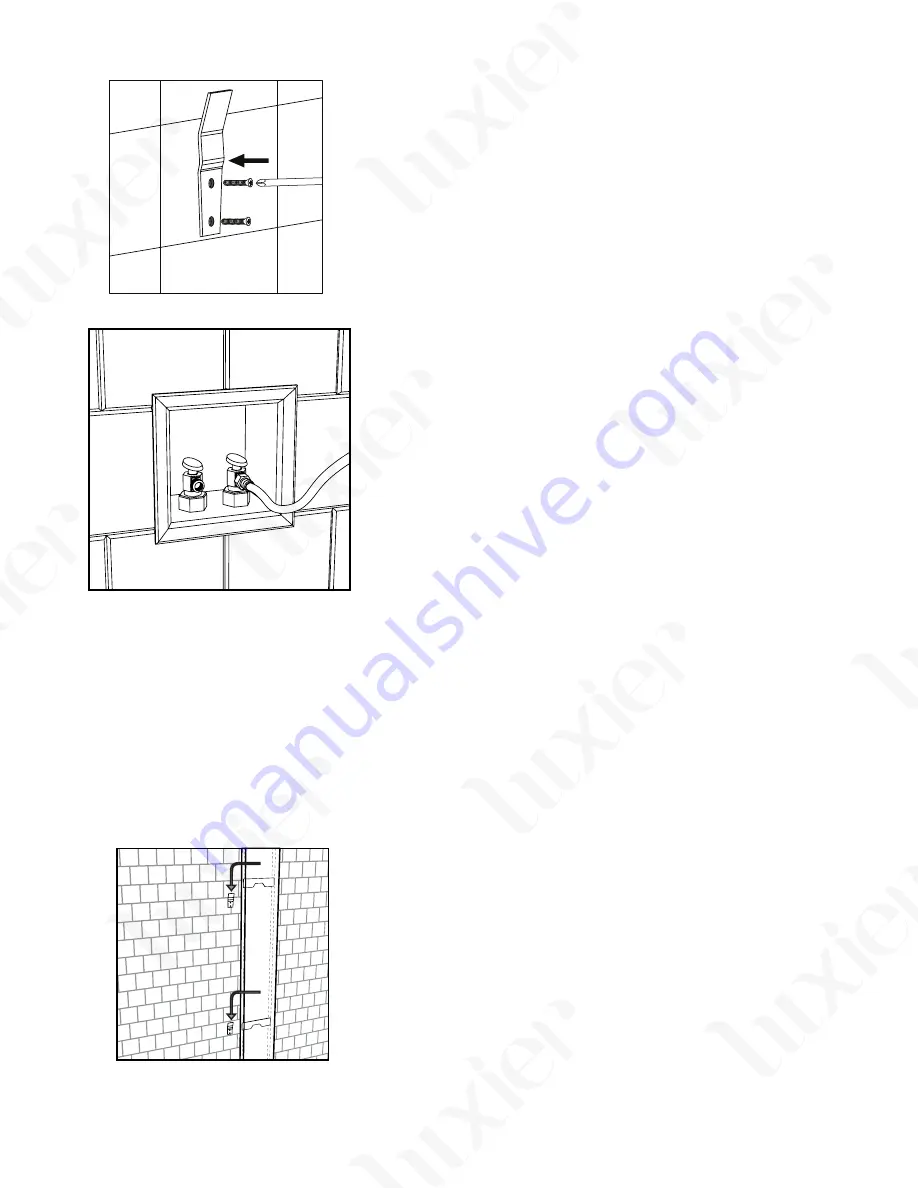
5. Secure the mounting brackets to the wall.
6. Apply thread sealant tape to the threading on the shut-off
valves before connect both hot and cold water supply hoses
to the valves.
IMPORTANT :
- Make sure the water supply hoses are connected to the
corresponding shut-off valves - i.e. cold water hose to the cold
water valve and hot water hose to the hot water valve. The
thermostatic valve will not function properly if the hoses are
installed incorrectly.
- Before hanging the shower panel on the wall. Turn on both
shut-off valves and test all water functions on the shower
panel and check for leaks at this point. You should have good
water flow to the shower panel and full temperature control
from the knobs.
The range of the control knob is limited in both clockwise
and counter-clockwise directions. DO NOT force to
turn the knob pass its limit. Overturning the control will
damage the thermostatic valve making it fail to regulate
temperature.
7. Once the shower panel has been tested for functions and
leaks. Hang the unit on the wall to complete the installation.
Due to the limited space behind the shower panel, do not
bend the hoses. Any restrictions in the water supply hoses will
greatly reduce the performance of the shower panel. After the
shower panel is set properly on the wall, apply silicon sealant
on both sides of the shower panel to prevent the unit from
moving.
(
NOTE:
Do not seal the bottom of the panel.)


