- 20 -
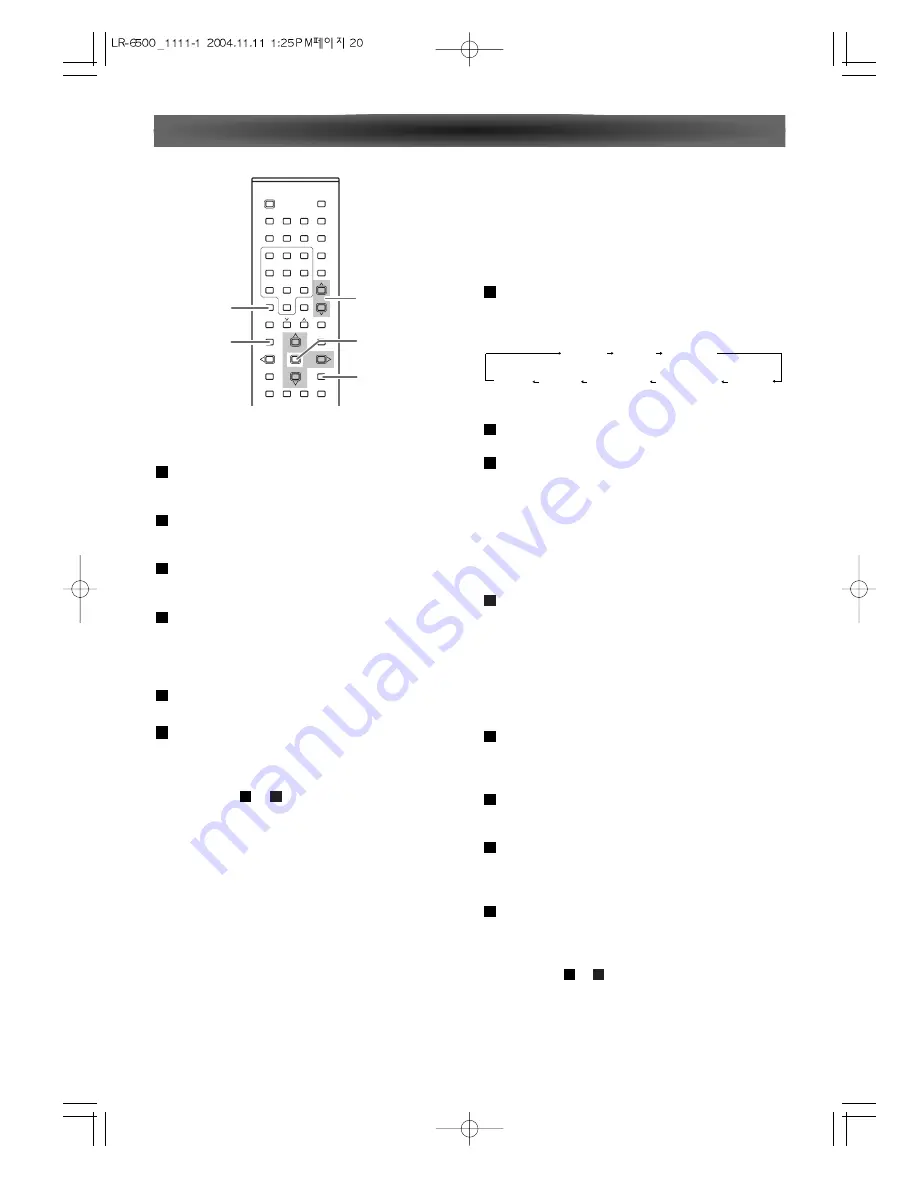
Output Level Adjustment (Balancing rela-
tive volume between speakers)
Press the CH. button.
"FRONT L LEVEL" (Level of Front Left) appears on the dis-
play.
Press the ENTER button.
"FL LEVEL 0 dB" appears on the display.
Press the
5
/
b
buttons to change the setting.
The level can be adjusted in 1 dB steps from -10 dB to
+10 dB.
Press the ENTER and press the
5
button.
The next configuration (CENTER LEVEL) appears on the
display.
Repeat step
to
to change other settings.
When all the configurations have been finished, press
the CH. button (or leave the unit for 10 seconds) to exit
the CH Level Adjust mode.
4
2
4
3
2
1
Input the distance from your listening
position
Press the DELAY button to "FRONT L DISTANCE"
appears on the front panel's display.
Press the ENTER button.
"FRONT" appears on the display.
Press the
t
button.
"FRONT L 3.O M" appears on the display.
Press the
5
/
b
buttons to change the setting.
Input the distance from your listening position to
front speakers.
You can change the setting from 0.0 to 9.0 M.
Press the ENTER button.
Press the
5
button.
The next configuration (CENTER DISTANCE) appears
on the display.
Repeat step
to
to change the setting for center
and surround speakers.
When all the configurations have been finished,
press the DELAY button (or leave the unit for 8 sec-
onds) to exit the Delay Adjust mode.
6
2
6
5
4
3
2
1
Balancing relative volume between
speakers using Test Tone
The test tone function is useful to adjust the relative volume
between speakers.
Once the balance is set, you don't have to change the bal-
ance as long as the speakers aren't moved.
Press the TEST-T button.
The test tone is emitted from each speaker in the follow-
ing order at 2-second intervals.
Adjust the volume to the normal listening level.
Adjust the volume of each speakers so that the test
tone from each speakers sounds the same.
The level of the speaker which is emitting the test tone
can be changed by pressing the
5
/
b
buttons.
<
The level can be adjusted in 1 dB steps from -10 dB to
+10 dB.
When the setting has been finished, press the TEST-T
button to stop the test tone.
4
3
2
1
FL(Front Left)
CEN(Center)
SBR
(Surround Back Right)
SR
(Surround Right)
SBL
(Surround Back Left)
SL
(Surround Left)
S-W
(Sub Woofer)
FR(Front Right)
Speaker Configuration
VOLUME
DELAY
ENTER
CH.
TEST-T


