
Colibri II
– Flight recorder and navigation instrument
Page 6
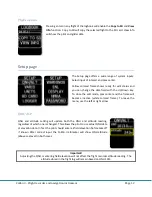
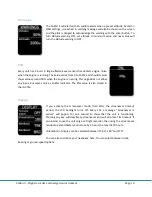
Main page
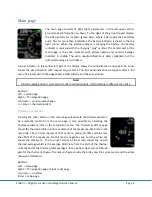
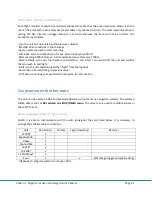
The main page consists of basic flight parameters. In the left upper corner
ground speed information is shown. To the right of the ground speed display,
the GPS signal status is shown (green bars), where 1 bar represent 3 satellites
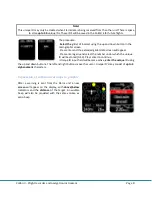
and 5 bars for more than 6 satellites. The battery indicator is shown in the top
right corner. When the internal charger is charging the battery, the battery
indicator is replaced with the charging “plug” symbol. The central part of the
main page is the vario indicator with yellow needle and numeric average
indicator in middle. The vario needle deflection is ±4m/s (±8knots) but the
numerical average is not limited.
A wind indicator in the central left part of the display shows the wind direction and speed. An arrow
shows the wind direction with respect to your track. The first wind indication will appear after 2 full
turns. The lower part of the page shows a QNH altitude and the vario volume.
Note!
Altitude reading doesn’t correspond to IGC recorded altitude, if QNH setting is different than 1013.
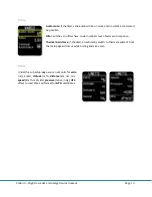
Buttons:
Left -> setup page
Right -> TP navigation page
Up, down -> vario volume change
In = Enter -> thermal assistant
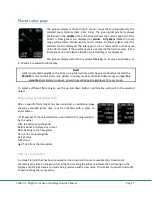
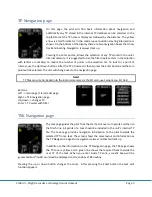
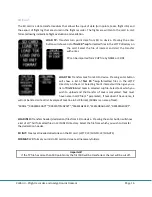
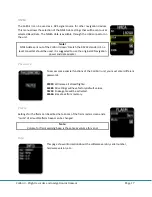
Thermal assistant
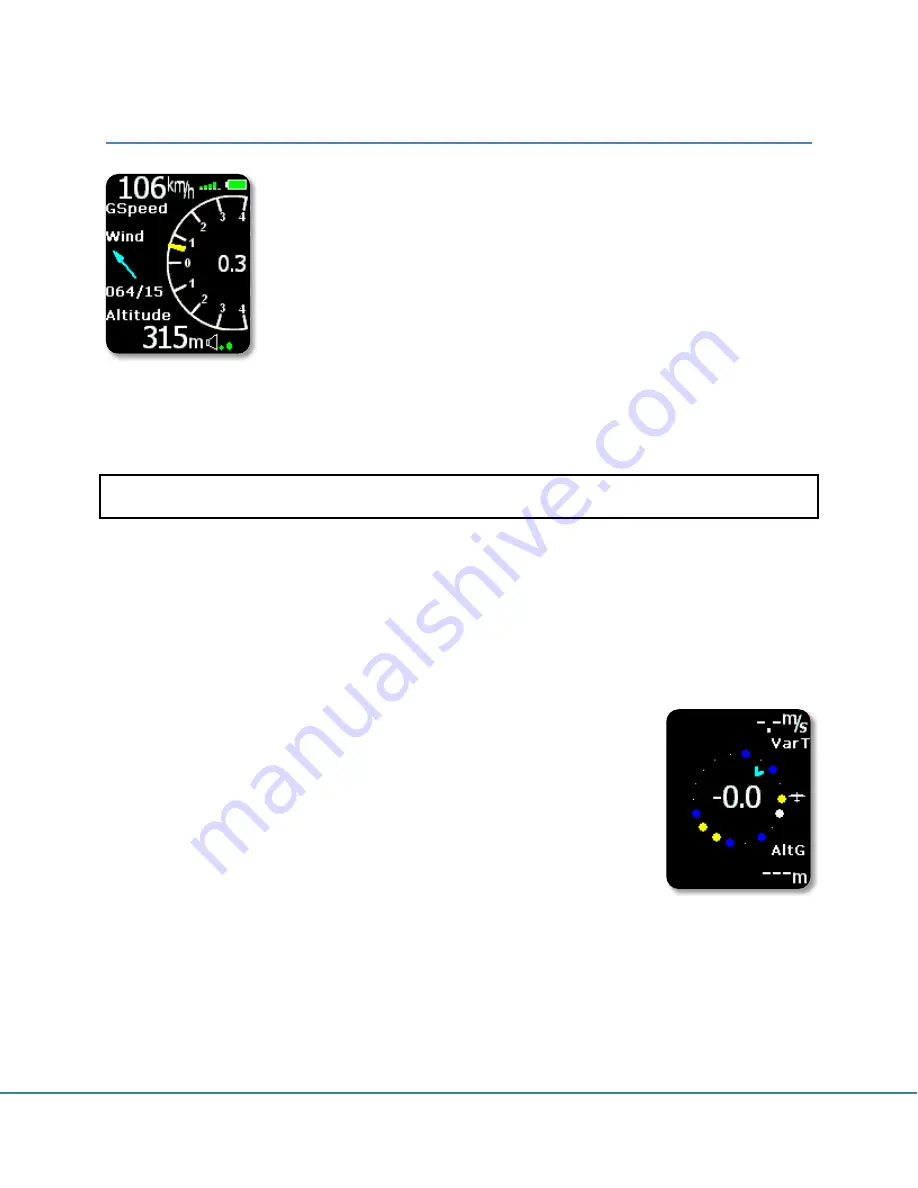
Pressing the enter button in the main page will activate the thermal assistant.
An automatic switch from the main page is also possible by selecting the
Thermal assistant item in the setup/vario menu. The Thermal assistant page
shows the thermal profile in colors as percent of the maximum climb rate in the
last circle. The red dots represent 70% or more, yellow 50-70% and blue less
than 50% of the maximum. No dot means negative vario and the white dot
shows the maximum. The top right corner of the screen shows the overall
thermal average which is the average climb rate from the start of the thermal
until the end of the thermal (total average). In the bottom right corner altitude
gain for the thermal is shown. The numeric figures inside the circle show the current vario and the arrow
shows wind direction.
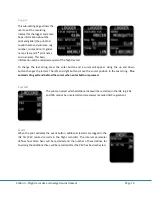
Buttons:
Left -> setup page
Right -> TP navigation page / Flarm radar page
Up, down -> no effect
Enter -> main page