Set Date and Time Zone
Tap
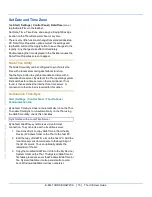
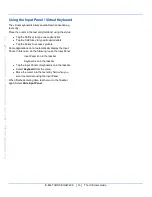
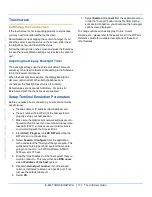
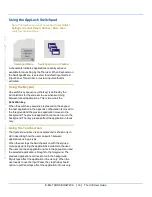
Start | Settings | Control Panel | Date/Time
icon or
tap the Date/Time in the taskbar.
Set Date, Time, Time Zone, and assign a Daylight Savings
location on the Thor after a warm boot or anytime.
There is very little functional change from standard desktop
PC Date/Time Properties options. Adjust the settings and
tap the OK button or the Apply button to save changes to the
registry. Any changes take effect immediately.
Double-tapping the time displayed in the Taskbar causes the
Date/Time Properties screen to appear.
Grab Time Utility
The GrabTime utility can be configured to synchronize the
time with a local server during each reboot function.
Tap the Sync button to synchronize date and time with a
networked time server. By default, the Thor operating system
first searches for a time server on the local intranet. If not
found, it then searches the Internet for a time server. A
connection to the Internet is required for this option.
Autolaunch Time-Sync
Start | Settings | Control Panel | Thor Options |
Communication tab
By default, TimeSync does not automatically run on the Thor.
To enable TimeSync to run automatically on the Thor using
the GrabTime utility, check this checkbox.
Synchronize with a Local Time Server
By default, GrabTime synchronizes via an Internet
connection. To synchronize with a local time server:
1. Use ActiveSync to copy GrabTime.ini from the My
Device | Windows folder on the Thor to the host PC.
2. Edit the copy of GrabTime.ini on the host PC. Add the
local time server’s domain name to the beginning of
the list of servers. You can optionally delete the
remainder of the list.
3. Copy the modified GrabTime.ini file to the My Device |
System folder on the Thor. The System/GrabTime.ini
file takes precedence over the Windows/GrabTime.ini
file. System/Grabtime.ini also persists after a cold-
boot; Windows/Grabtime.ini does not persist.
E-EQ-THORCEOGWW-A [ 15 ] Thor CE User Guide
For
ENG/CERT
Review
-
Not
for
Distribution
or
Publication
-
Draft
03


