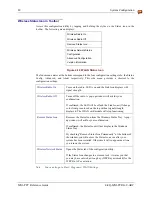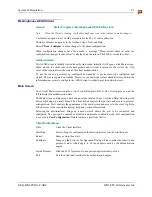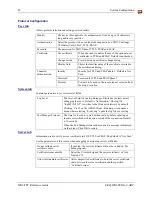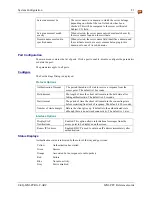
System Configuration
73
E-EQ-MX6PCRG-C-ARC
MX6 PPC Reference Guide
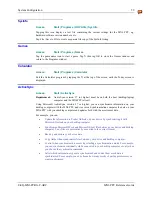
Active SSIDs
The Active SSIDs table lists all access points or peer stations (creator of IBSS) in the vicinity of
the host. It displays only those SSIDs that accept broadcast associations. Each record displays
information for the following six fields (The table may not display all the fields on the screen. Use
the horizontal scroll bar to check all the fields.).
SSID
Network Name of the access point or peer station. A link icon with signal
strength is also shown.
Signal
Strength in percentage for that SSID.
Mode
An icon shows whether it is an access point, or a peer station.
Channel
The channel it uses and the WEP method it applies if any. The icon stands for
WEP Key-On, and for WEP Key-Off.
SupRate
Supported data rate of the access point or the peer station.
BSSID
BSSID or MAC Address of the access point or the peer station.
Operation Buttons
Apply
Click the Apply button to associate a station with the selected SSID. This SSID can
be either from the Preferred Profile table or from the Active SSID’s list.
When applied, the Status tab window displays the status of the wireless connection.
If the association failed, a search for another AP in the Preferred Profile list
automatically takes place and the radio attempts to associate with the station, in
order of preference.
Refresh
Click the Refresh button to start a new search for all available access points or peer
stations in the vicinity.
Add
Add an Active SSID profile to the Preferred Profile table.
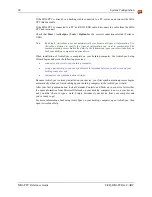
1. Select and highlight an SSID in the Active SSID list.
2. Click Add. If the SSID has WEP Key-On, the Settings window displays and
prompts the user to enter the WEP Method, Encryption Key, and Key ID.
3. Click OK in the Settings window after finishing the configuration. The SSID and
its profile are added into the Preferred Profiles window.
If adding an SSID with WEP Key Off, the Settings window does not display and the
SSID is added directly to the Preferred Profile table when the Add button is clicked.
Note:
See the following section titled “Creating and Modifying Profiles” for instruction.

