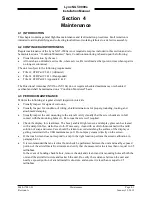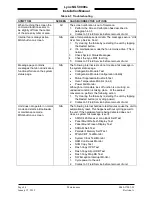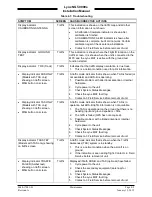
Lynx NGT-9000s
Installation Manual
4.3.1 Screen Calibration
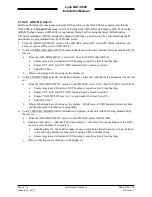
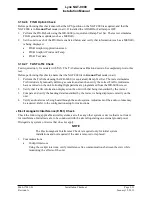
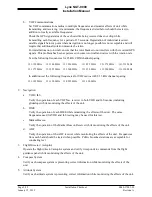
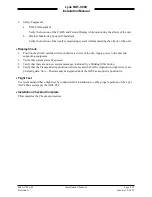
Use this procedure to calibrate the touch screen for more accurate display control. When performing this
calibration the user must be as accurate as possible. For best results a stylus is recommended. This
procedure can also be accomplished using the MPC and Lynx MAT. Refer to procedure in Calibration
and Test in the installation checkout section. Note: If the screen is severely out of calibration, this
procedure will not work and the screen calibration procedure in the Lynx MAT will need to be performed.
1.
Apply power to the unit using applicable essential or emergency electrical buses.
•
Initialization and self-tests begin.
2.
The splash screen is displayed in less than 5 seconds.
3.
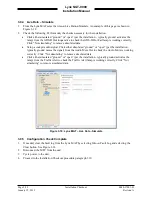
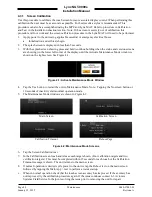
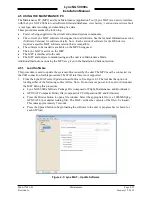
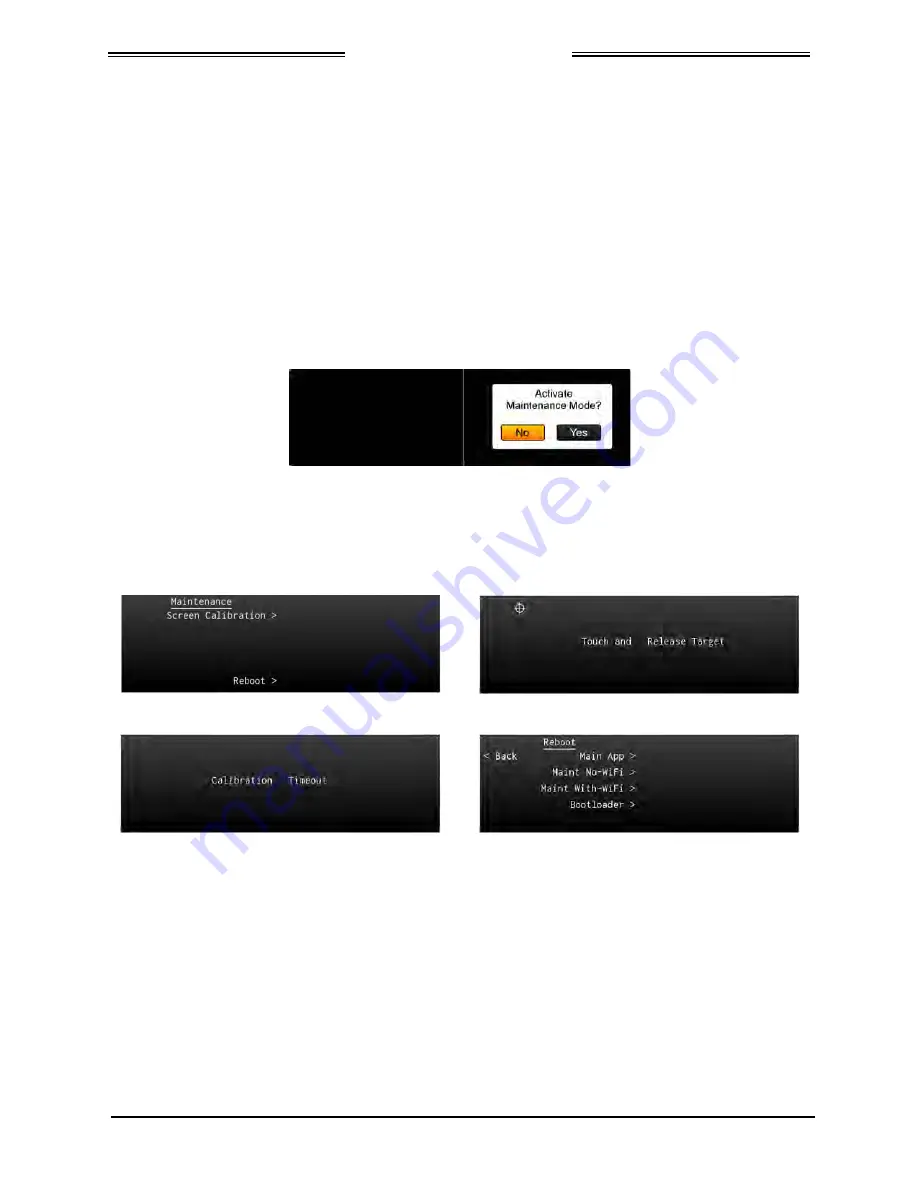
With the splash screen showing press and hold (continue holding when the status and version screens
are showing) in the lower left corner of the display until the Activate Maintenance Mode window is
shown on the right screen. See Figure 4-1.
Figure 4-1: Activate Maintenance Mode Window
4.
Tap the Yes button to restart the unit in Maintenance Mode. Note - Tapping the No screen button or
10 seconds of inactivity starts normal operation mode.
5.
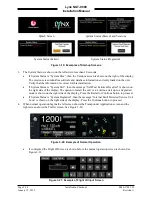
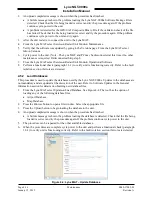
The Maintenance Mode windows are shown in Figure 4-2.
Main Screen
Calibration Screen
Calibration Timeout
Reboot Page
Figure 4-2: Maintenance Mode Screens
6.
Tap the Screen Calibration text.
7.
In the Calibration screen touch and release each target shown. (Four calibration targets and two
verification targets). This must be completed within 15 seconds for each touch or the Calibration
Timeout message is shown. The unit returns to the main screen.
8.
If normal operation is desired cycle power to the unit or tap the Reboot text on the main screen
followed by tapping the Main App > text to perform a warm startup.
9.
When in normal operation check that the touch screen accuracy has improved. If the accuracy has
not improved, try the calibration procedure again. If the issue continues contact L-3 Avionics
Systems Field Service for help in resolving the issue prior to removing the unit for repair.
Page 4-2
Maintenance
0040-17001-01
January 15, 2015
Revision A

