Lynx NGT-9000s
Installation Manual
2.3.4 Installation
CAUTIONS
1.
Do not press or contact the display surface of the unit when
inserting into the Rack.
2.
Panel Retainer torque limit is 5.0 inch-pounds.
1.
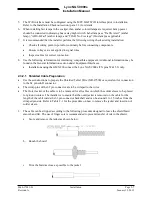
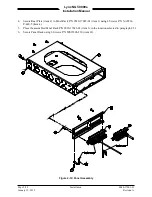
Prior to inserting unit in panel ensure that the Panel Retainer screw is fully disengaged. Use a 3/32
Hex Head Driver and insert into the Panel Retainer access on the bottom left of the unit bezel. Rotate
the Hex Driver counterclockwise until it stops.
2.
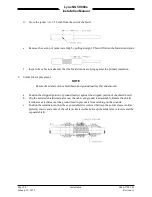
Insert the unit in rack allowing the alignment guides to settle the unit into place. Press the sides of
the unit until the back side of the bezel is against the rack.
3.
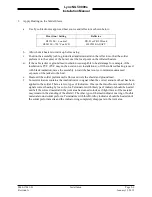
Rotate the Panel Retainer clockwise until the unit is fully seated (approximately 40 turns). The unit is
fully seated when the display backplate contacts the lower front edge of the panel.
2.3.5 Antenna Installation Guidelines
This information provides general installation guidance to ensure the installed antennas meet the
requirements for the Lynx NGT-9000s. Installation approval for the GPS and L-band antennas is not
provided by the instructions provided in this manual.
•
Installation approval for the GPS and L-band antennas is not provided by the instructions provided in
this manual.
•
All antenna cables should be clearly marked as both connections use TNC connectors.
•
Cable requirements are located in paragraph 2.3.2. Cable vendors and approved antenna
manufactures are located in the General Information section.
•
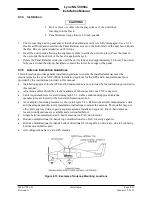
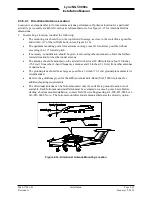
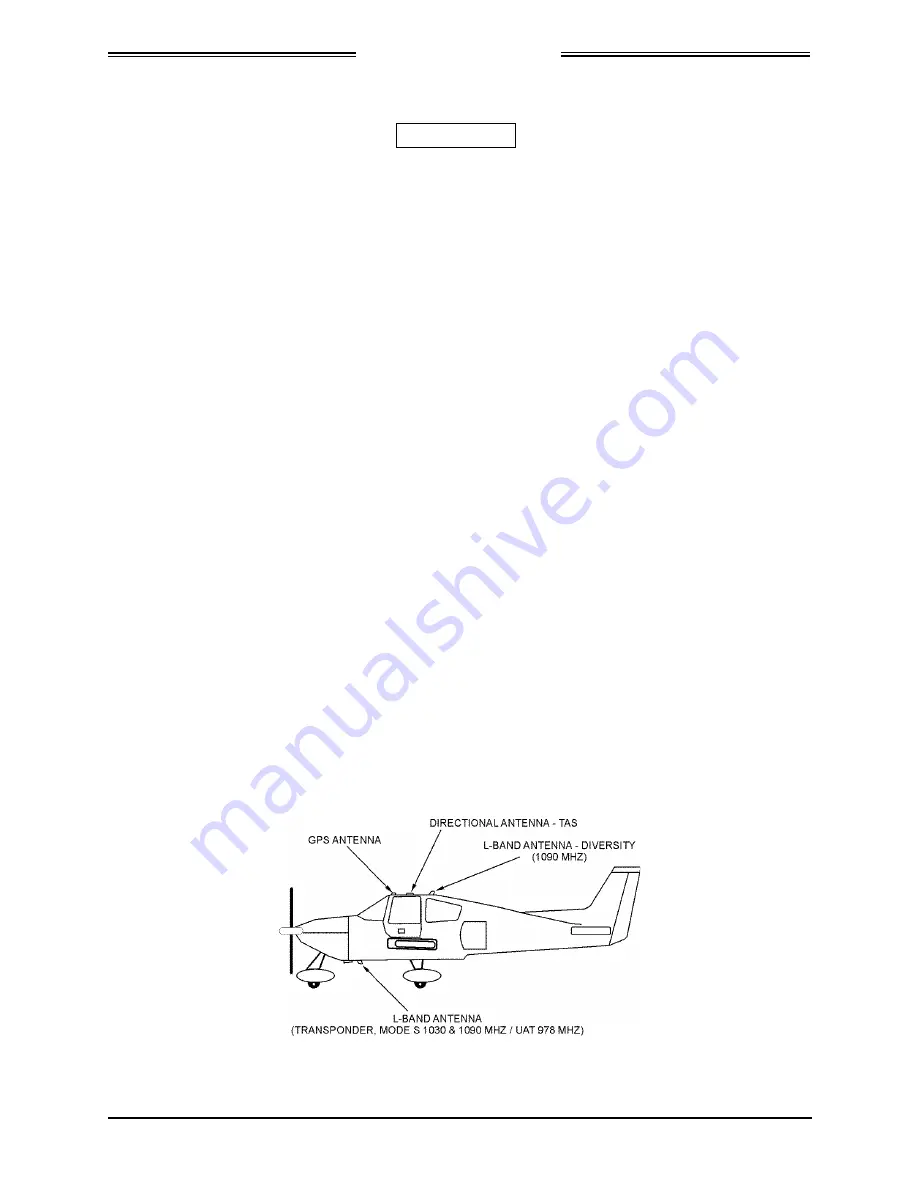
An example of antenna placement is shown in Figure 2-13. Refer to the aircraft manufacturer's data
and the antenna manufacturer's installation instructions to mount the antenna. The installer may use
other FAA approved data to gain a separate antenna installation approval. Four L-band antenna
location configurations are available and are detailed below:
•
Single bottom omnidirectional (L-band) antenna (no TAS, no diversity)
•
Bottom omnidirectional (L-band), top omnidirectional (no TAS, diversity capable)
•
Bottom omnidirectional (L-band), bottom directional (TAS capable, no diversity)- due to both being
bottom mount (Helicopter)
•
All configurations have a top GPS antenna
Figure 2-13: Example of Antenna Mounting Locations
0040-17001-01
Installation
Page 2-21
Revision A
January 15, 2015

