Lynx NGT-9000
Installation Manual
•
Buttons are typically gray background color with white or green text. When a button is pressed the
background highlights in blue. A button function that is inhibited has its button label grayed out.
Buttons with an amber background color is inactive.
•
The display for the unit is divided into a left and right screen. Each screen has access to a particular
application. Accessing the applications is done using a horizontal Slide action to drag the desired
application screen into view.
An Application indicator is located at the bottom of the left and right screen. The indicator shows the
number of available applications for that side of the display as well as the current application setting.
Each application can slide into view using both Drag and Swipe actions.
The left screen applications are designated as “Transponder” and “Alternate Traffic”. The right
screen applications are designated as “Traffic”, FIS-B Graphic”, FIS-B Graphic Winds & Temp”,
and FIS-B Text Data”. The left screen also shows the information screens (GPS, brightness control,
etc.)
•
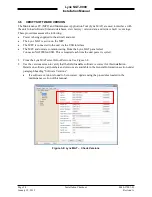
A version screen is shown at start up. It identifies version information for the units Application
Software (Flight Sw), Firmware (Platform and GPS), GPS/UAT Receiver SW, Airport Database
(Airport DB), and Map Database (Map DB).
•
The display brightness is automatically adjusted using an ambient light sensor and can also be
adjusted pressing the Gear icon on the left application screen followed by the dimming button.
3.2.1 Power On
1.
Verify the circuit breaker for the Lynx NGT-9000s is closed.
2.
Connect aircraft to external power source to conserve aircraft battery power.
3.
Apply power to the unit and system component using applicable essential or emergency electrical
buses.
•
Initialization and self-tests begin.
4.
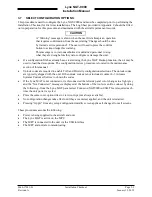
The splash screen is displayed in less than 5 seconds.
•
The company name/Logo is shown on the left side and the product name on the right.
5.
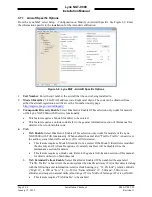
The System Status is shown on the left side in less than 20 seconds
•
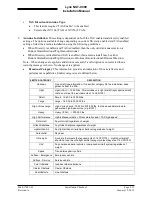
If a System Status is “System Fail” or “System Degraded” message is shown, then tap the
Continue button to proceed to normal operation. See Figure 3-19.
Page 3-2
Installation Checkout
0040-17001-01
January 15, 2015
Revision A

