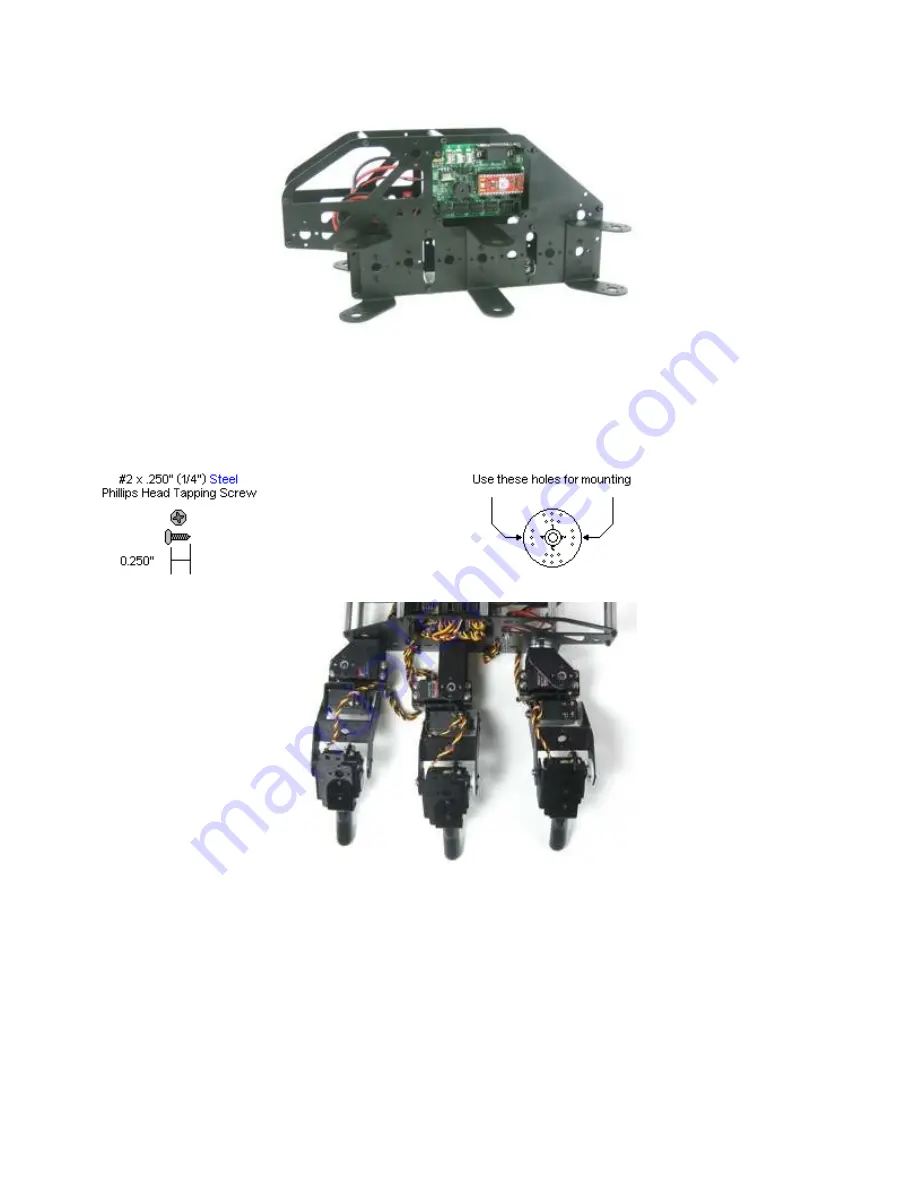
Figure 8.
Step 9.
Attach all legs to the chassis using two #2 1/4" tapping screws each.
12 x
Figure 9.
Step 10.
Plug the servos into the SSC-32 as illustrated in this diagram. Simply plug in the servo associated with
the function to the corresponding pin. If oriented correctly, the I/O port (group of four pins) will be
closest to its corresponding leg.


