
JENE-PCLCD-R Installation Guide
©2010 Lynxspring. All rights reserved.
Page 12
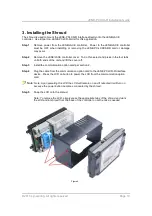
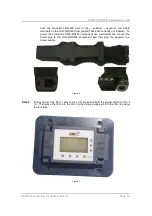
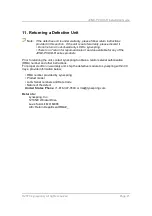
from the controller’s RS-485 port to the + positive, - negative, and shield
terminals on the LCD-R-RS485 component(These are currently not labeled). To
power the LCD and LCD-R-RS485 component use a wall-wart and connect the
barrel plug to the LCD-R-RS485 component and then plug the wal-wart to a
power supply.
Figure 6
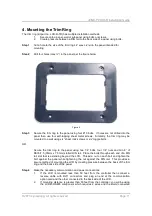
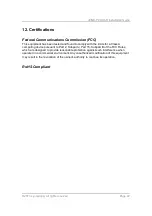
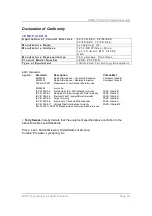
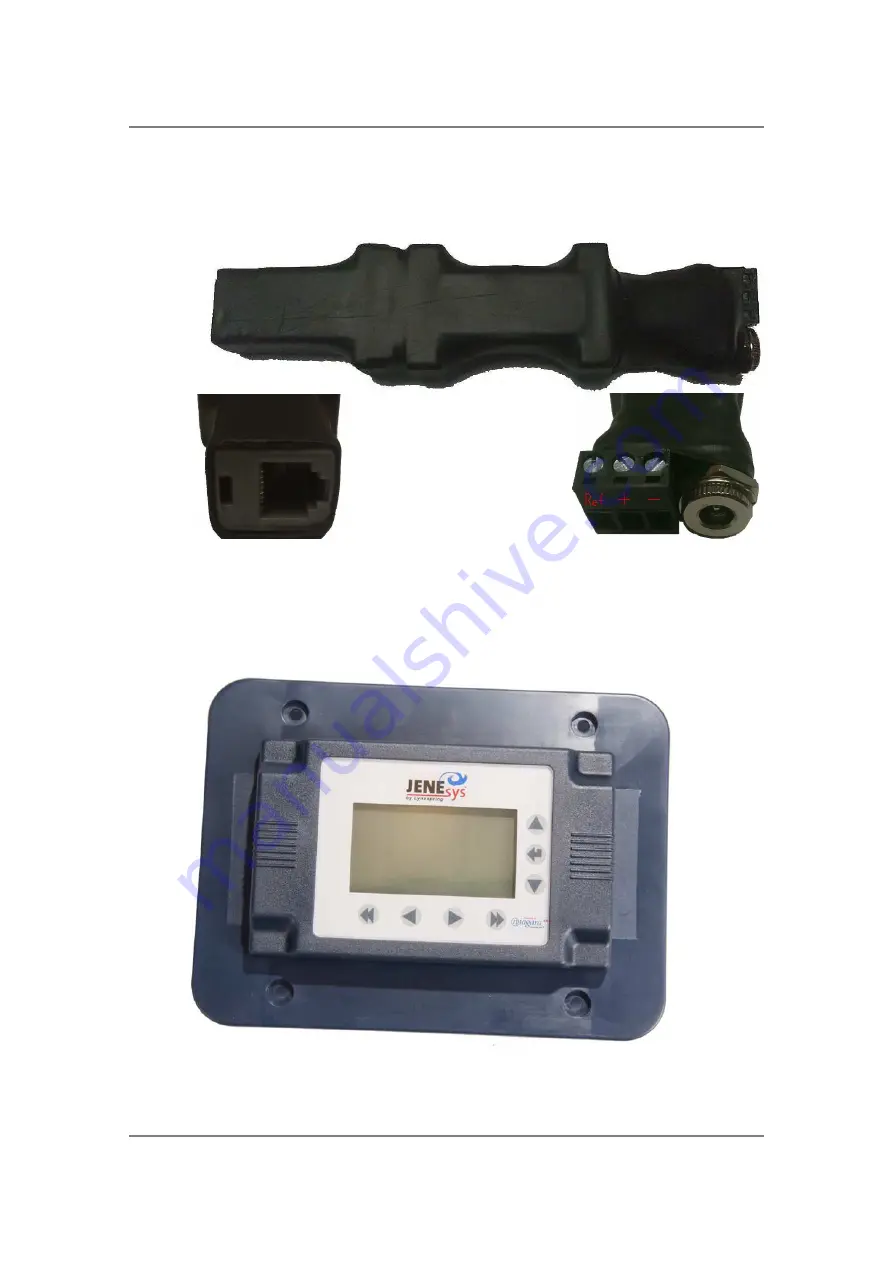
Step 5
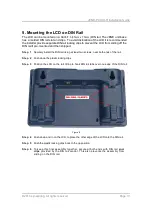
Finally connect the RJ11 cable to the LCD, press and hold the power button to turn it
on. Then place the LCD into the trim ring by simply snapping it into the trim ring using
the four taps.
Figure 7