48
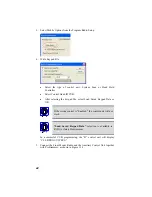
In a successful CUB programming, the “B” control unit will display
“CLL B PRG SUCCESS.”
5.
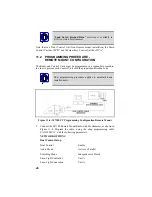
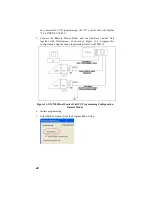
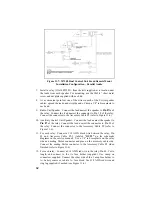
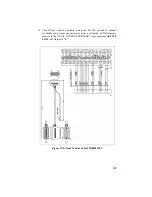
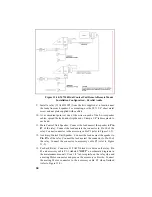
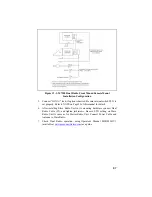
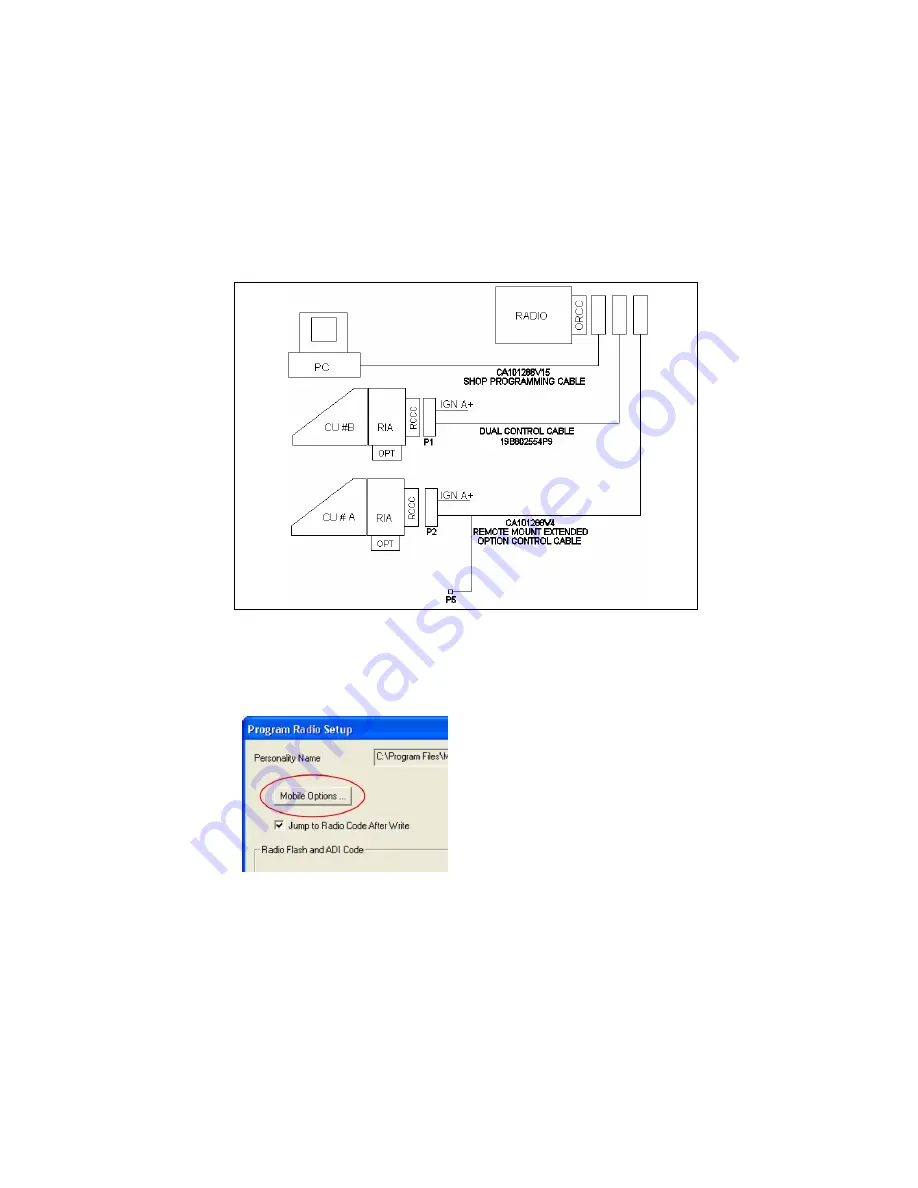
Connect the Remote Mount Radio and the Auxiliary Control Unit
together with ProGrammer, as shown in Figure 11-5. Program this
configuration using the shop programming cable CA101288V15.
Figure 11-5: M7100 Dual Control Unit PC Programming Configuration
Remote Mount
6.
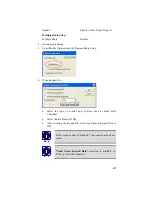
Initiate programming.
7.
Select Mobile Options from the Program Radio Setup.
Summary of Contents for P5100 Series
Page 1: ...Installation Product Safety Manual MM102342V1 Rev Fp1 Sep 07 M7100IP Series Mobile Radio...
Page 17: ...17 Figure 7 2 Rear Angle View of Radio 110W VHF Shown Figure 7 3 Interface Cables...
Page 18: ...18 Figure 7 4 Option Cables...
Page 27: ...27 Figure 10 4 Front Mount Extended Option Accessory Cable CA101288V2...
Page 31: ...31 Figure 10 6 Remote Extended Option Control Cable CA101288V4...
Page 64: ...64 Figure 12 3 Dual Radio Configuration Front Remote Mount PC Programming Procedure...
Page 66: ...66 Figure 12 4 Dual Radio Configuration Remote Remote Mount PC Programming Procedure...
Page 67: ...67 Figure 12 5 Dual Radio Control Cable CA101288V10...
Page 71: ...71 NOTES...

