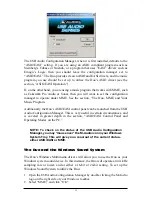
NOTE: When switching the Duo drivers from ASIO use to Sound
Manager use, after exiting the ASIO program it is necessary to
reinitialize the Duo for use with the Apple Sound Manager. To do so,
exit your music program, then simply power down the Duo and
power it back up.
ASIO Operation on the Macintosh
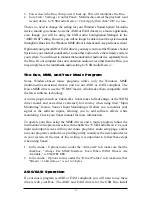
The Duo driver installation procedure creates a folder on your desktop called “
Duo ASIO” that contains Duo ASIO drivers. You will find an ASIO driver in this
folder. Check your audio program for ASIO compatibility.
Open your Macintosh HD folder and locate your music program. Within the program’s
folder you should find an ASIO folder. Drag the Duo ASIO driver to this folder.
Once the ASIO driver is installed, you may open your music program and go to the
audio setup page. The Duo ASIO driver will show up in the program’s ASIO Driver
list, allowing you to select it at this time if it is not already selected by default.
If you are using an ASIO compliant music program, we suggest that you enable
and use the Duo’s ASIO drivers. ASIO gives you the advantage of being able to
monitor your source through the program, similar to monitoring the record inputs
of a tape machine, with greatly reduced latency.
ASIO Control Panel and Operating Modes on the Mac
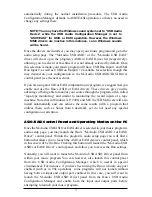
Once the Duo ASIO driver is selected in your music program’s audio setup page,
you may launch the “USB Audio Duo Settings” control panel. Within the audio
setup page you will find a button that allows you to launch the ASIO device’s
control panel. Clicking this button will launch the Duo ASIO Control Panel and
allow you to access the Duo Settings.
The Duo Settings page shows you the M-Audio and the Duo logo. In the bottom
left-hand corner you will see a readout of the “Shared Library” version (which
are the various ASIO drivers), the USB driver version, and the Firmware
currently in use.
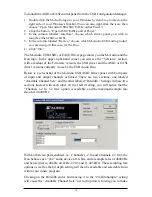
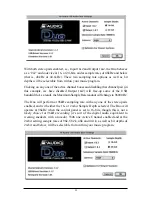
Below is a screenshot of the Duo Settings panel with both input and output
channel pairs activated. There are two columns, one labeled “Active Channels”
and the other labeled “Sample Depth.” Settings in these two columns interact
with each other, as does the “Maximum Sample Rate” readout. With both input
and output channel pairs activated, you will notice that with either 16-bit or the
24-bit setting, the “Maximum Sample Rate” reads out at 48000 Hz.
21

