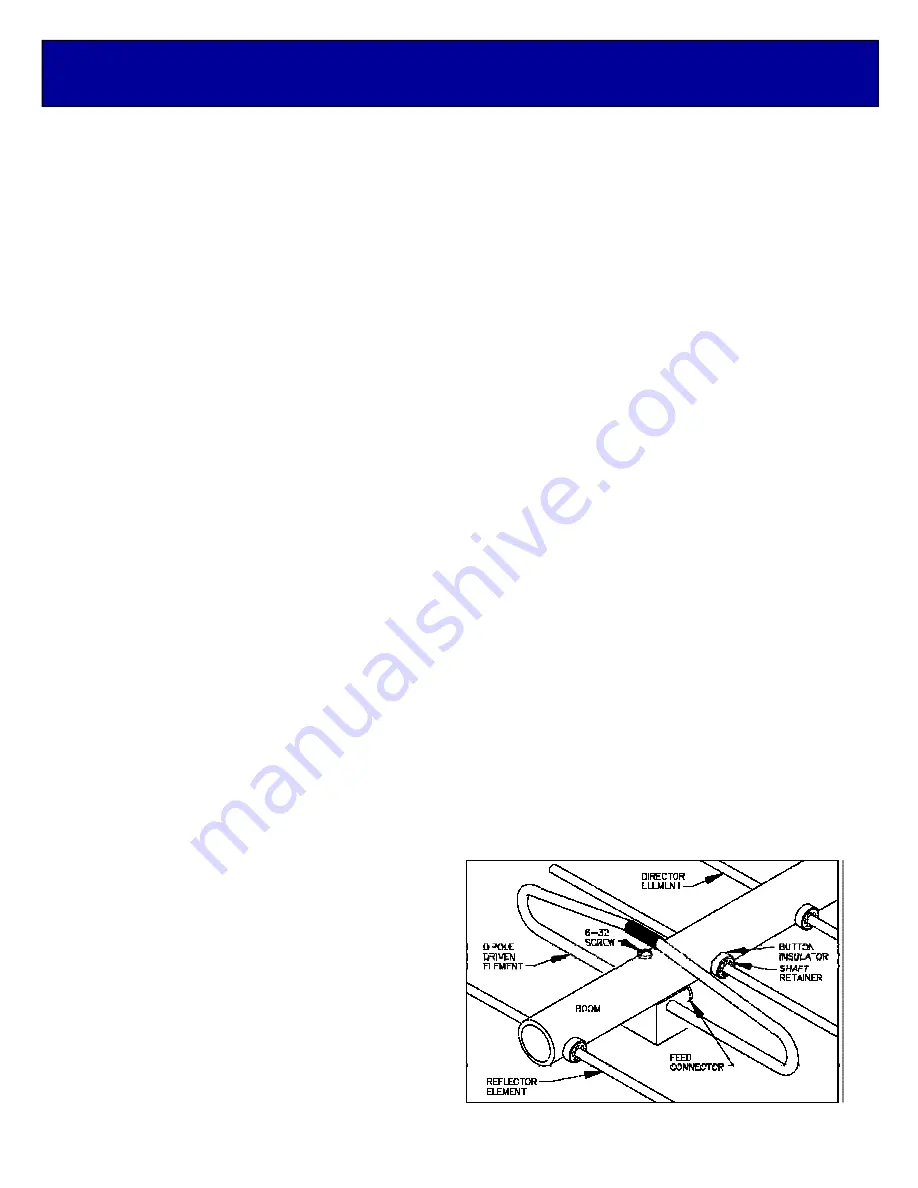
1. Assemble the boom sections using the DIMENSION sheet as a guide for lengths, placement and
hardware.
2. Mount the FOLDED DIPOLE MOUNTING BLOCK to the small hole about 2-1/4" from the rear of
the boom. Orient with the feed connector facing to the front. Secure the block with an 8-32 x 1-
1/4" screw.
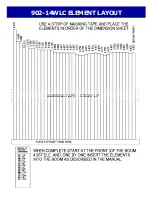
3. Sort out the 3/16" rod elements using the ‘SETUP’ sheet and the DIMENSION SHEET. Measure
carefully as lengths vary by as little as 1/16".
Note that the Director Elements do not necessarily
diminish in length from rear to front.
4. Install elements, starting with the REFLECTOR element. Push on a black button insulator to about
1/2” from center and insert the element through the holes 1/2" from the rear of the boom. Install the
second button, snugging it up into boom.
HINT: If the rods are loose in the buttons, deform the
buttons slightly first with pliers.
DO NOT BOTHER WITH ACCURATELY CENTERING the
element at this time and DO NOT INSTALL the stainless steel SHAFT RETAINERS yet. This is
easier to do after all the elements are installed in the boom.
Install the 3/16” rod DIRECTOR element as you did the reflector. Then continue with the
installation of the DIRECTORS.
5. Now begin centering the elements. Use a tape measure to EQUALIZE the amount the element
sticking out on each side of the boom. Accuracy of 1/32" is adequate. Once you have all the
elements centered, sight down the element tips from the rear comparing each side. Look for any
obvious discrepancies and correct if found.
6. NOTE: The SHAFT RETAINERS, used for securing the elements, should always be used for
permanent and long term antenna installations. For portable or temporary use, or whenever it is
anticipated that the antenna will be disassembled within a short time, the retainers may be left off.
The button insulators are normally a tight fit, but if not can be squeezed a bit hold the elements
quite securely.
HINT: Keeper installation is easier, by chamfering the inner diameter of push tube.
Begin installing the stainless shaft retainers (
KEEPERS
). Use thumb and index finger to hold a
Shaft Retainer over end of the 3/8 x 3” push tube (Shaft Retainer dished into tube). Hold the
element firmly and start the keeper onto the rod by applying pressure with the
3/8 X 3” PUSH
TUBE
. Push the Shaft Retainer until up tight against the button insulator (Locking pliers,
lightly
clamped up against opposite button insulator will help maintain center reference. If
you push the first retainer too far, remove element from boom, push retainer completely off the
element, and start over. After the first retainer is on, install another retainer to the opposite side.
Continue installing Shaft Retainers until all
elements are locked in place.
7. Attach the angled Boom to mast plate to the
small holes about 74" and 77" from the rear
of the boom. Secure with 8-32 x 1-3/4"
screws and locknuts. 1-1/2" and 2" U-bolts
are supplied for attaching bracket to end of
mast. Keep mast as far from boom as the U-
bolts allow. Do not allow the mast to pass up
through the element plane as it
WILL CAUSE
GREAT PERFORMANCE DEGRADATION
.
902-14WLC ASSEMBLY MANUAL
Summary of Contents for 902-14WLC
Page 4: ...902 14WLC DIMENSION SHEET ...
Page 5: ...902 14WLC ELEMENT LAYOUT ...


