background image


2.2 

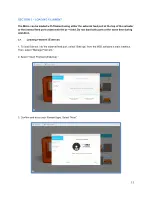
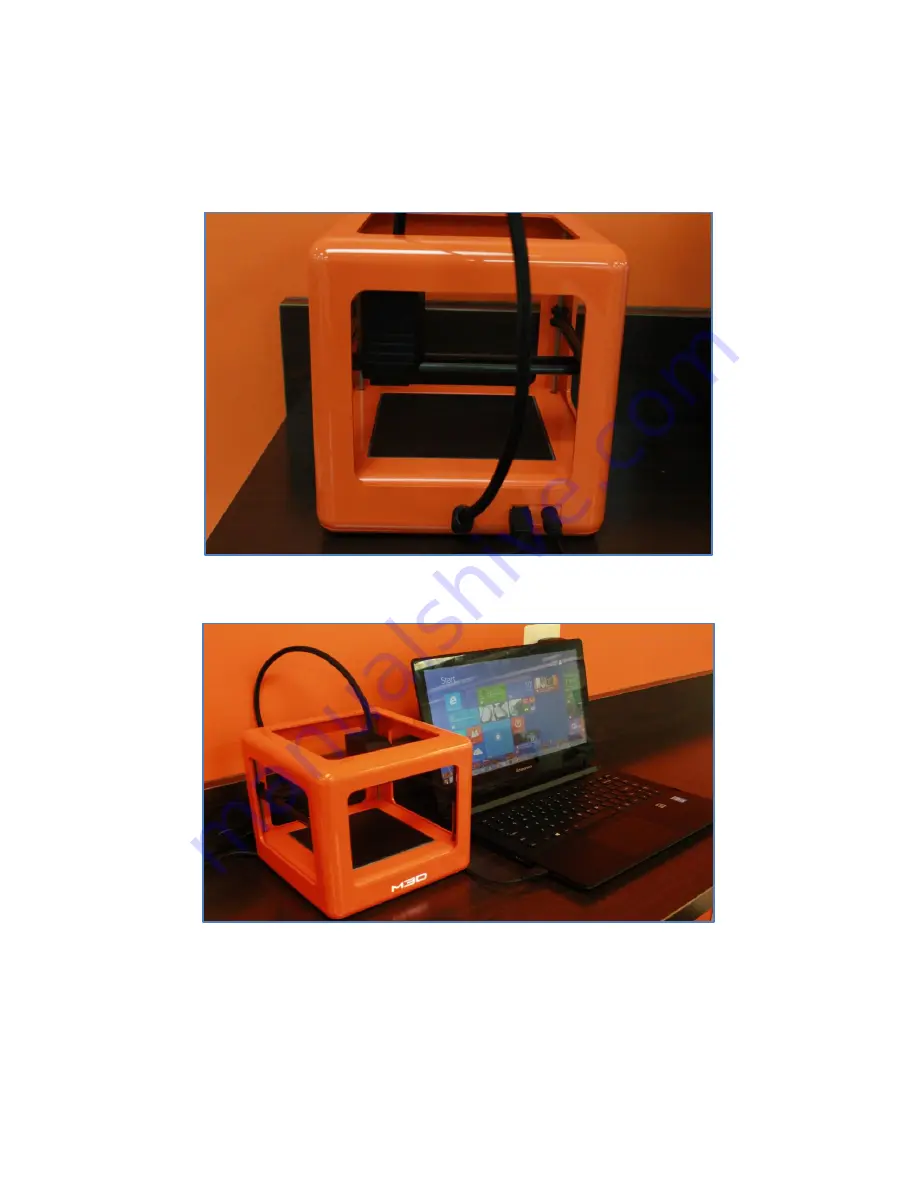
Attaching Power Supply


1.


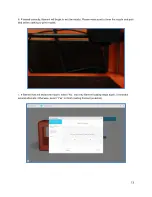
To power on The Micro, insert a genuine M3D power supply (provided) into the back of the printer, in 

the round hole next to the USB port.


2. Plug the country-specific external power supply into a wall socket, and The M3D power indicator LED 
will light up.


2.3  Detaching Power Supply 


1. To power off The Micro, disconnect the USB first. Then, wait for at least 10 seconds (or calibration may 
fail) before detaching the power supply from the back of the printer and wall socket. 


Summary of Contents for Micro

Page 1: ...User Manual...

Page 2: ...9 2 3 Detaching Power Supply 9 2 4 Installing M3D Software 10 3 LOADING FILAMENT 3 1 Loading Filament External 11 3 2 Loading Filament Internal 14 4 PRINTING MODELS 4 1 Downloading and Importing Mode...

Page 3: ...hance reverse engineer or tamper with attempt to identify trade secrets or attempt to circumvent safety features of M3D products and software M3D is bound by US law and cannot send its products to any...

Page 4: ...art of each purchase of a Micro 3D Printer The M3D software is under development and is supported by M3D through downloadable updates Specifications of the printer and software functionality may be ex...

Page 5: ...terms were provided to the purchasing customer in the customer purchase agreement This agreement may be found by logging into their user account at www printm3d com All parts of the Repair Service se...

Page 6: ...e to life Just plug in the printer download models hit print and dive headfirst into the innovative world of 3D printing We really hope you enjoy your 3D printing experience with The Micro Be sure to...

Page 7: ...x 39 mm Layer Resolution High 100 microns Medium 150 microns Low 250 microns Filament Diameter 1 75 mm Nozzle Diameter 0 35 mm Layer Thickness 0 05 mm Speed Positioning precision XY 15 microns Z 3 mi...

Page 8: ...2 1 Connecting to a Computer 1 To connect The Micro to a computer insert the M3D USB cable provided into the USB port at the back of the printer 2 Insert the other end of the USB cable into an availab...

Page 9: ...t to the USB port 2 Plug the country specific external power supply into a wall socket and The M3D power indicator LED will light up 2 3 Detaching Power Supply 1 To power off The Micro disconnect the...

Page 10: ...it is detected and will indicate The new printer is ready 3 The M3D software will check for and download the latest firmware and software updates please allow it to update as necessary for proper prin...

Page 11: ...rnal feed port underneath the print bed Do not load both ports at the same time during operation 3 1 Loading Filament External 1 To load filament into the external feed port select Settings from the M...

Page 12: ...or Select Next 5 When prompted insert filament into the external feed port located at the top of the extruder head Gently guide the filament through the external feed port until it catches the extrude...

Page 13: ...le Please make sure to clean the nozzle and print bed before starting to print models 7 If filament has not exited the nozzle select No and retry filament loading steps again it may take several attem...

Page 14: ...Internal 1 To load filament into the internal feed port select Settings from the M3D software s main interface Then select Manage Filament 2 Select Insert Filament Internal 3 Confirm and enter your fi...

Page 15: ...k to unlock it and lift it up to reveal the compartment underneath Then unwrap one meter of filament as directed and feed it into the internal filament port Continue inserting filament through the int...

Page 16: ...the print bed securely and pull it forward to lock it into place 7 If loaded correctly filament will begin to exit the nozzle Please make sure to clean the nozzle and print bed before starting to prin...

Page 17: ...oftware s main interface and select your model You can also use the search bar or select from Recent Models from the M3D software s main interface Your model will load into The Micro GUI 4 2 Adjusting...

Page 18: ...3 When ready to print select Print and confirm your printing preferences Select More Options to view support material and cut off options 4 Select Print and confirm estimated time and filament amount...

Page 19: ...19 5 Make sure to clean the nozzle and make sure that the print bed is clear Select OK when ready to print 6 Watch as your model prints and comes to life...

Page 20: ...ecifications If you are experiencing any trouble with your Micro 3D printer please feel welcome to submit a support ticket at https m3d freshdesk com support home or contact our support staff with any...

Page 21: ...lament External 1 To remove filament from the external feed port select Settings from the M3D software s main interface Then select Manage Filament 2 Select Remove Filament 3 When prompted firmly pull...

Page 22: ...22 4 If the filament has not been retracted and released select No and retry filament removal steps again it may take several attempts Otherwise select Yes to finish removing filament...

Page 23: ...from the M3D software s main interface Then select Manage Filament 2 Select Remove Filament 3 When prompted push the print bed back and lift it up to reveal the compartment underneath Then remove onl...

Page 24: ...y pull on the filament until it is released 5 If the filament has not been retracted and released select No and retry filament removal steps again it may take several attempts Otherwise select Yes to...

Reviews: