background image

2.0 Downloading M3D Software


1. Please visit http://www.PrintM3D.com/downloads to download your Operating 

System specific M3D Software. Download the M3D Software to a known location, 
like your Desktop. Run the installer and continue through all windows and 
prompts.

2. Run the M3D Software after it has fully installed. Your computer is now ready to 

automatically detect any M3D printers that are connected. 

3. Please allow your printer to update to the most recent firmware. DO NOT turn 

off your printer or computer during firmware and software updates. 

*Turn Windows Automatic Updates to Inform Only* 

When 

running a Windows PC, turn Automatic Updates to “Check for 
updates, but let me choose whether to download and install 
them” from the Control Panel; this will prevent Windows 
Automatic Updates from restarting your computer (resulting 
in a print failure) while The Micro+ is in operation.

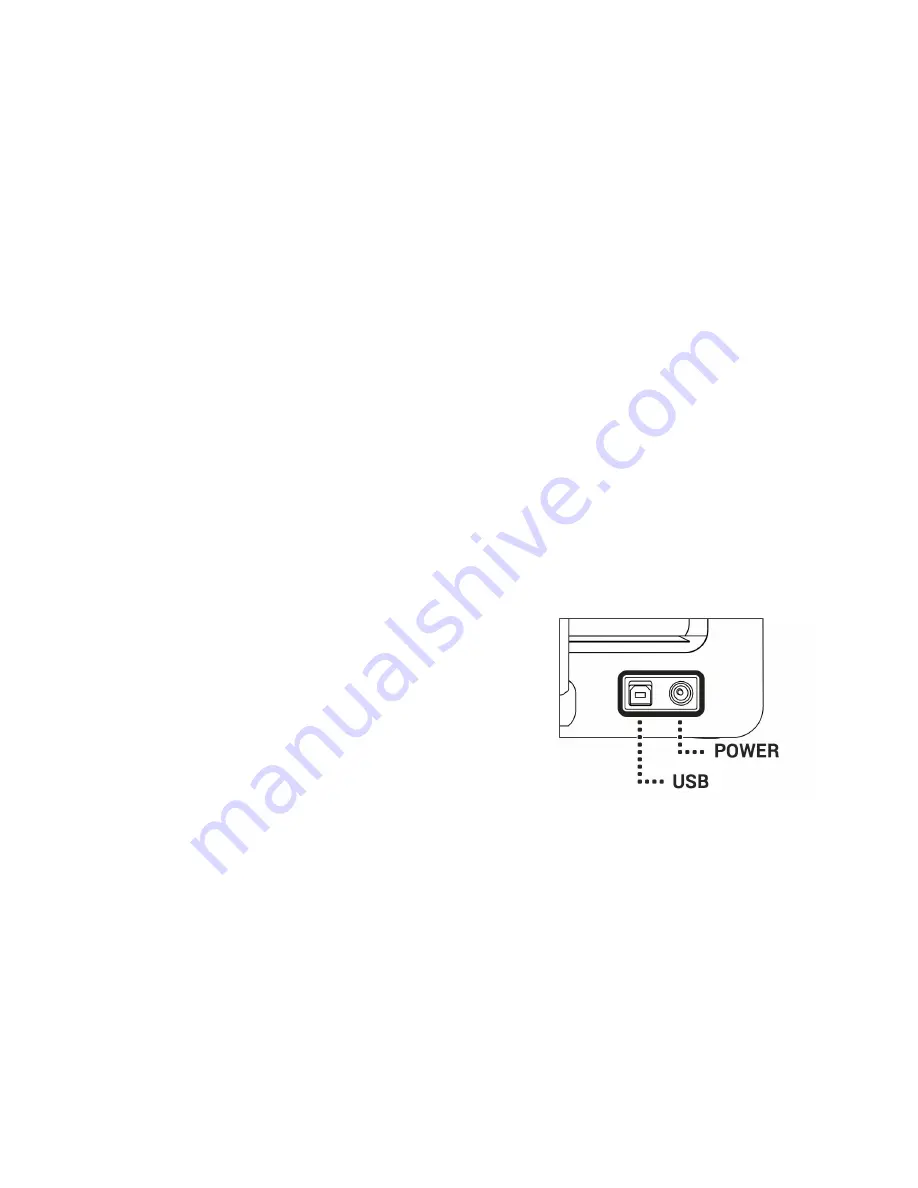
3.0 Connect and Power The Micro+


1. Insert the provided M3D USB cable into the USB port at the back of the printer.
2. Insert the other end of the USB cable into an available USB port on your computer . If you 

have issues with USB 3.0, go to our support page at www.PrintM3D.com/support a nd 
search “USB 3” for solutions. 

3. Insert the provided genuine M3D power supply into the round hole on the back of the 

printer. DO NOT use another power supply!

4. Plug the country-specific external power supply into a wall socket, and the M3D logo on 

the front of The Micro+ should light up.
Power Off* To power off The Micro+, disconnect the USB first. Then, wait at least 10 
seconds before detaching the power supply from the back of the printer. 

Figure. Rear view of The Micro

+

 showing the USB 

and Power ports. 

Summary of Contents for Micro+

Page 1: ...The Micro 3D Printer User Manual...

Page 2: ...meter 1 75 mm Nozzle Diameter 0 35 mm Layer Thickness 0 05 mm Speed Up to 55 mm s Position Precision XY 15 microns Z 3 Microns Software M3D Supported File Types STL and OBJ System Compatibility Window...

Page 3: ...untry specific power supply Be sure to remove the Gantry Clips located on the front left and front right corners of the printer Safety Considerations Caution Hot Keep your fingers away from the Nozzle...

Page 4: ...trol Panel this will prevent Windows Automatic Updates from restarting your computer resulting in a print failure while The Micro is in operation 3 0 Connect and Power The Micro 1 Insert the provided...

Page 5: ...nal Filament Figure An example of an ideal external filament path External filament is installed via the external feed port located at the top of the extruder head Always keep a clear path between you...

Page 6: ...rinter is simple just drag the model from the Recent Models library to the printer Your first model is already loaded in the M3D Software Werecommend printing this model first as a test calibration Se...

Page 7: ...ed by adjusting the options on the left Models can be scaled by all three dimensions simultaneously by using the right mouse button individually adjusted using the scale bar or manually entered into t...

Page 8: ...ion drug delivery or ingestion PRECAUTION If any allergy develops as a result of direct or indirect contact using M3D s products or from the 3D printed objects discontinue use immediately MAINTENANCE...

Page 9: ...that the user manual for M3D s products this end user agreement and the limited warranty may have been provided as a physical copy where required by law with the initial customer purchase A digital c...

Page 10: ...www printM3D com M3D 3D Ink and Print Anything are registered trademarks of M3D LLC in Fulton MD...

Reviews: