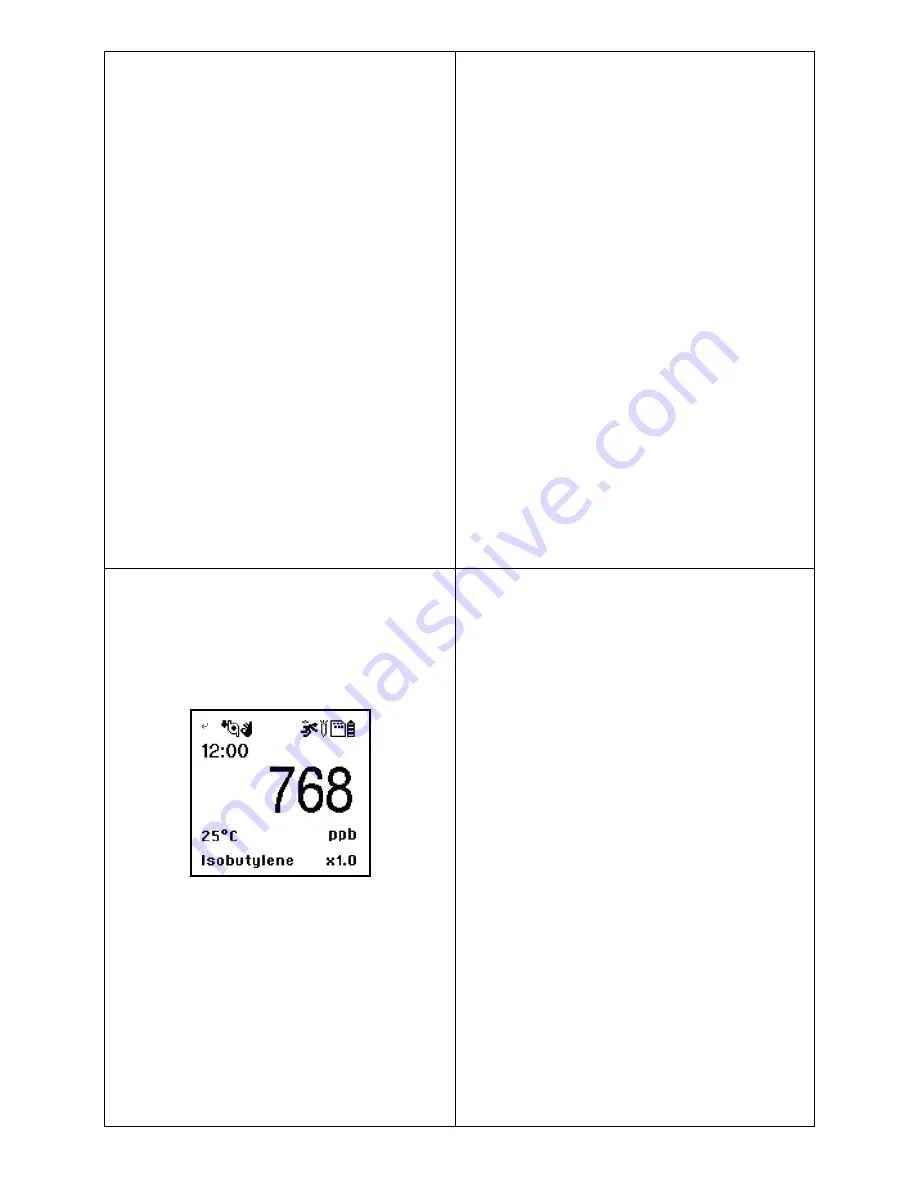
Turning the Unit On
Press and hold the Down Key for 3 seconds, until
buzzer beeps and the red LED flashes indicating
the unit is powered on. After a warm-up and self-
test sequence, the unit enters normal reading
mode, showing real time gas concentrations.
Turning the Unit Off
In normal reading mode, press and hold the Down
or Right Key; the unit will count down 5 seconds,
with red LED flash and buzzer beep once per
second. After the last long flash and beep, the LCD
displays “Unit Off” and the unit is powered off.
Charging
The battery charge status is shown on the small icon
in the upper right corner of the display. It is
recommended to fully charge the battery before use.
Plug the charger cable in to the bottom of the unit and
the USB connector to a personal computer or other
power adaptor. While charging, the battery icon cycles
from empty to full. When the battery is fully charged,
the LCD displays a full battery when the cable is
removed.
4
Testing the Alarms
Important!
Test the alarms prior to performing a bump
or span calibration test. If any alarm does not respond,
check the Alarm Settings in Config Mode to make sure
all alarms are enabled (Config mode
→
Alm Setting
→
Alarm Settings
→
All Enabled). If any alarms are enabled
but are not functional, do not use the instrument.
Under normal operation mode and non-alarm
conditions, the buzzer, LED and backlight can be tested
anytime by pressing the Right Key once.
Water-trap Filter
The water-trap filter
(
P/N: 11.10.02.0038
)
is used to
protect the sensor from dust in dirty environments. The
filter should be twisted on the gas inlet before the
instrument is used. The filter should be replaced in time
once its surface is dirty.
5
Normal Mode
After warm up is finished, the unit enters normal
reading mode, starts monitoring gas
concentrations and the reading is displayed on the
LCD screen.
The user can cycle through other values like STEL,
TWA, Peak, Temperature, etc. by pressing the Up
or Down Key. The last screen is
⚫
Enter PC Comm and Stope Measurement?
⚫
Press the Right Key to enter PC Comm Mode
to download logged data and edit advanced
configurations. The mPower Suite software
is needed on the PC for these operations.
6
Configuration Mode
In configuration (Config) mode, the user can
perform sensor calibration, do a bump test, change
sensor alarm limits and set unit parameters.
Enter/Exit Config Mode
Press and hold the Up and Down Keys together for
3 seconds to enter config mode.
⚫
The config mode is password protected.
⚫
The default password is “0000”.
⚫
After all four digits are entered, move the cursor
to
√ and press the Up Key to enter config
mode.
⚫
Use the Up and Down Keys to scroll between
config menu items
⚫
Use the Right Key to enter the desired item
⚫
To exit the menu item use the Left Key or scroll
to the √ box and press the Up Key
Press the Left Key to exit config mode. All changes
are saved automatically unless the cancel X box is
used.
7


