


EN
14
2.1 Intended use
This gas-electric cooker is intended for prepa-
ring meals at household only. The use of this ap-
pliance for other purposes is prohibited!
2.2 Class of appliance – 1 (stand-alone)
2.3 Nominal supply voltage – 400V 3N~50Hz
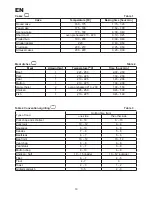
2.4 Hot plate nominal output
Heating zone
f
145mm
– 1,2kW
Heating zone
f
180mm
– 1,7kW
2.5 Construction and accessories (1.1.1)
1 – hob
2 – electric oven
3 – control panel
4 – oven door
5 – heating zone
f
145mm/1,2kW
6 – heating zone
f
180mm/1,7kW
7 – baking tray
8 – baking grid
2.6 Control panel (2.6.1)
1 – cooking zone knobs
2 – oven control knob
3 – temperature control knob
4 – temperature adjustment light
5 – oven indicator light
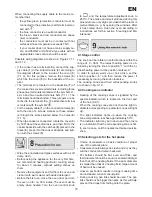
This appliance is not intended for use by in-
1.
dividuals (including children) with impaired
physical, mental or sensory functions or indi-
Your appliance is shown on Fig. 1.1.1
viduals with insufficient experience or know-
ledge of the appliance, unless the use of the
appliance by such persons takes place under
proper supervision or in accordance with the
instruction manual supplied to them by per-
sons responsible for their safety. Never let
children play with the appliance.
The appliance must be installed in accordan-
2.
ce with the regulations in force and should be
used only in well ventilated rooms.
Packaging materials should be kept away
3.
from children as they might be very dangero-
us for them.
The product should be installed 8 hours after
4.
it has been placed in the kitchen.
In the event of failure, turn the appliance off
5.
and contact your authorized service centre
immediately. A faulty appliance must not be
used until repaired.
The manufacturer declines any responsibility
6.
for injury or damage due to the improper in-
stallation, connection to a faulty gas supply
system or improper use of the appliance.
No unauthorized repairs are allowed, except
7.
for replacing the oven lamp bulb, on pain of
voiding the warranty rights.
Never lift the cooker by taking hold of the han-
8.
dle on the door of the oven
.
In order to upgrade the appliance and to con-
9.
tinually improve its quality, the manufacturer
reserves the right to introduce changes in the
appliance, without prior notification to the
users. However, such modifications will not
cause any difficulties in using the appliance.
Запрещается проводить самостоятельно
какие-либо ремонты, за исключением заме-
ны лампочки освещения духового шкафа,
в противном случае гарантия теряет свою
силу.
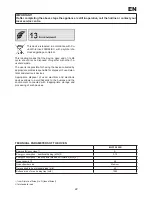
The appliances comply with the following Directives:
2006/95/WE – The Low Voltage Directive
2004/108/WE – 2004/108/EC Electromagnetic Compatibility
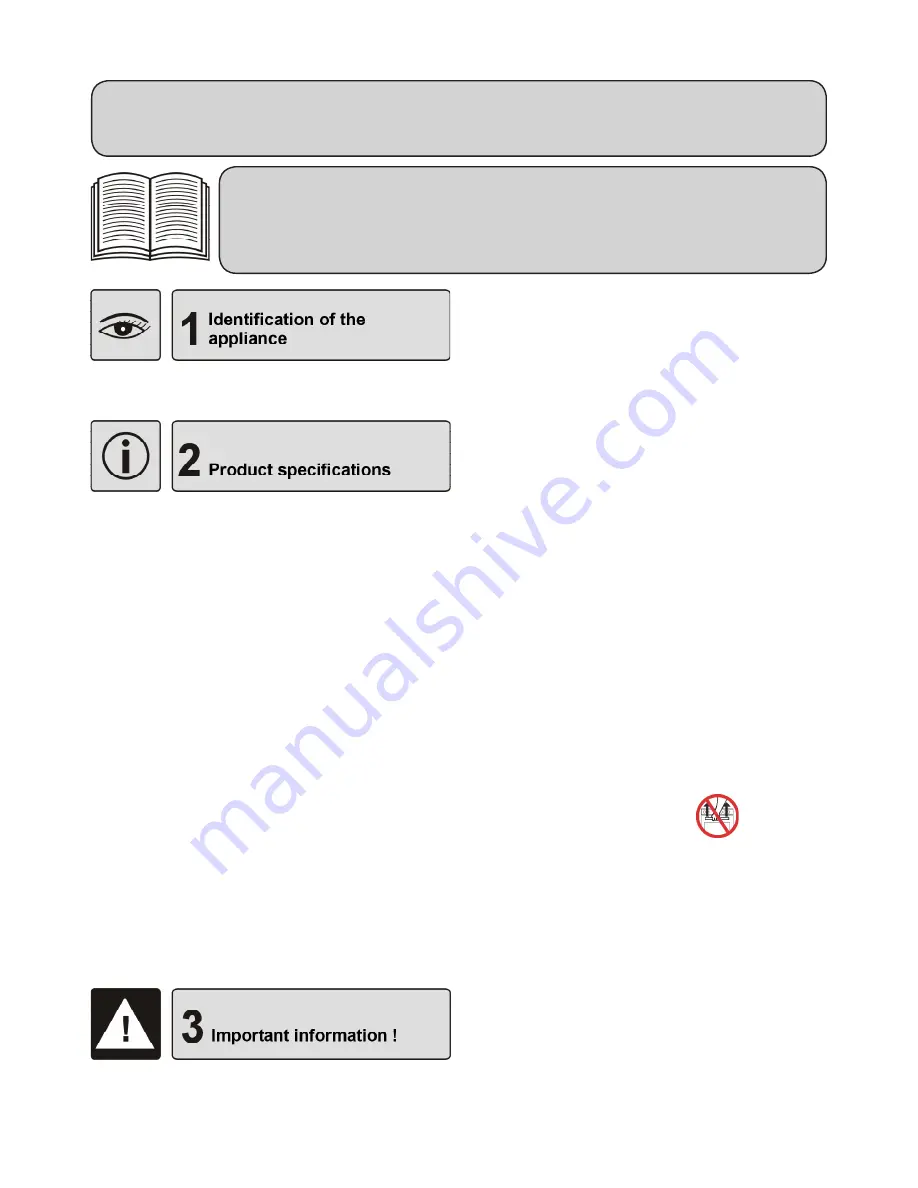
NOTE!
Before installing and operating the appliance, please read this instruction
manual carefully. All graphic illustrations contained in this instruction ma-
nual are numbered. The numbers appearing on illustrations correspond
to the numbers in the text.
Summary of Contents for MVC1 2428B
Page 1: ...RU EN INSTRUCTION MANUAL MVC1 2428B O...
Page 2: ...1 6 8 1 6 6 1 1 1 1 2 6 1 7 1 1 7 1 2 7 1 3...
Page 4: ...3 10 8 1 10 8 2 10 8 3 10 8 4 11 3 1 11 3 2 11 3 3 11 2 1 11 2 2...
Page 6: ...RU 5 1 2 9 2 1 1 2 3 4 5 6 6 1 6 2 6 3 6 4 6 5 6 6...
Page 12: ...RU 11 11 2 2 CERA FIX 11 3 11 3 1 1 2 3 11 3 2 450 11 3 3 1 2...
Page 13: ...RU 12 inoks 1 2 1 2 3 E14 230 25 3000C...
Page 14: ...RU 13 2002 96 MVC1 2428B 1 A 2 0 79 2 58 45 2 1080 1 G 2...
Page 24: ...05 2010 C600983I5...


