30
05
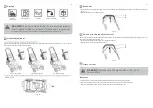
Storage
Remove
battery pack
Empty fuel tank
Empty oil
Clean and maintain
Store
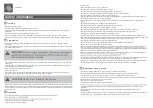
WARNING!
This quick start provides only a short overview of
how to start and stop the product! For safe use it is essential
06
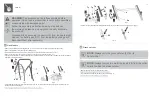
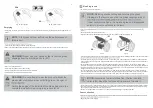
Handle adjustment
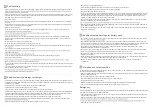
Align the mounting holes and adjust the upper handle bar (4) to a proper height according to your needs (Figs. 19, 20, 21). Secure
the connection with the mounting sets (8) afterward.
•
Fig. 19, low position
Fig. 20, middle position
Fig. 21, high position
1
2
3
4
5
6
7
1
2
3
4
5
6
7
1
2
3
4
5
6
7
trapped (Fig. 22).
Fig. 22
8a
31
07
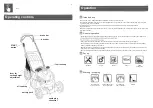
Brake bar
• Pull the brake bar (2) towards the handle (1) and hold it in position, when starting the engine. Keep it squeezed during operation
(Fig. 23).
• Release the brake bar (2) to stop the engine.
Fig. 23
2
1
08
Drive bar (self-propelled function)
Use the self-propelled function as assistance during operation; the rear wheels are automatically driven by the engine; you do not
need to push the product manually (Fig. 24).
• Pull the drive bar (3) towards the handle (1) to engage the wheels.
• Release the drive bar (3) to disengage the wheels.
Fig. 24
3
1
09
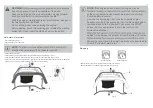
Grass catcher
WARNING!
Always carry the grass catcher (20) by its
handle (20a)!
Indicator
•
• When the hatch (20b) is closed, the grass catcher is full and must be emptied (Fig. 26).

